


Google Meet is mega-popular with teachers and students engaging in virtual learning. It has tons of obvious features that make it great for this, but it also has plenty of not-so-obvious features that you can take advantage of to make it even better! Read on to discover our top 5 Google Meet hacks!
Start a meeting in double-quick time!
While it certainly doesn’t take long to set up a Google Meet call and get your lesson underway the conventional way, there is an even quicker method that you can use when you’re in a rush.
Instead of visiting the regular URL (“meet.google.com”), you can type “meet.new” into your web browser and it will automatically open a new Google Meet session. While the time saved using this method is small, for those of you who use the video communication service frequently, it can definitely come in handy.
Additionally, you can create bookmarks that point to the “meet.new” URL with numbers added to the end, such as “meet.new/1” and “meet.new/2”. You can configure these bookmarks to create new Google Meet sessions for your various accounts. So, for example, use could use “meet.new/1” with your work account and “meet.new/2” with your personal account, potentially saving you a lot of hassle when you want to start a Google Meet call with a specific account.
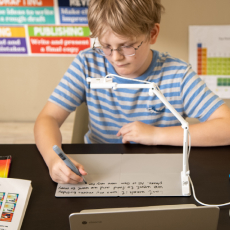
Mirrored image? No sweat!
One of the frustrations that Google Meet users have expressed to us has been its lack of integrated support for reversing mirrored video. However, there are several workarounds that users can employ to resolve this issue.
Solution #1: OKIOCAM Snapshot and Recorder

Unlike Google Meet, OKIOCAM Snapshot and Recorder does not mirror video by default. As a result, users can use Google Meet’s Present now feature to share Snapshot and Recorder to present the non-mirrored video from their document camera to the other people on the Google Meet call.
Snapshot and Recorder is completely free and includes some really cool features and functions. You can use it to take snapshots and record video, as well as digitally zoom in with your document camera, rotate its image, and more.
To download Snapshot and Recorder, please go here.
For a complete tutorial on how to screen share Snapshot and Recorder in Google Meet, please go here.
Solution #2: Your computer’s native camera app
All modern operating systems come with a native camera app that works flawlessly with document cameras. Both Windows and Chrome OS come with their native camera app, Camera, pre-installed, and macOS comes with QuickTime. All these apps record video without mirroring it by default, so similarly to the above solution, users can take advantage of Google Meet’s Present now feature to share the non-mirrored video from their document camera. Instructions on how to do so will be similar to those detailed in the tutorial linked in the first solution.
If you choose this solution over the first solution, you will not have to install any additional software, but you will miss out on all the extra features that Snapshot and Recorder offers.
Solution #3: Join your own meeting with a different account
Only you will ever see your video mirrored. Everybody else on the call will only ever see the correctly oriented video. This presents an interesting opportunity — to join the call twice! When you are writing, drawing, or performing some task that can be annoying to view mirrored, you can join the video call using a different Google account to see the same non-mirrored video that everyone else sees. You can even use the very same device! All you need to do is log into your second account and join the Google Meet call.
Blurry image? Check your resolution settings!
Blurry or otherwise low-quality images can have a really negative impact on the overall quality of a Google Meet session. To guarantee that you’ve done everything possible to avoid this potential problem occurring, check that your resolution settings are in order!
To ensure that those on the Google Meet call with you receive the very best image quality from your end, ensure that the Send resolution (maximum)setting is set to High definition (720p). To do so, go to Settings > Video > Send resolution (maximum) > High definition (720p).
To make sure that you are receiving the maximum resolution video from everybody else on the call, go to Settings > Video > Receive resolution (maximum) > High definition (720p).
Please note that the maximum resolution of the video you send and receive will depend on your internet connection. For best results, it is required that you have a strong, stable internet connection. When possible, it is recommended that you connect your computer to your network via Ethernet rather than Wi-Fi.
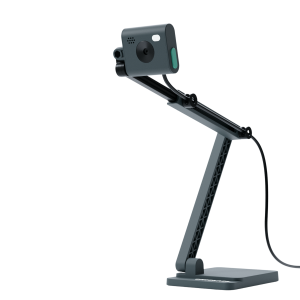
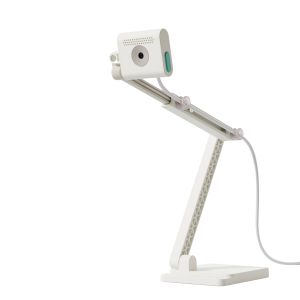
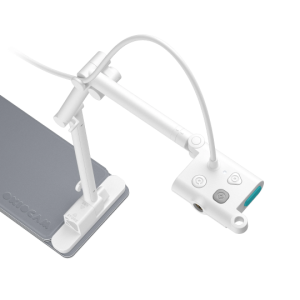
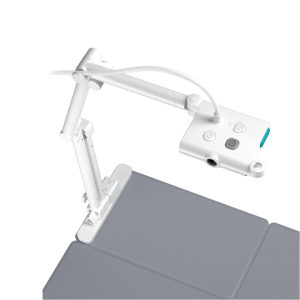
It is also important to note that if you are using an OKIOCAM, you will not be able to take advantage of its maximum resolution (1920×1440 for S and 2592×1944 for T) when using it with Google Meet. This is not a fault with your OKIOCAM. It is because the maximum resolution Google Meet supports is 1280×720.
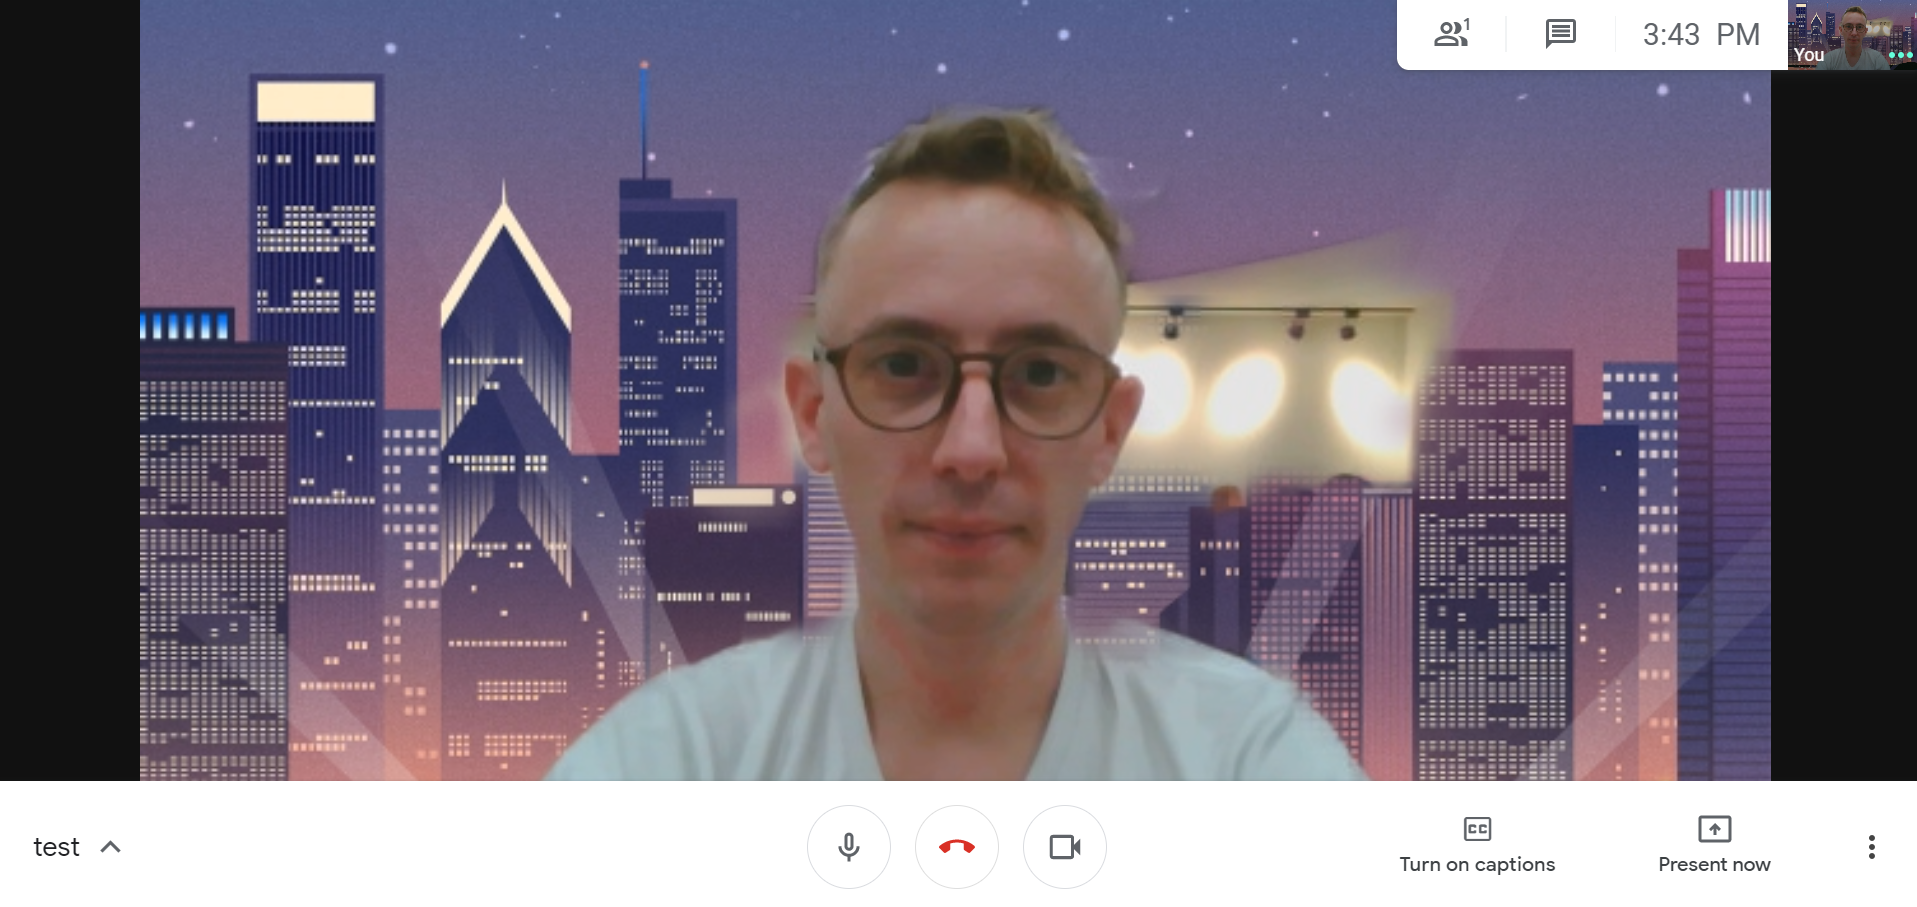
Messy room? Blur or change your background!
When you have a busy schedule filled with tons of online classes to teach, it can be difficult to find the time to spend cleaning the house from top to bottom. As excusable as this may be, it can still be quite embarrassing when you have to stream yourself to your students with your dirty laundry in the background!
Not to worry, Google Meet has the solution! The relatively new feature (introduced in October 2020), allows you to either partially or completely blur your background, choose one of their many preset virtual backgrounds, or upload your own.
This feature can help spare you from potential embarrassment. What’s more, kids have lots of fun with it too! It’s definitely a great idea to encourage your students (especially younger students) to play around with their virtual backgrounds. It’ll help get them even more excited about virtual learning!
Be more productive with hotkeys!
In the interest of saving time, learning some useful hotkeys for the apps you most frequently use is definitely strongly recommended. And Google Meet is no different. We’ve listed some of the most useful hotkeys for Google Meet below.
For Windows and Chrome OS
Toggle Camera On/Off: Ctrl+E
Toggle Microphone On/Off: Ctrl+D
View Hotkeys: Shift+? or Ctrl+/
For macOS
Toggle Camera On/Off: Command(⌘)+E
Toggle Microphone On/Off: Command(⌘)+D
Toggle Chat On/Off (Mac Only): Ctrl+Command(⌘)+C
Toggle People On/Off (Mac Only): Ctrl+Command(⌘)+P
View Hotkeys: Shift+? or Ctrl+/
If you have any questions regarding any of the information mentioned above, please submit a support request here.
Be sure to follow us on Twitter. We’d love to hear your virtual teaching hacks, too!