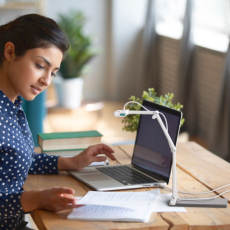


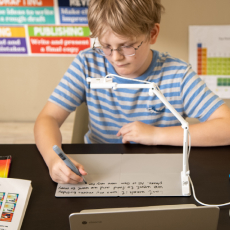
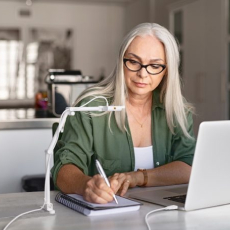
Numerous teachers have asked us recently how when teaching remotely, can they share both the video from their document camera and front-facing webcam with their students. It’s an excellent question because doing so can help to make your online lessons significantly more engaging.
These instructions will show you how you can share both cameras at once, with your document camera taking up the majority of the screen and your front-facing camera appearing to the side.
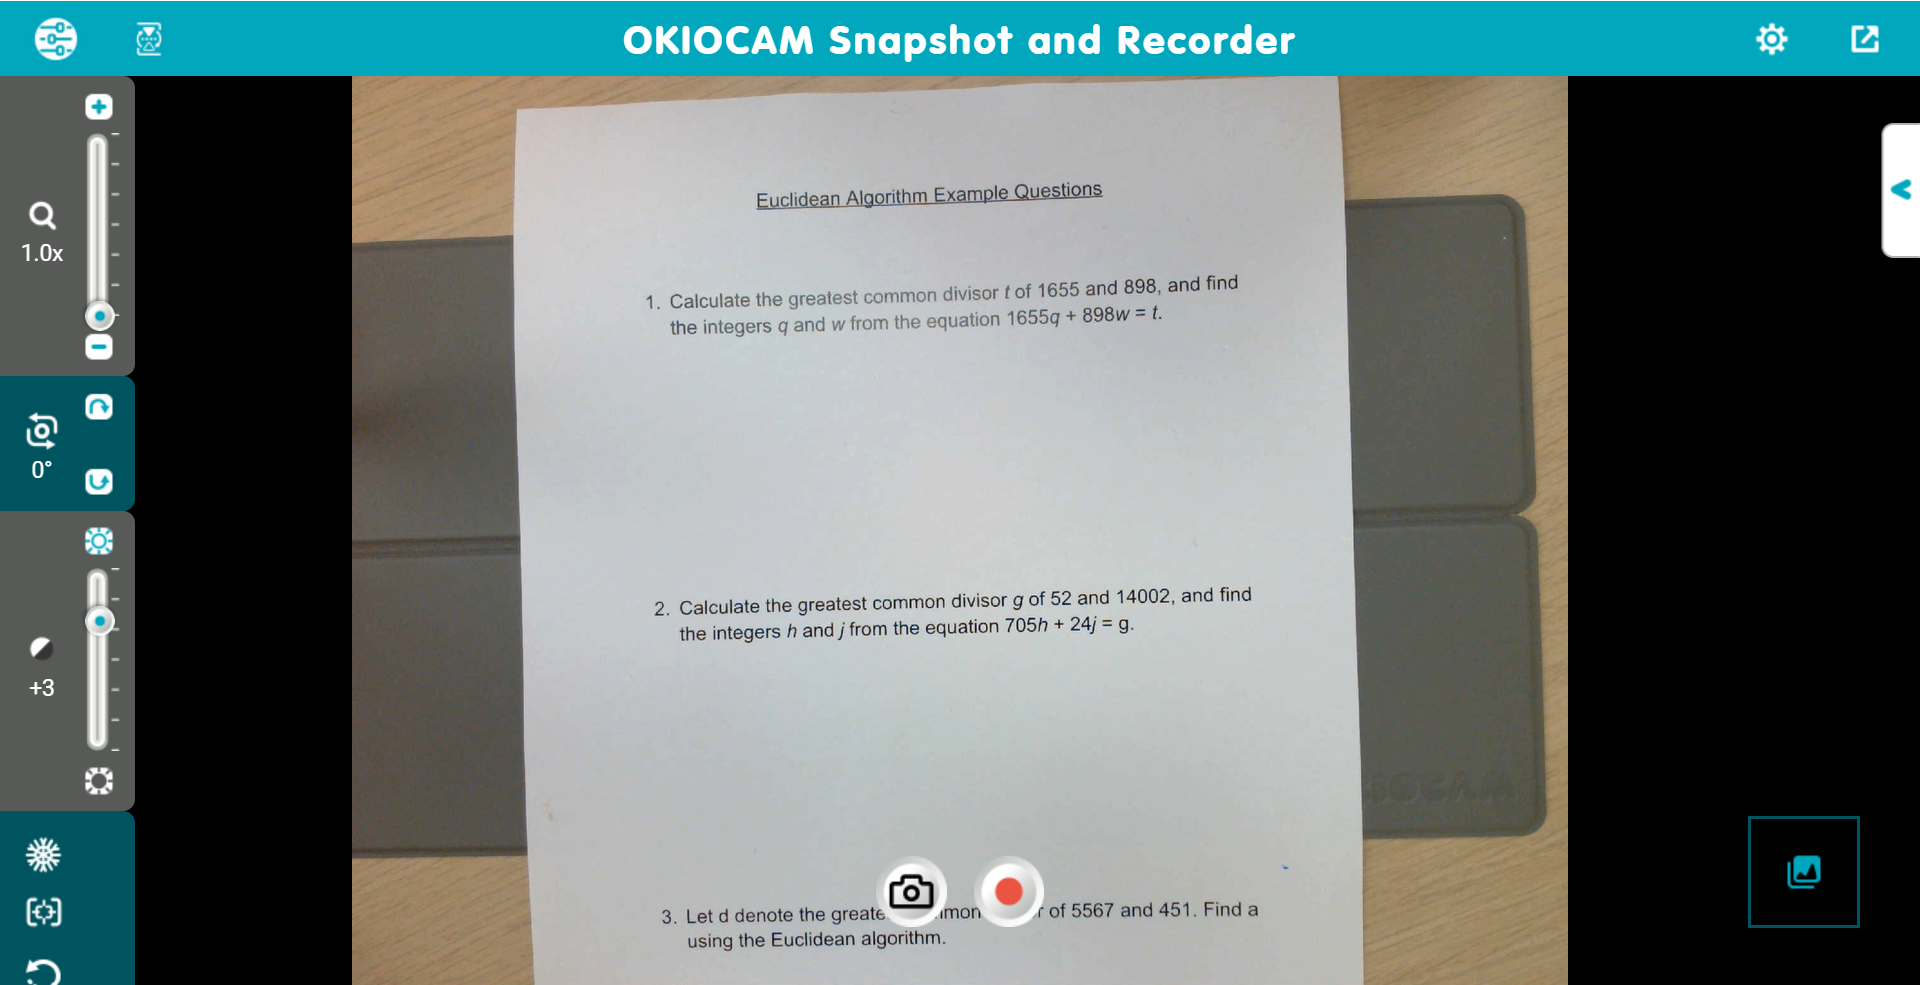
To follow the steps below you’ll need OKIOCAM Snapshot and Recorder — our completely free live presentation, photo, and video recording app. Click here to download it. Once you’re all set, let’s get to it!
- After joining the Google Meet call, ensure that your front-facing webcam is selected as your Camera. If your document camera is currently being used as the Camera, here’s how you can change it to your front-facing camera.
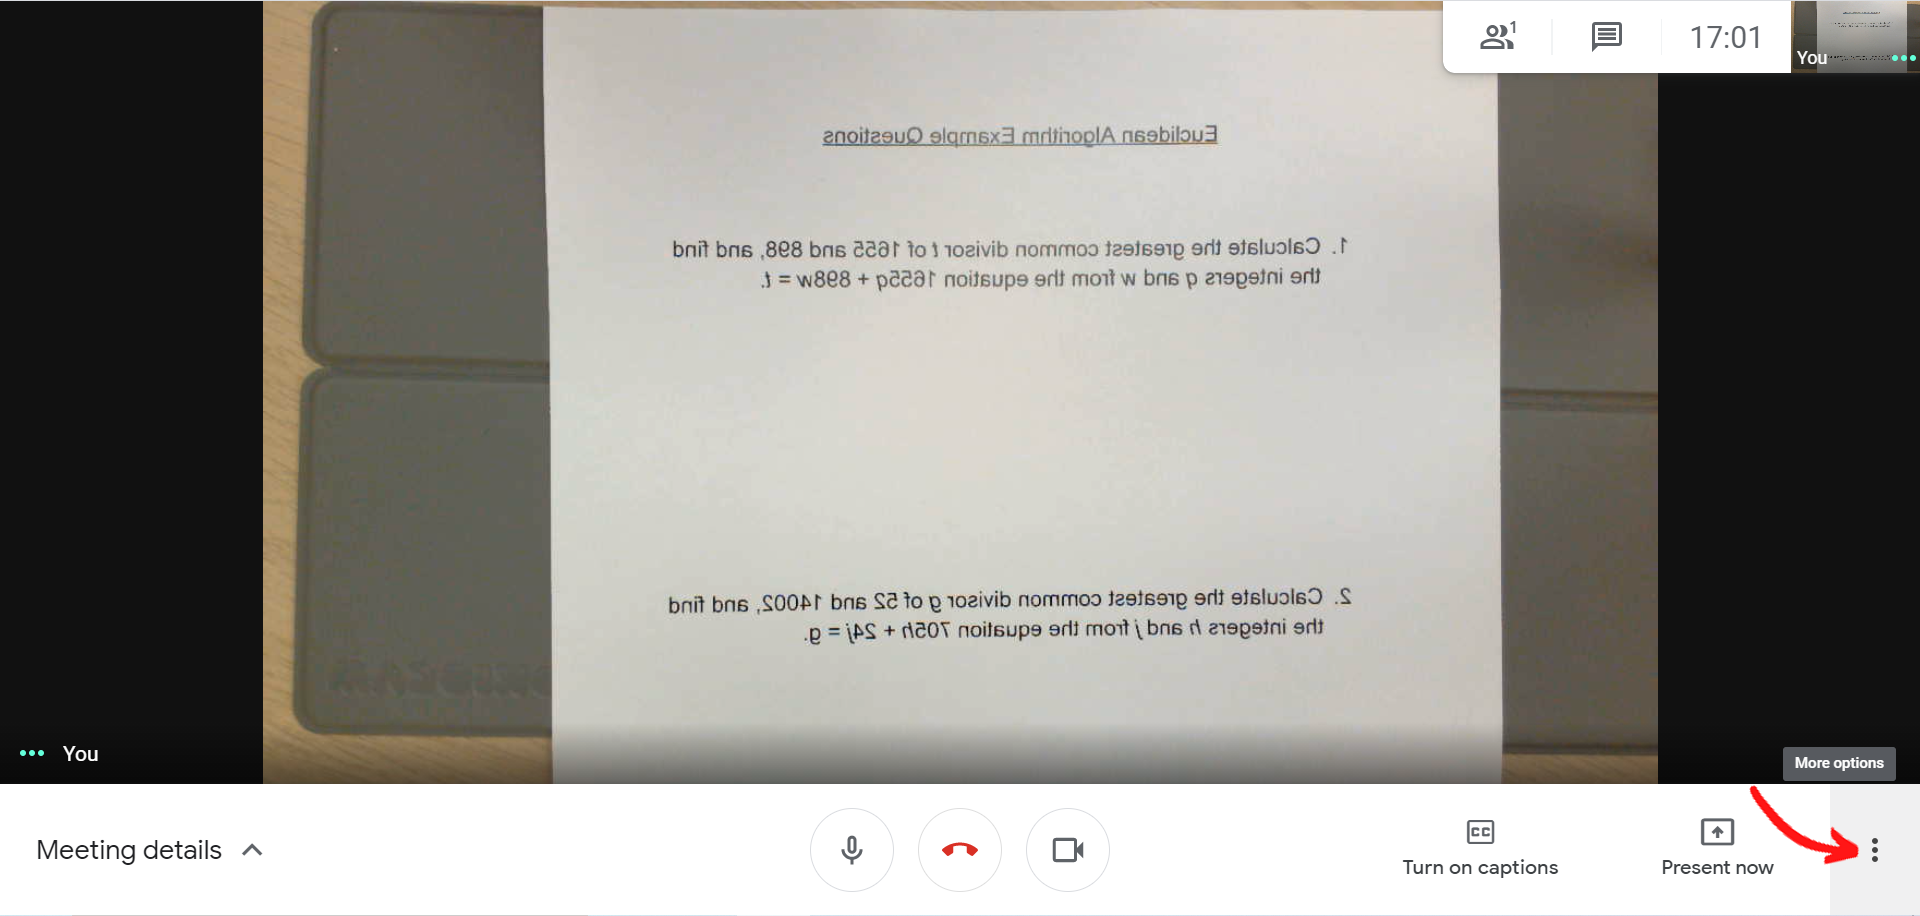
- Click the More options icon (the three dots) in the bottom right-hand corner.
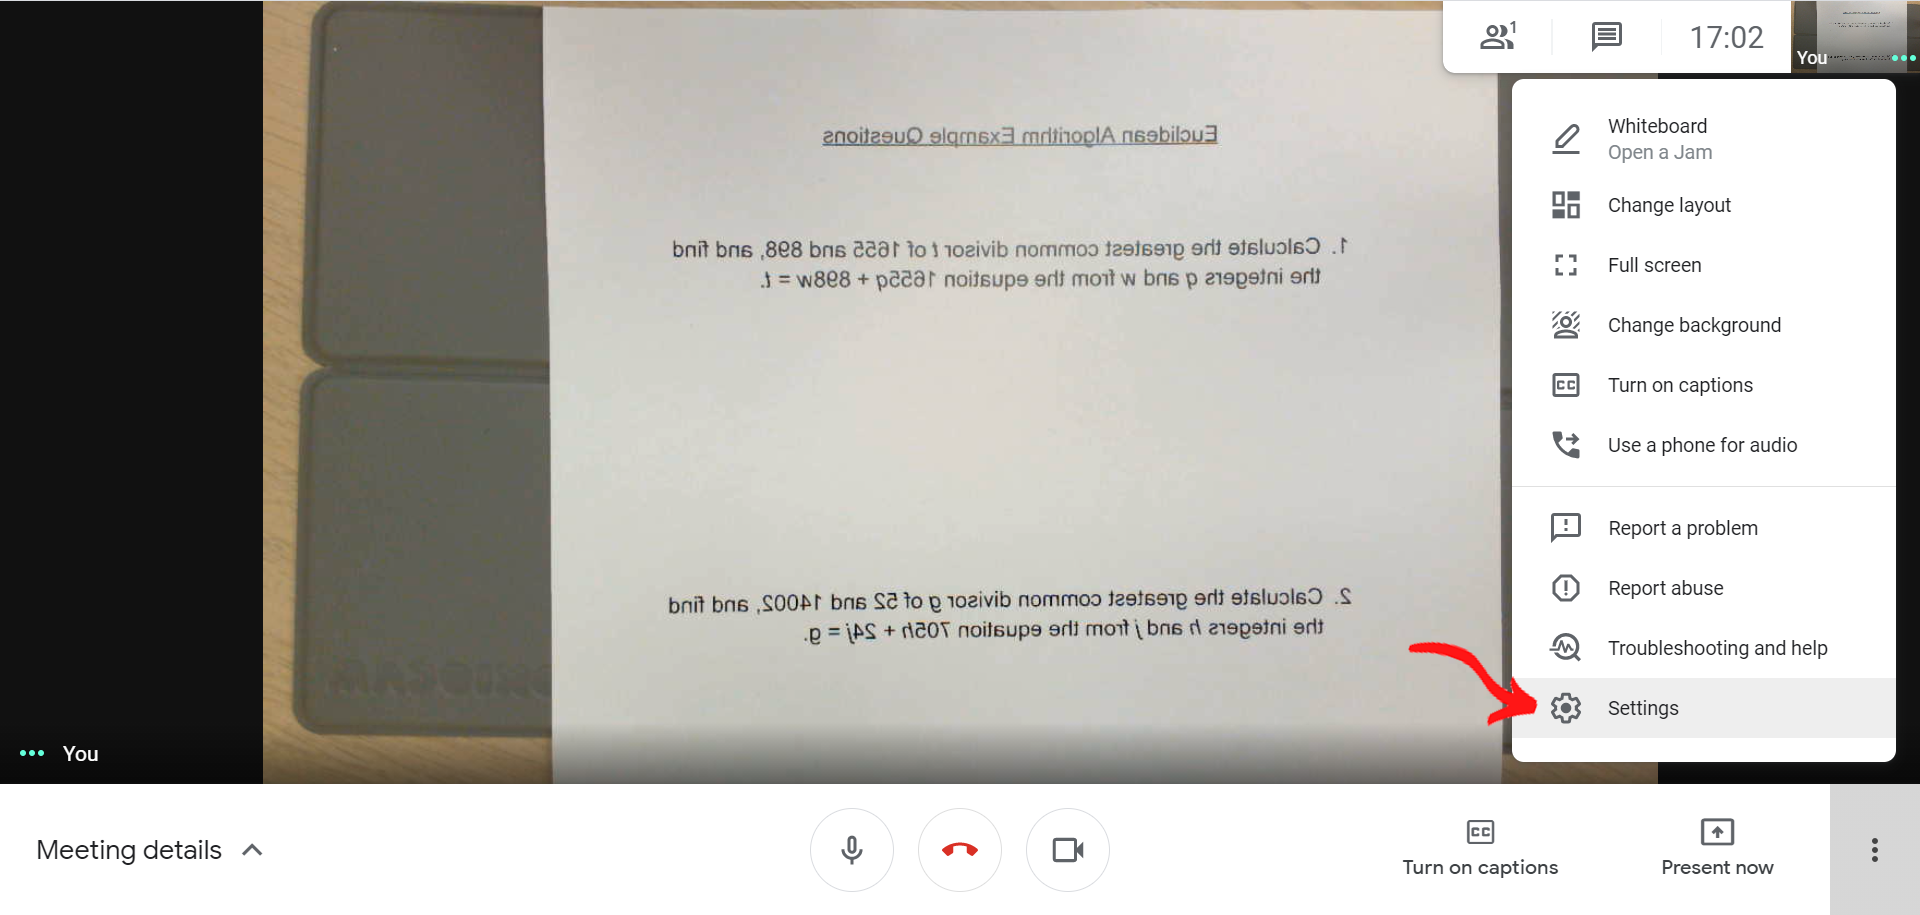
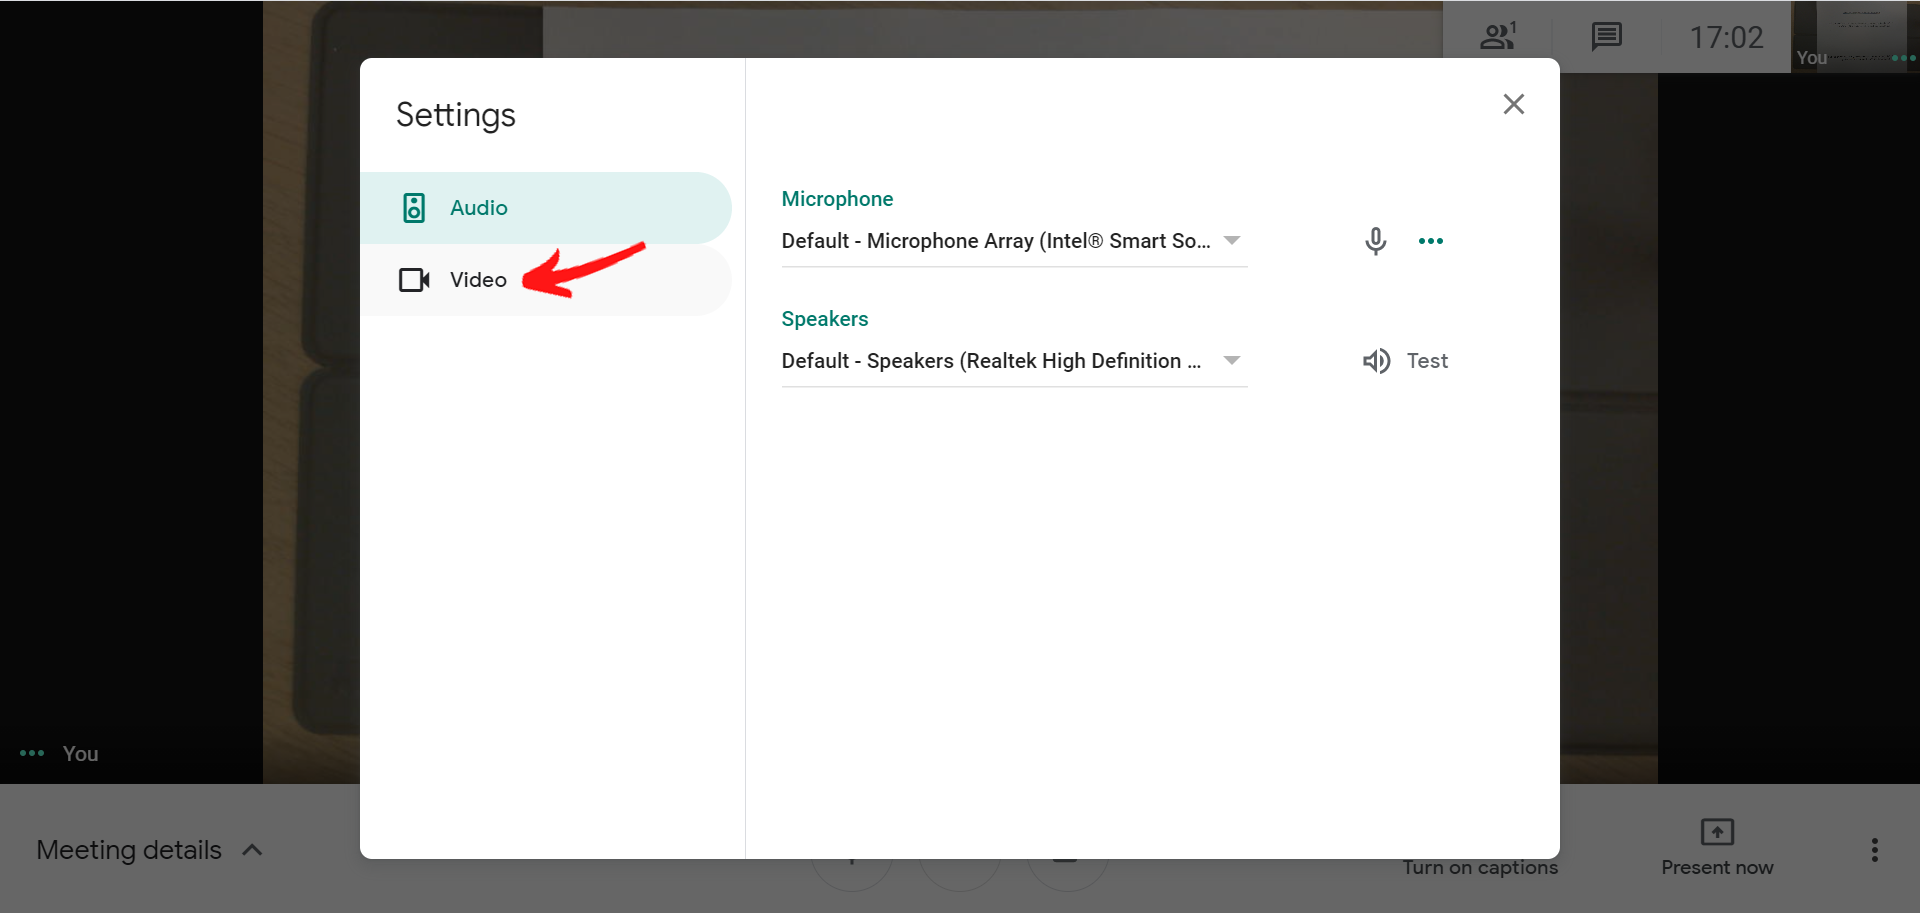
- Select Settings.
- Click on Video.
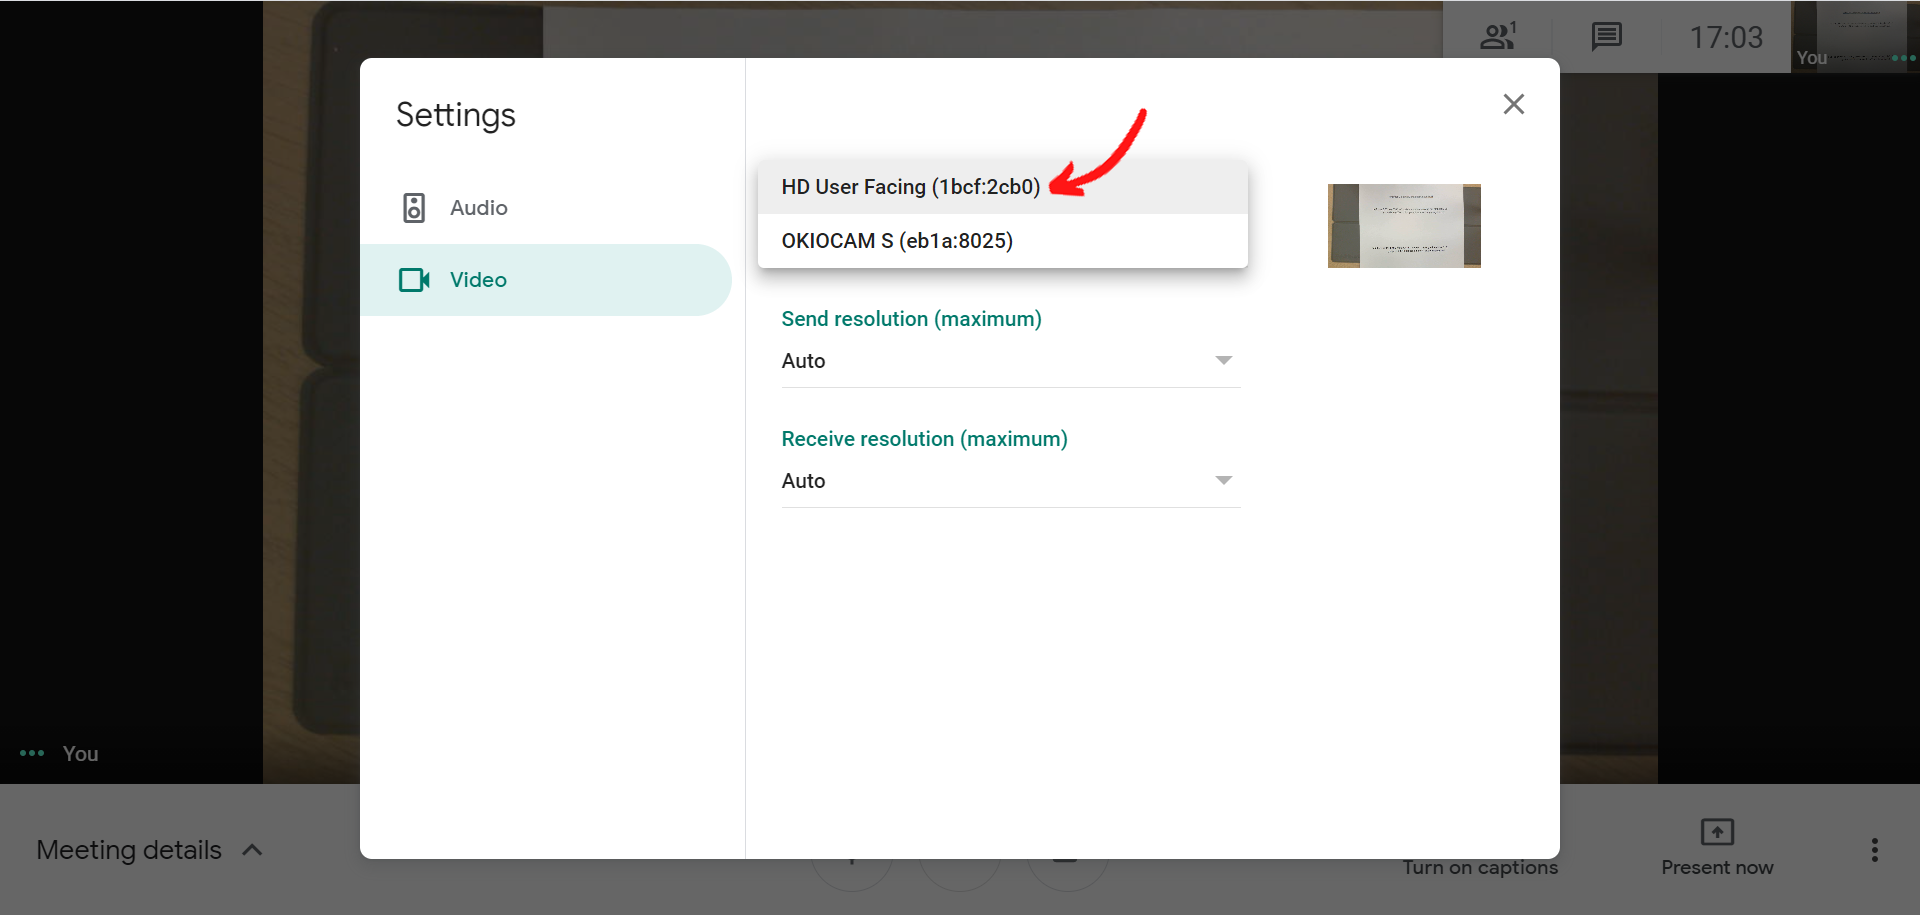
- Select your front-facing webcam from the Camera drop-down list.
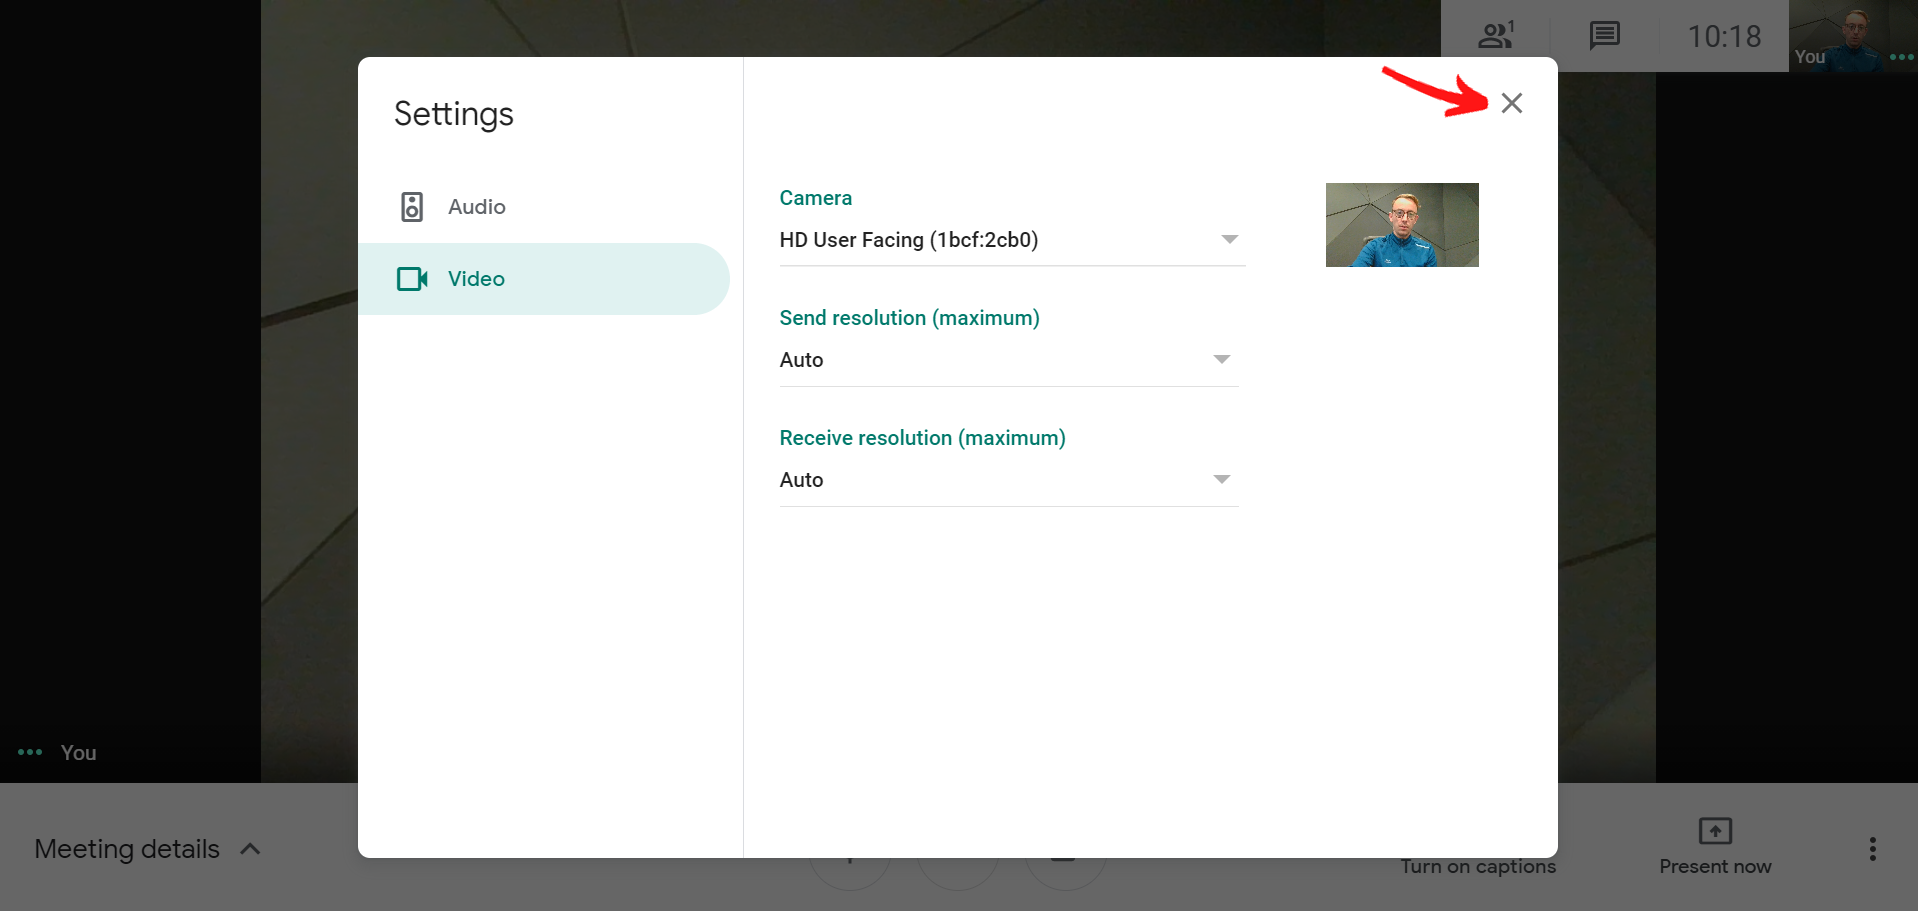
- Click the X icon to close the window.
- Launch OKIOCAM Snapshot and Recorder.
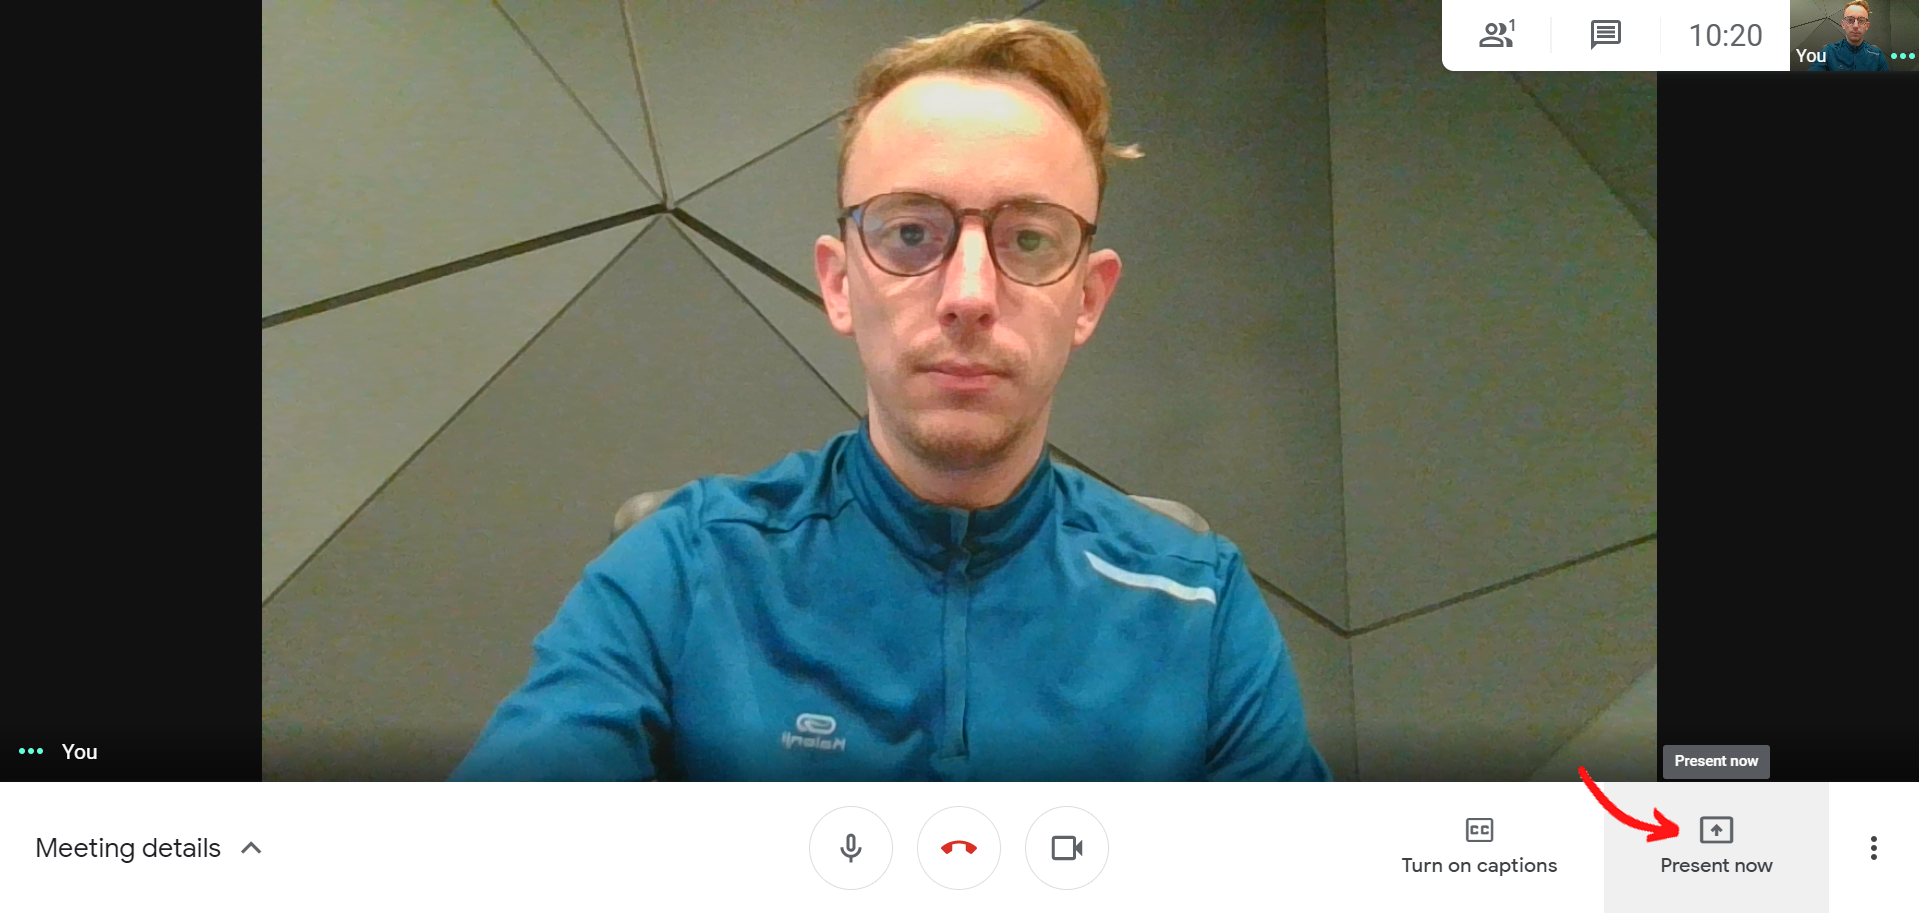
- In Google Meet, click Present now in the bottom right corner.
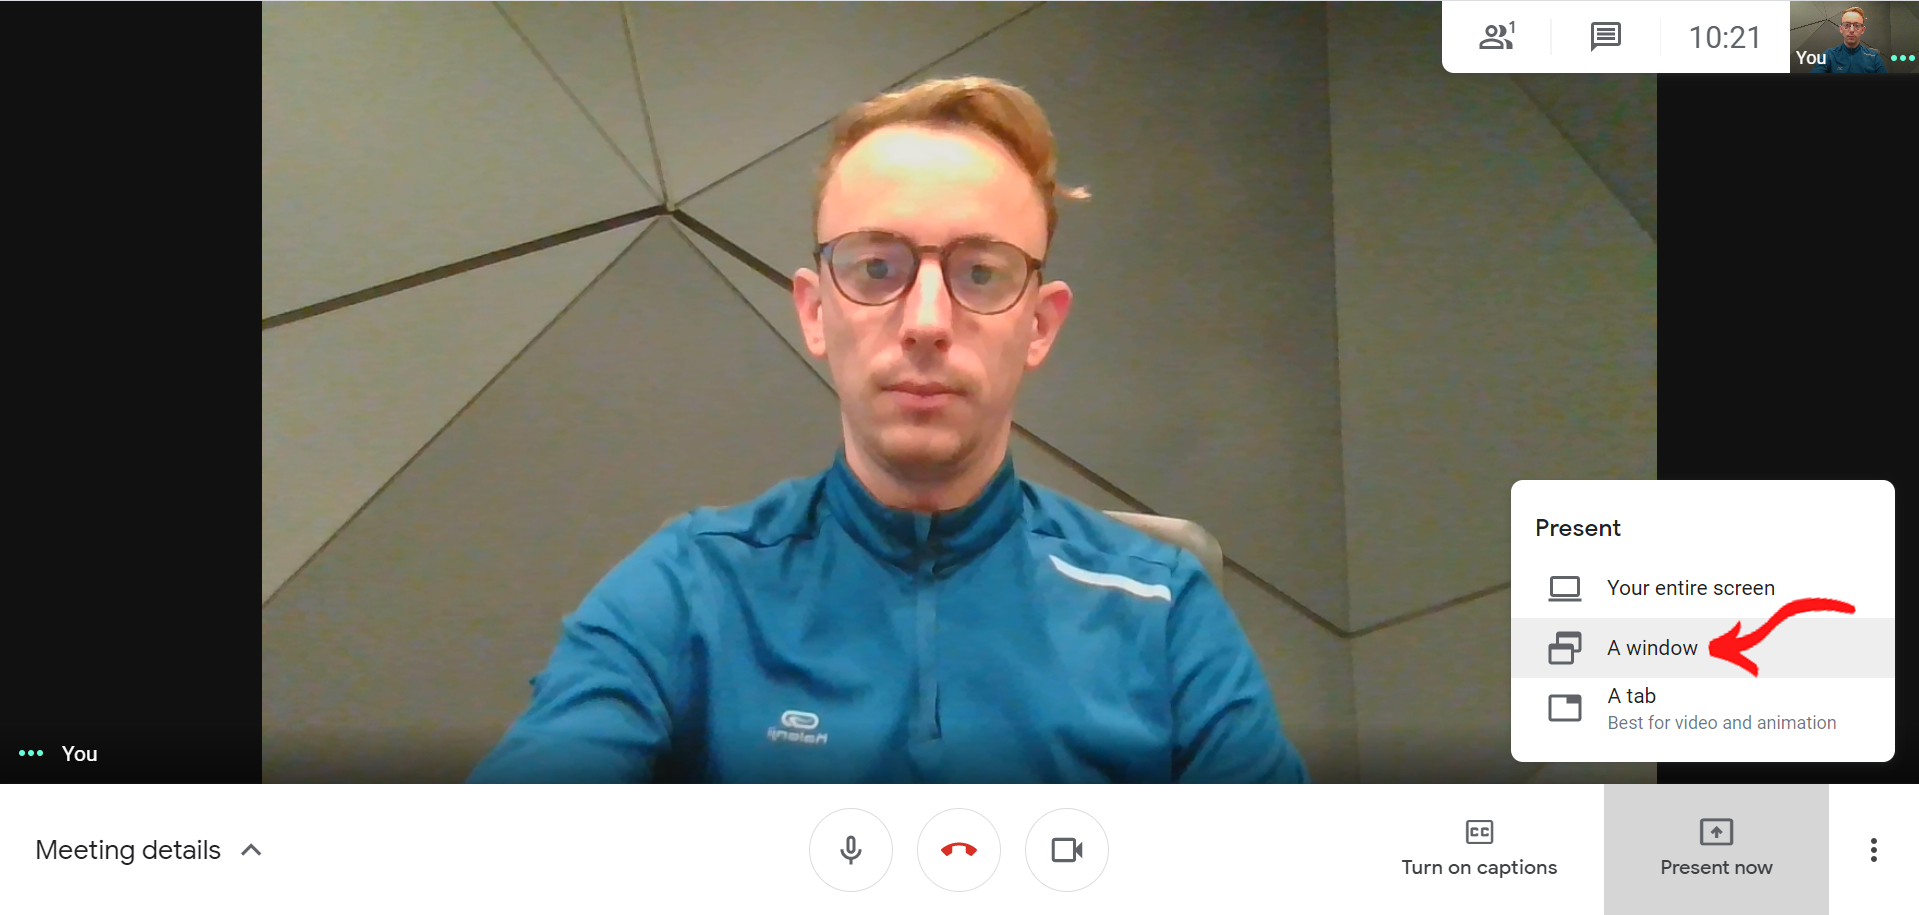
- Select A window.
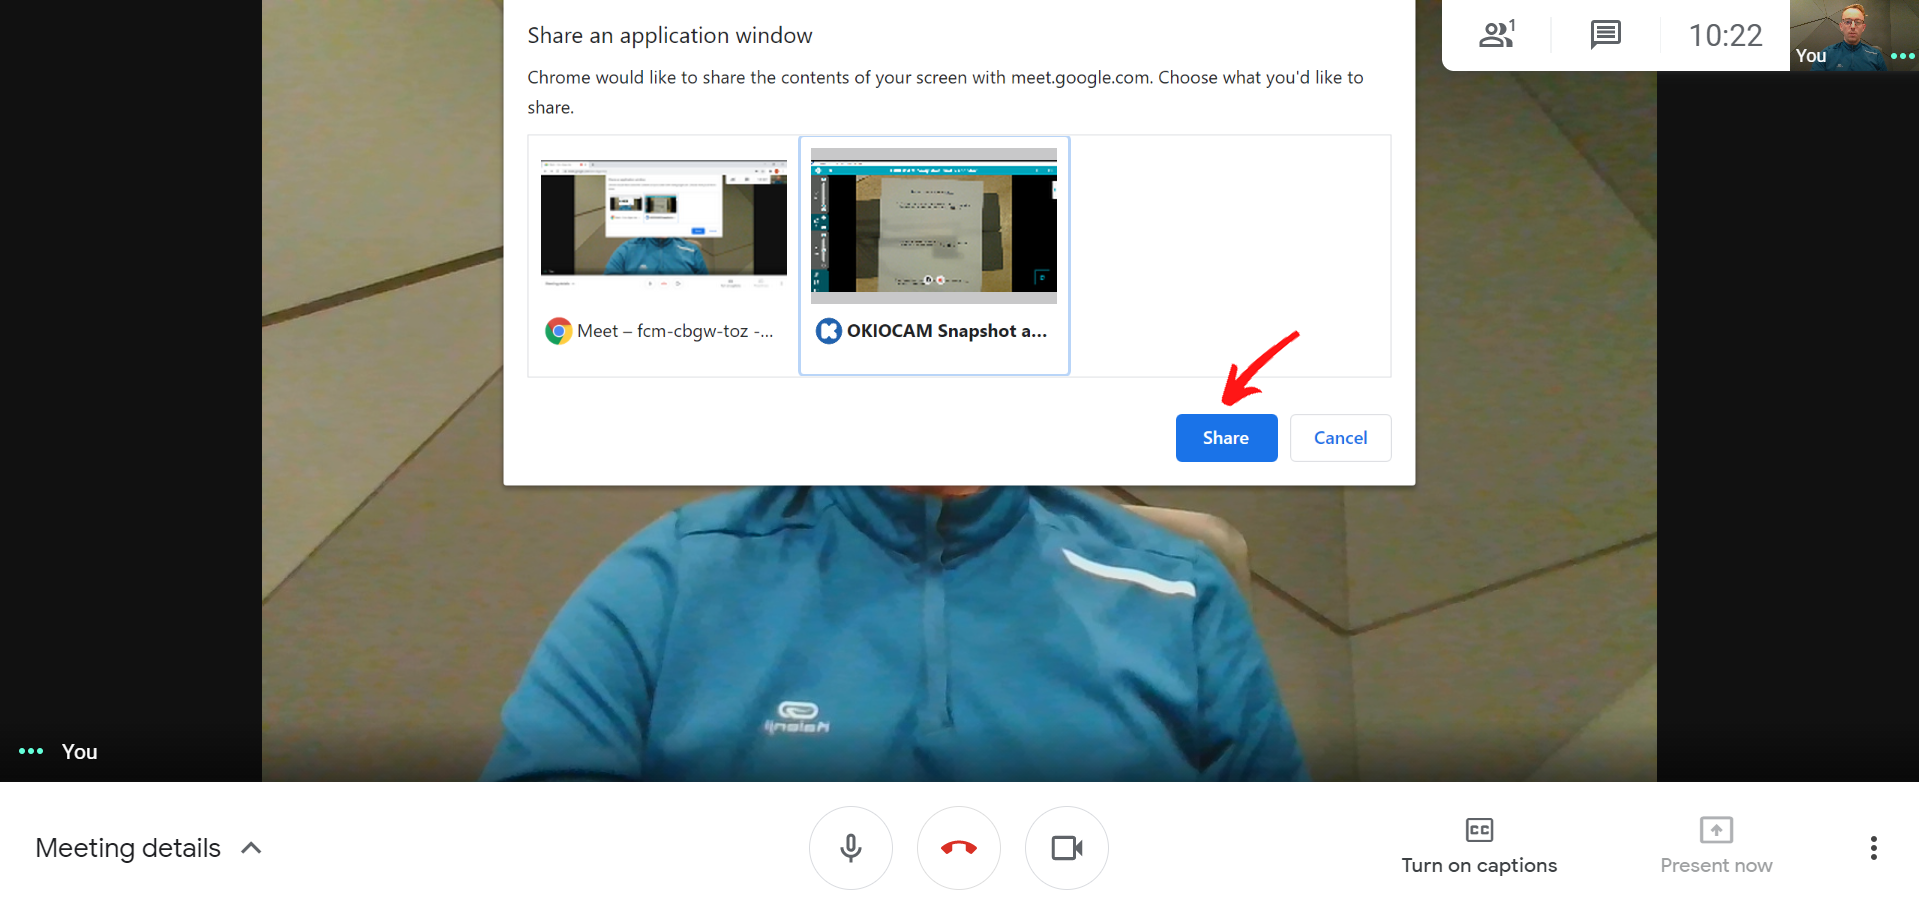
- Select OKIOCAM Snapshot and Recorder | Live Mode. Click Share.
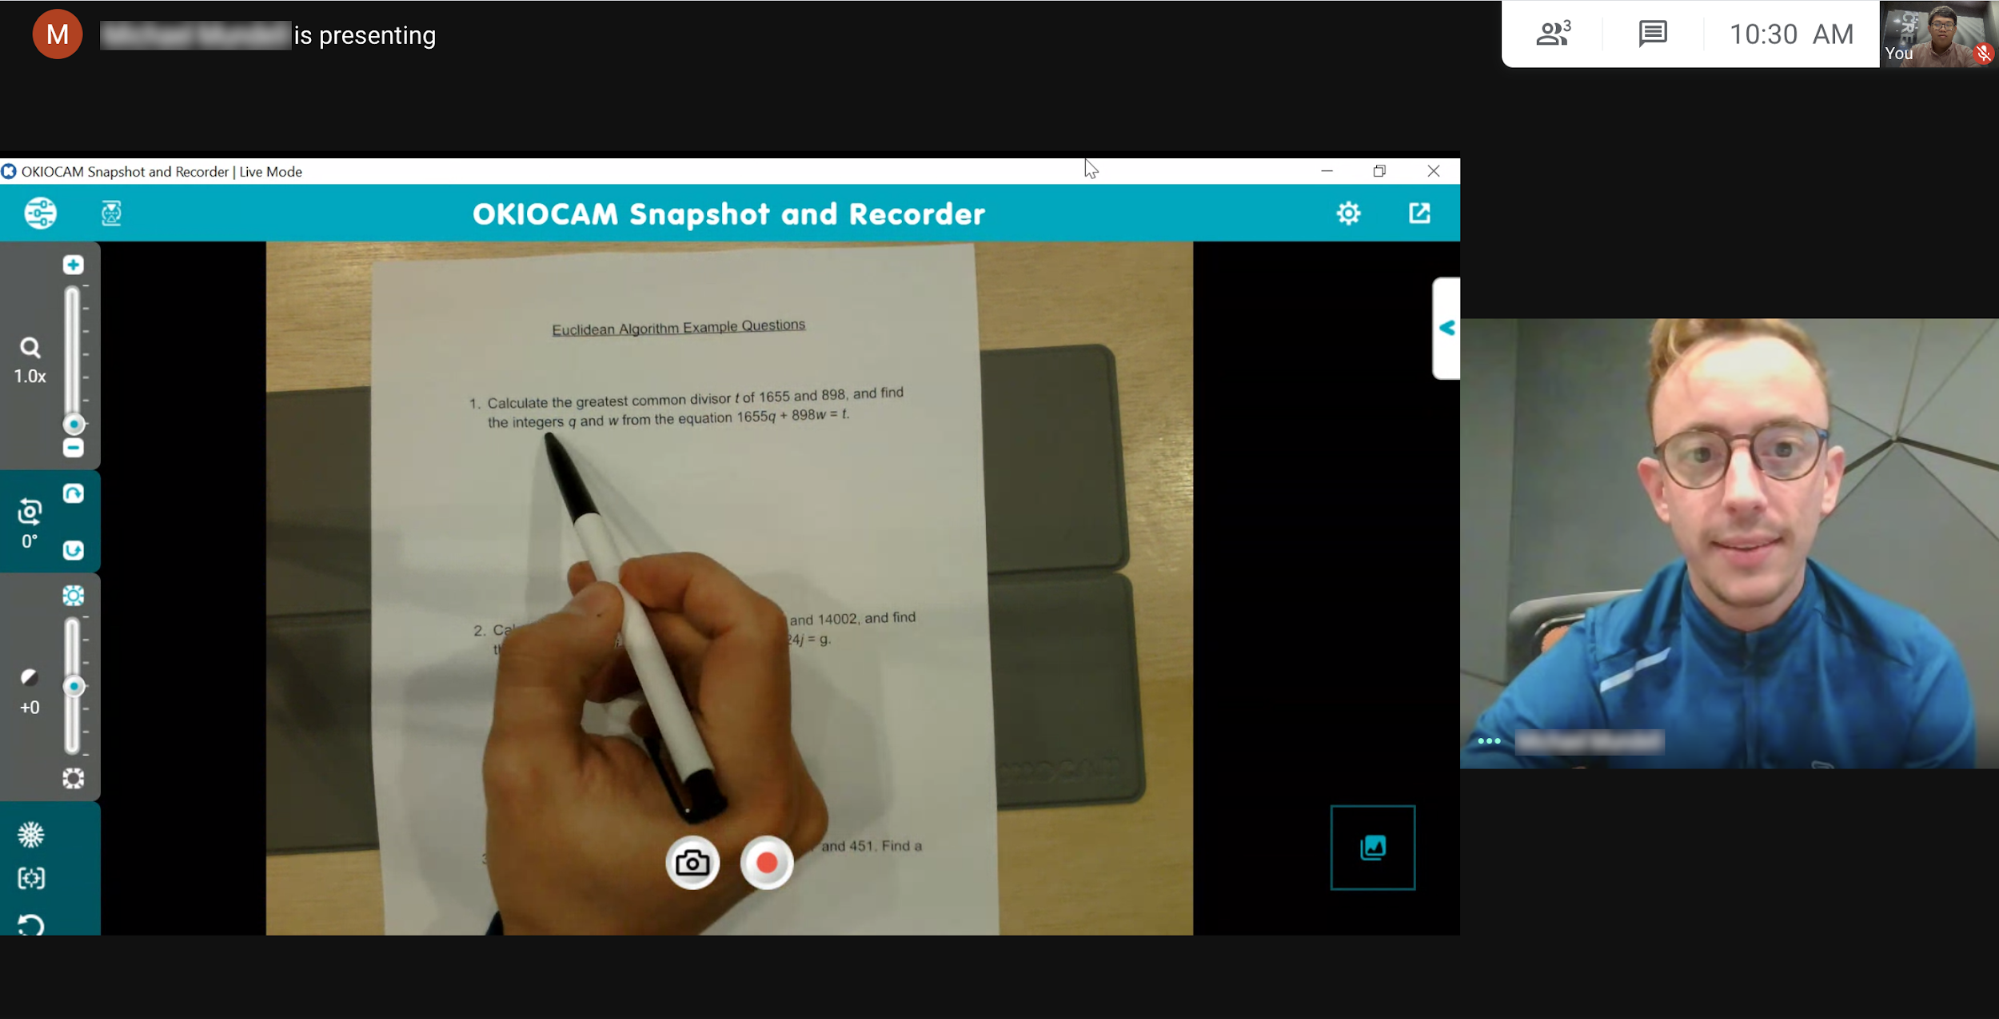
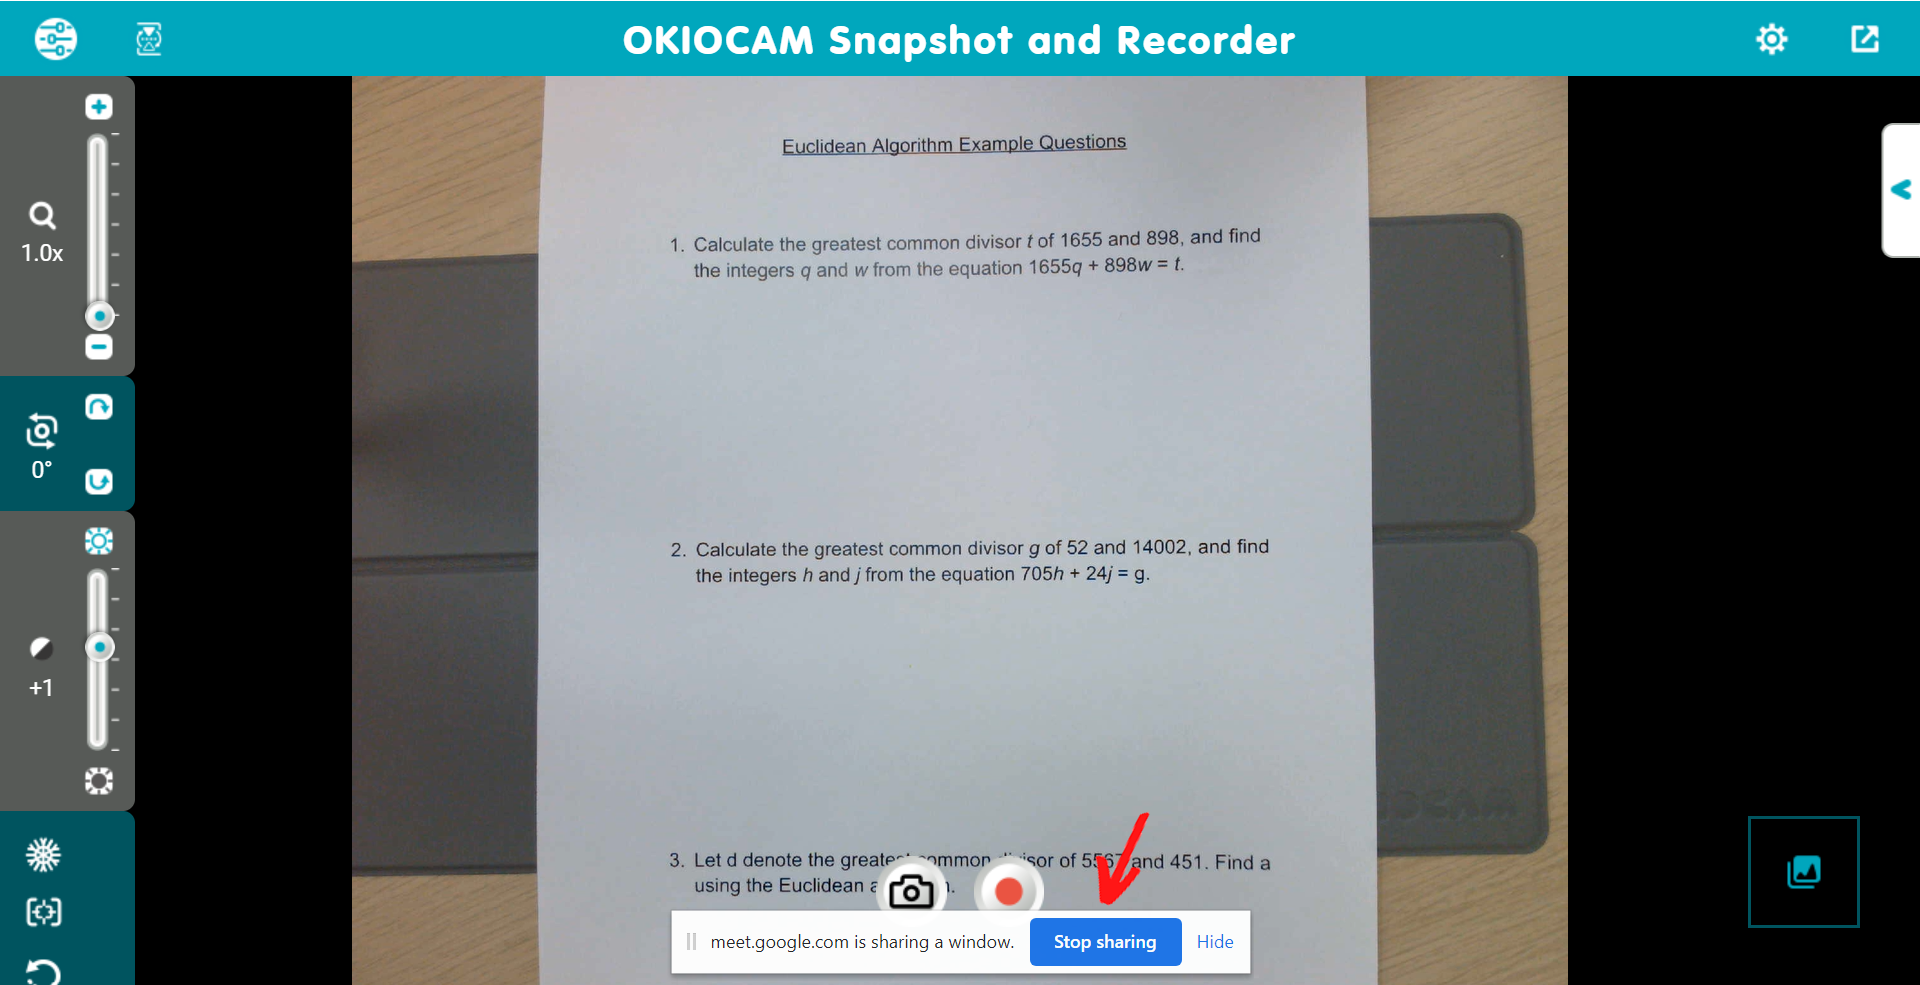
- When you want to stop screen sharing, click Stop sharing.
If you have any difficulty following the above steps, please submit a support request here and our helpful support team will gladly assist you.