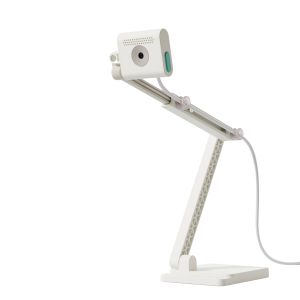
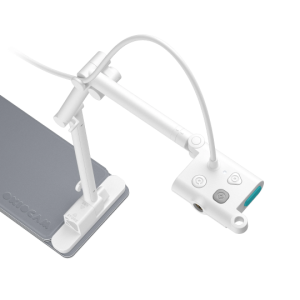
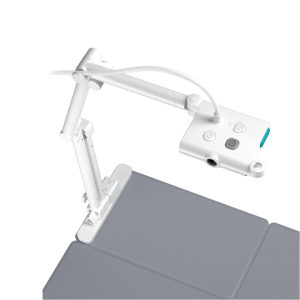

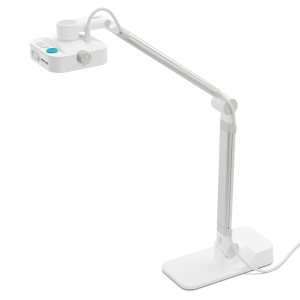
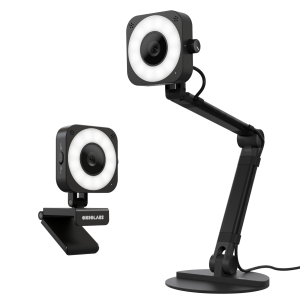
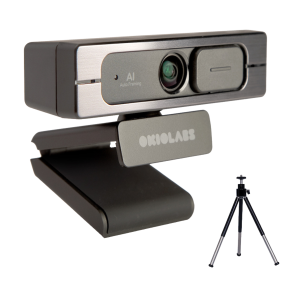


OKIOLABS Camera Control is the latest software developed by OKIOLABS which allows you to adjust basic and advanced image settings so that you always are presenting yourself and your content in the best possible light. The OKIOLABS Camera Control software works in conjunction with our new webcam, the OKIOLABS A10. OKIOLABS Camera Control works seamlessly with all third-party video conferencing applications including but not limited to Google Meet, Zoom, Microsoft Teams, and Skype.
When you want to manually adjust the position of the frame, you must first turn off the AI Auto Framing button located on the attached cable. The AI Auto Framing function only supports a resolution up to 1080p.
For macOS and Windows Users:
Preview Button:

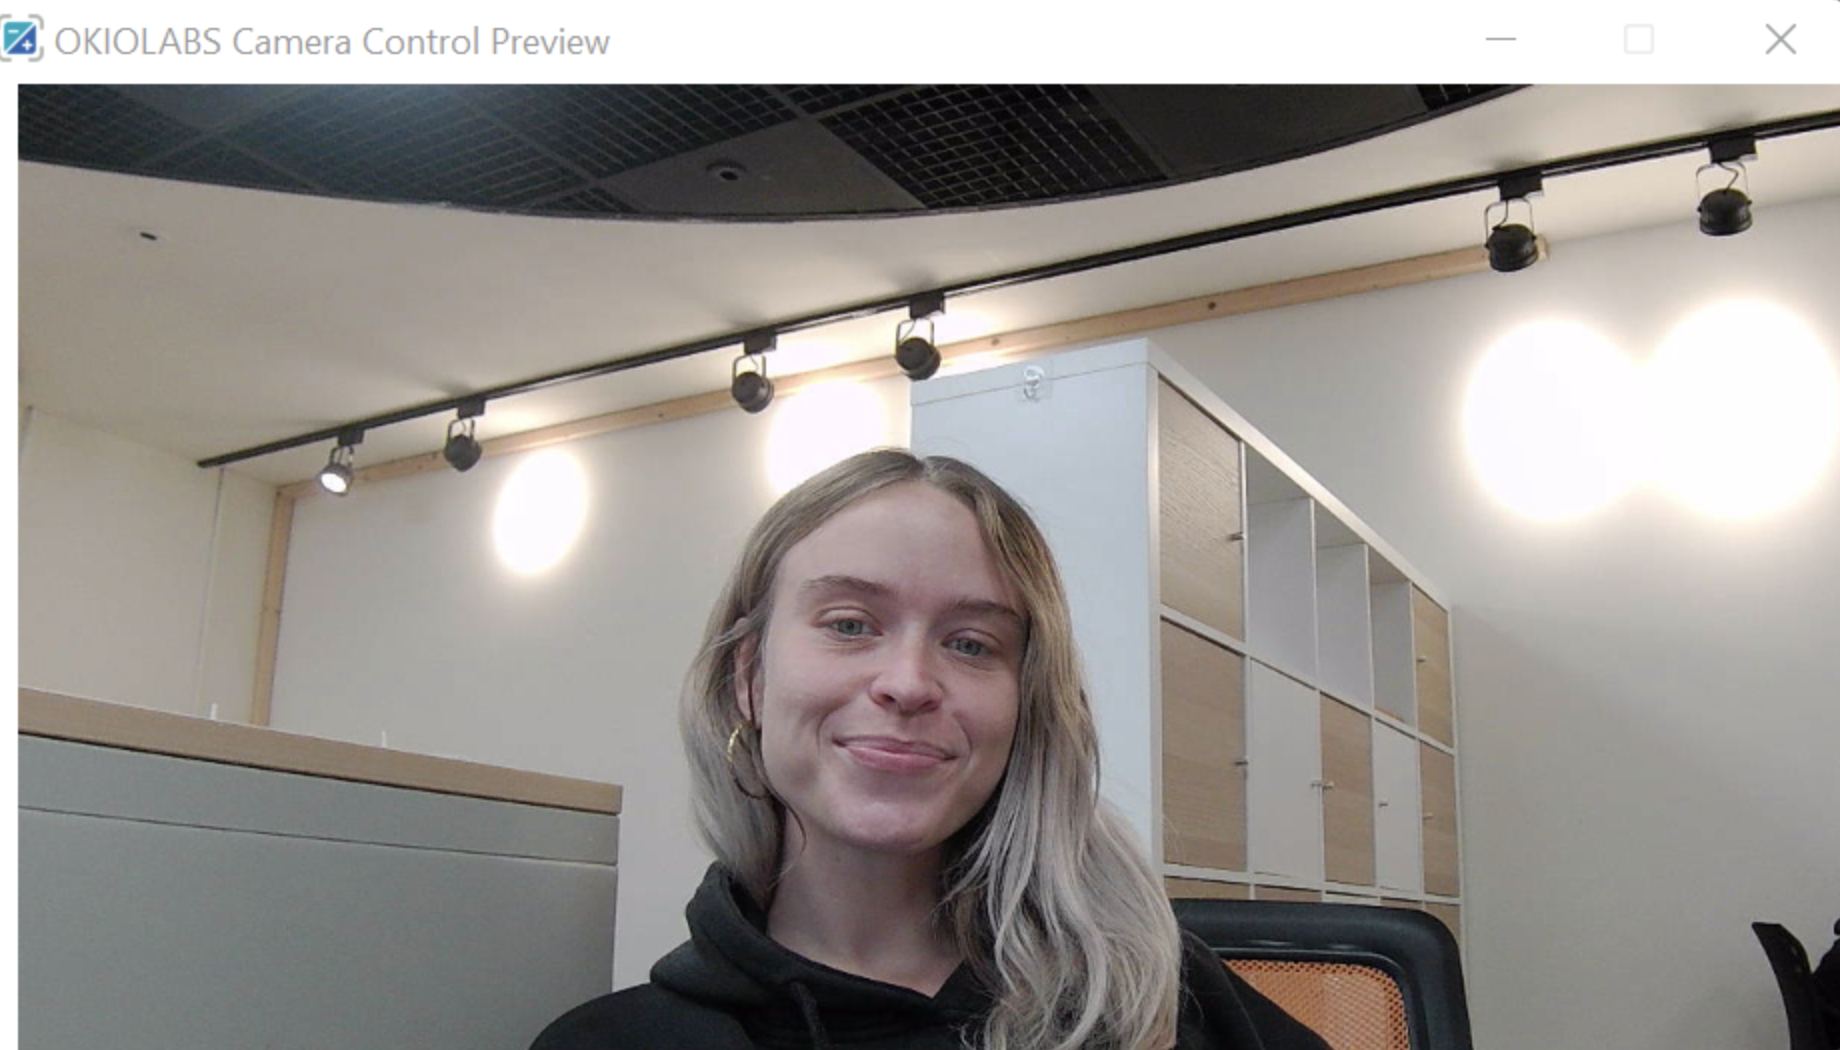
When you press the Preview button, a window will appear that allows you to see a preview of the sender’s image.
Basic Settings:
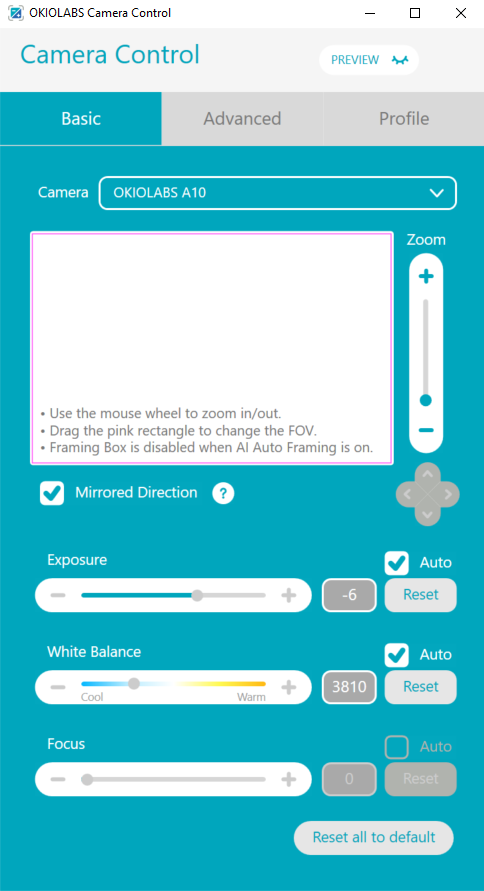
- Choose your desired camera from the Camera dropdown menu.
- The Framing Box allows you to pick and choose what part of the image you want to share with your colleagues, friends, or family! You can adjust the image sent by changing the FOV. Here’s how you can do this:
- There are two different ways in which you can zoom the image in and out.
- Use the Zoom slider to the right of the preview box.
- Place the cursor over the Framing Box and use the mouse wheel to scroll in and out.
- There are two different ways to adjust the FOV.
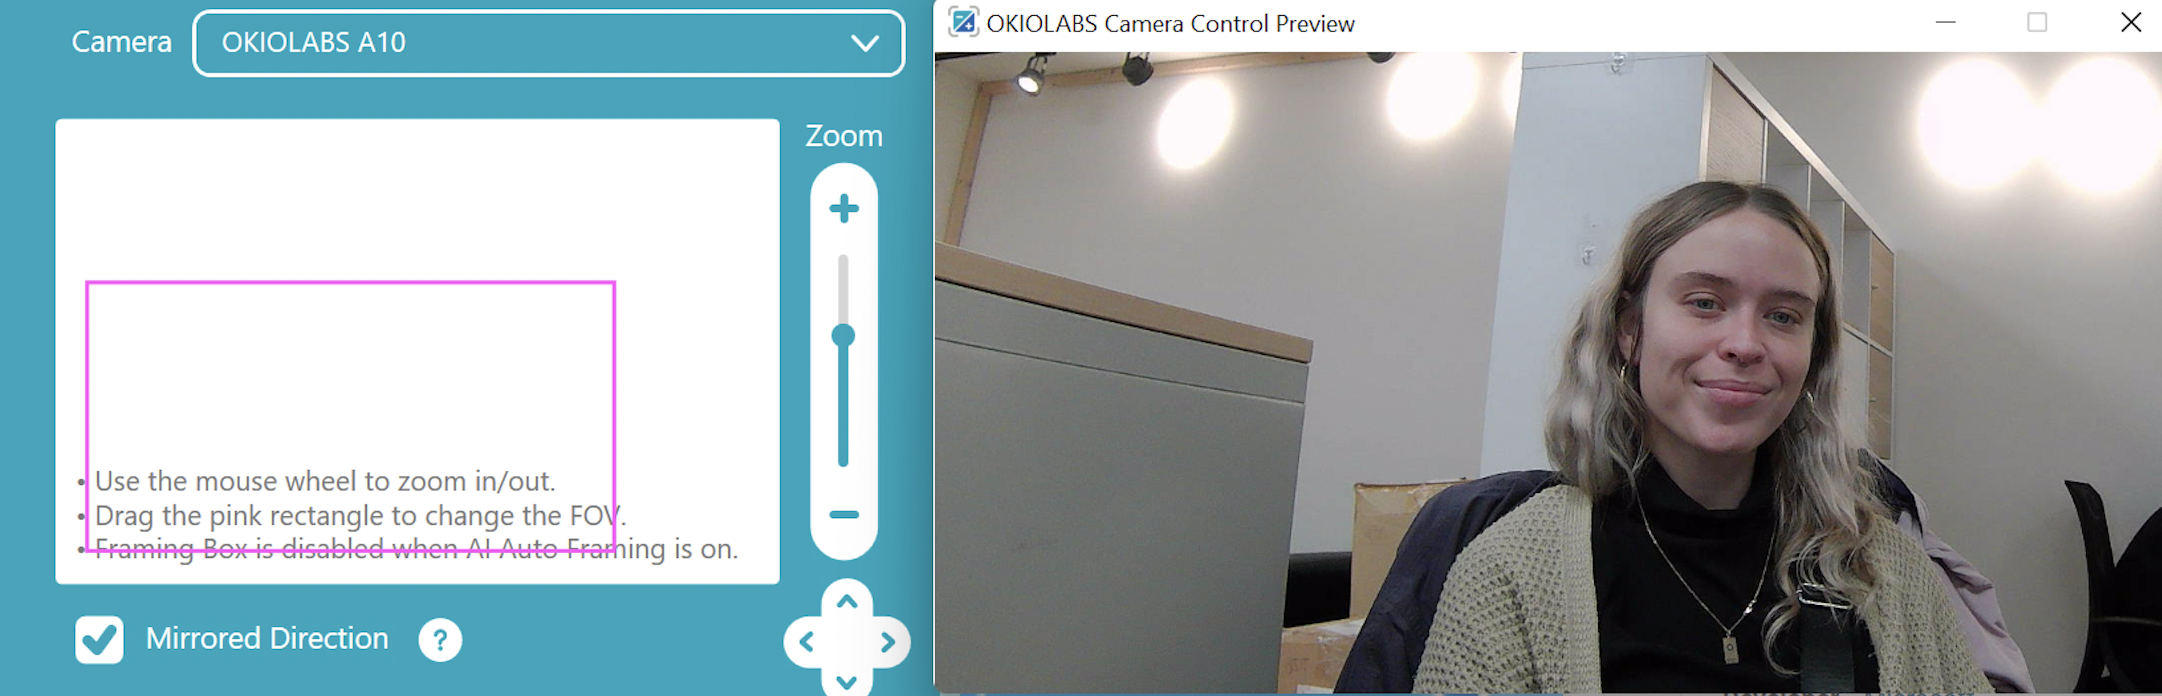
- Drag the pink rectangle to change the FOV.
- Use the arrow pad below the slider to either move the FOV up and down or left to right.
- Mirrored Direction: By enabling Mirror Direction, your preview image on the Camera Control app will be mirrored.
- Video Conferencing apps like Google Meet and Skype automatically mirror your image. This button will not mirror the sender’s image on these applications. You can use this option so that when adjusting the FOV, the direction corresponds to your image.
- The receiver will not receive the mirrored image unless you are sharing your screen.
- Adjust the Exposure by using the exposure slider.
- The Auto button allows the camera to automatically adjust the exposure.
- The Reset button will return the exposure to its original setting.
- Adjust the White Balance by using the white balance slider.
- The Auto button allows the camera to automatically adjust the white balance.
- The Reset button will return the white balance to its original setting.
- Focus:
- The focus feature is not fully functional at this time.
- Reset all to default: When you click this button, the framing box, exposure, white balance, and focus will all be returned to the original setting.
Advanced Settings:
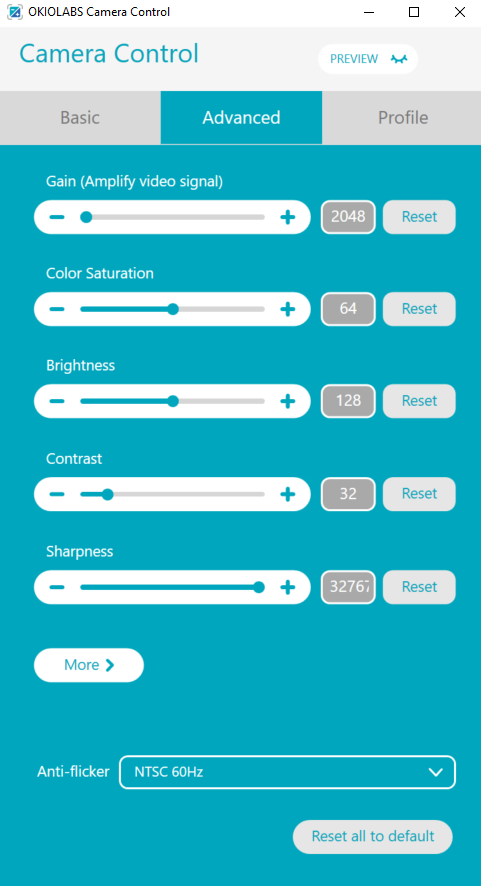
- Use the Gain slider to amplify the video signal.
- The Reset button will return the gain to its original setting.
- Use the Color Saturation slider to adjust the image’s saturation.
- The Reset button will return the color saturation to its original setting.
- Use the Brightness slider to brighten or darken the image.
- The Reset button will return the brightness to its original setting.
- Use the Contrast slider to increase or decrease the contrast.
- The Reset button will return the contrast to its original setting.
- Use the Sharpness slider to adjust the sharpness of the image.
- The Reset button will return the sharpness to its original setting.
- More >
- Use the Hue slider to adjust the Hue of the image.
- Use the Gamma slider to correct the Gamma of the image.
- Anti-Flicker: Lights flicker on and off at a speed that is undetected by the naked eye, however, sometimes a camera lens senses this flicker and the image can appear to flicker with some distortions. We have included this button to allow you to cycle between 50 Hz or 60 Hz to avoid this distortion and allow you to have a flicker-free image.
Reset all to default: When you click this button, the Gain, Color Saturation, Brightness, Contrast, and Sharpness will all be returned to the original setting.
Profile Settings:
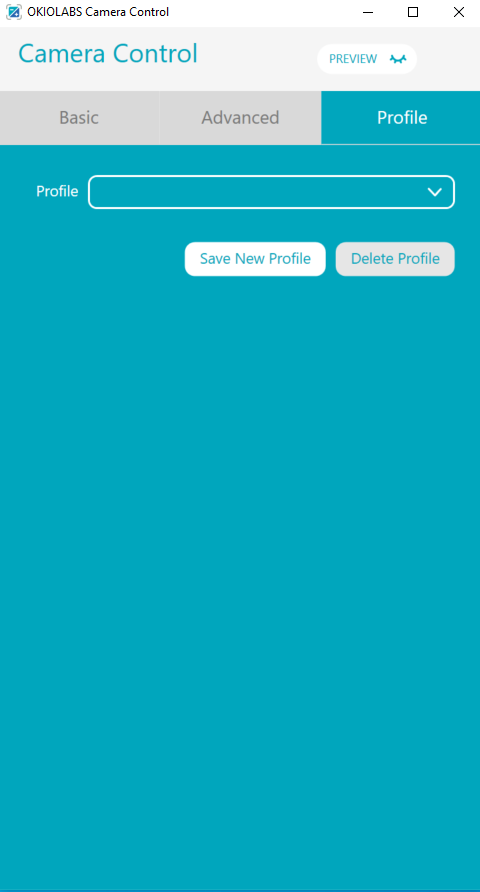
- Under Profile Settings, you are able to save all of the current parameters set in OKIOLABS Camera Control to access them at a later time.
- First, adjust the basic and advanced settings to your desired position.
- Go to Profile and click Save New Profile.
- Name your Profile.
- Click Save.
- If you want to remove a profile, choose a profile from the dropdown menu and click Delete Profile