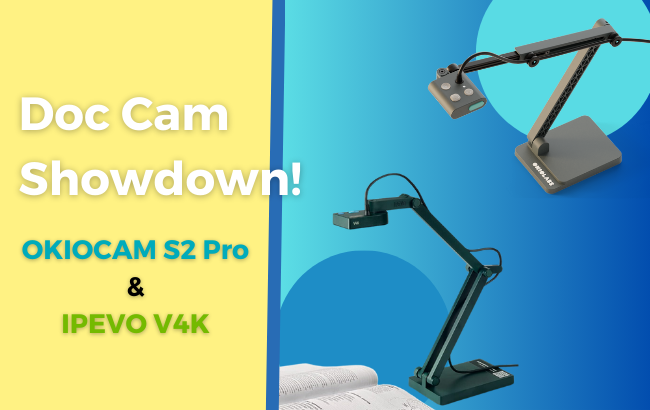

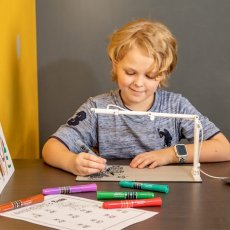

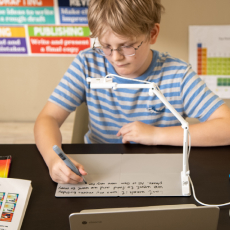

Looking to make your virtual lessons more engaging? Consider sharing two cameras at once — a front-facing webcam and a document camera. Sharing two cameras can work wonders in making your virtual lessons more like in-classroom lessons.
The below instructions will show you how you can share both cameras at once, with your document camera taking up the majority of the screen and your front-facing camera appearing in the corner.
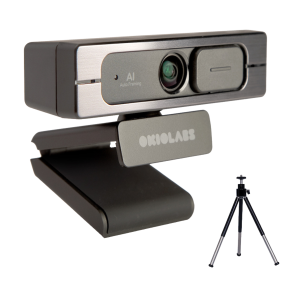
To follow the steps below you’ll need OKIOCAM Snapshot and Recorder — our completely free live presentation, photo, and video recording app. Click here to download it. Once you’re all set, let’s go!
- After joining the Microsoft Teams call, ensure that your front-facing webcam is selected as your Camera. If your document camera is currently being used as the Camera, here’s how you can change it to your front-facing camera.
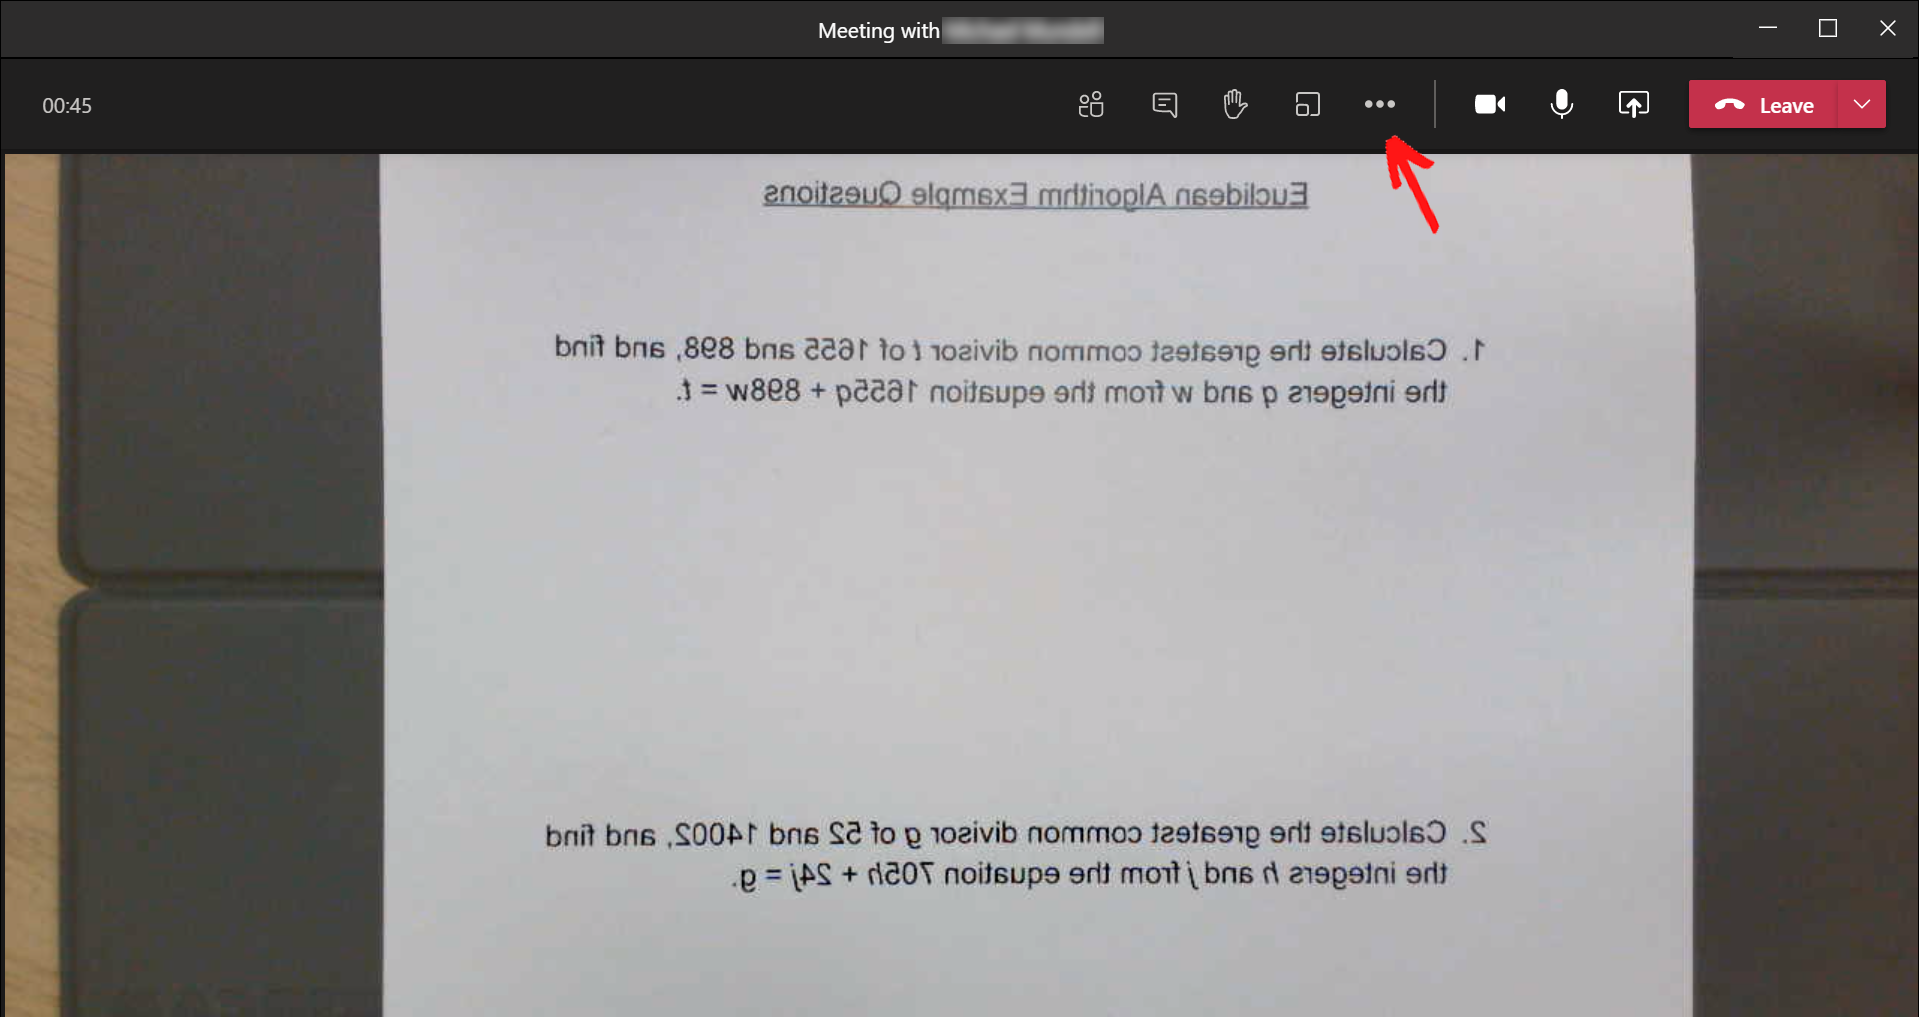
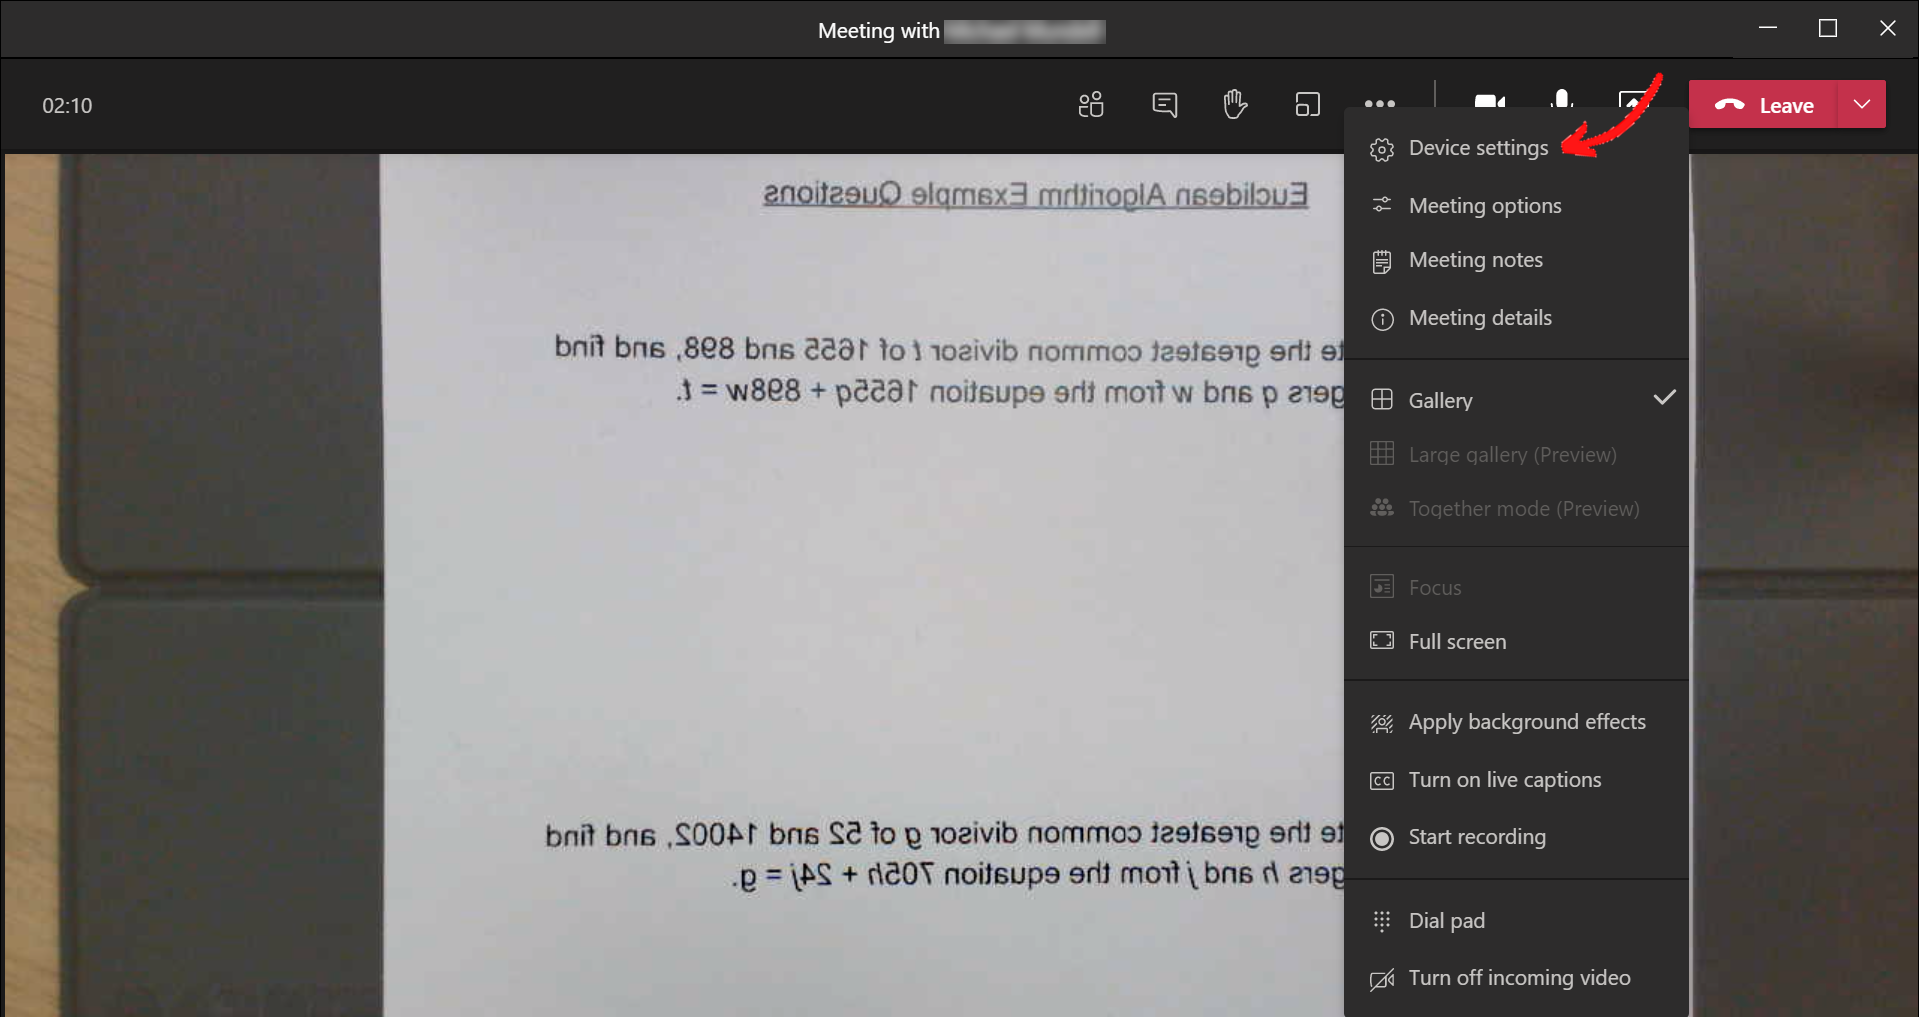
- Click the More options icon (the three dots).
- Select Device settings.
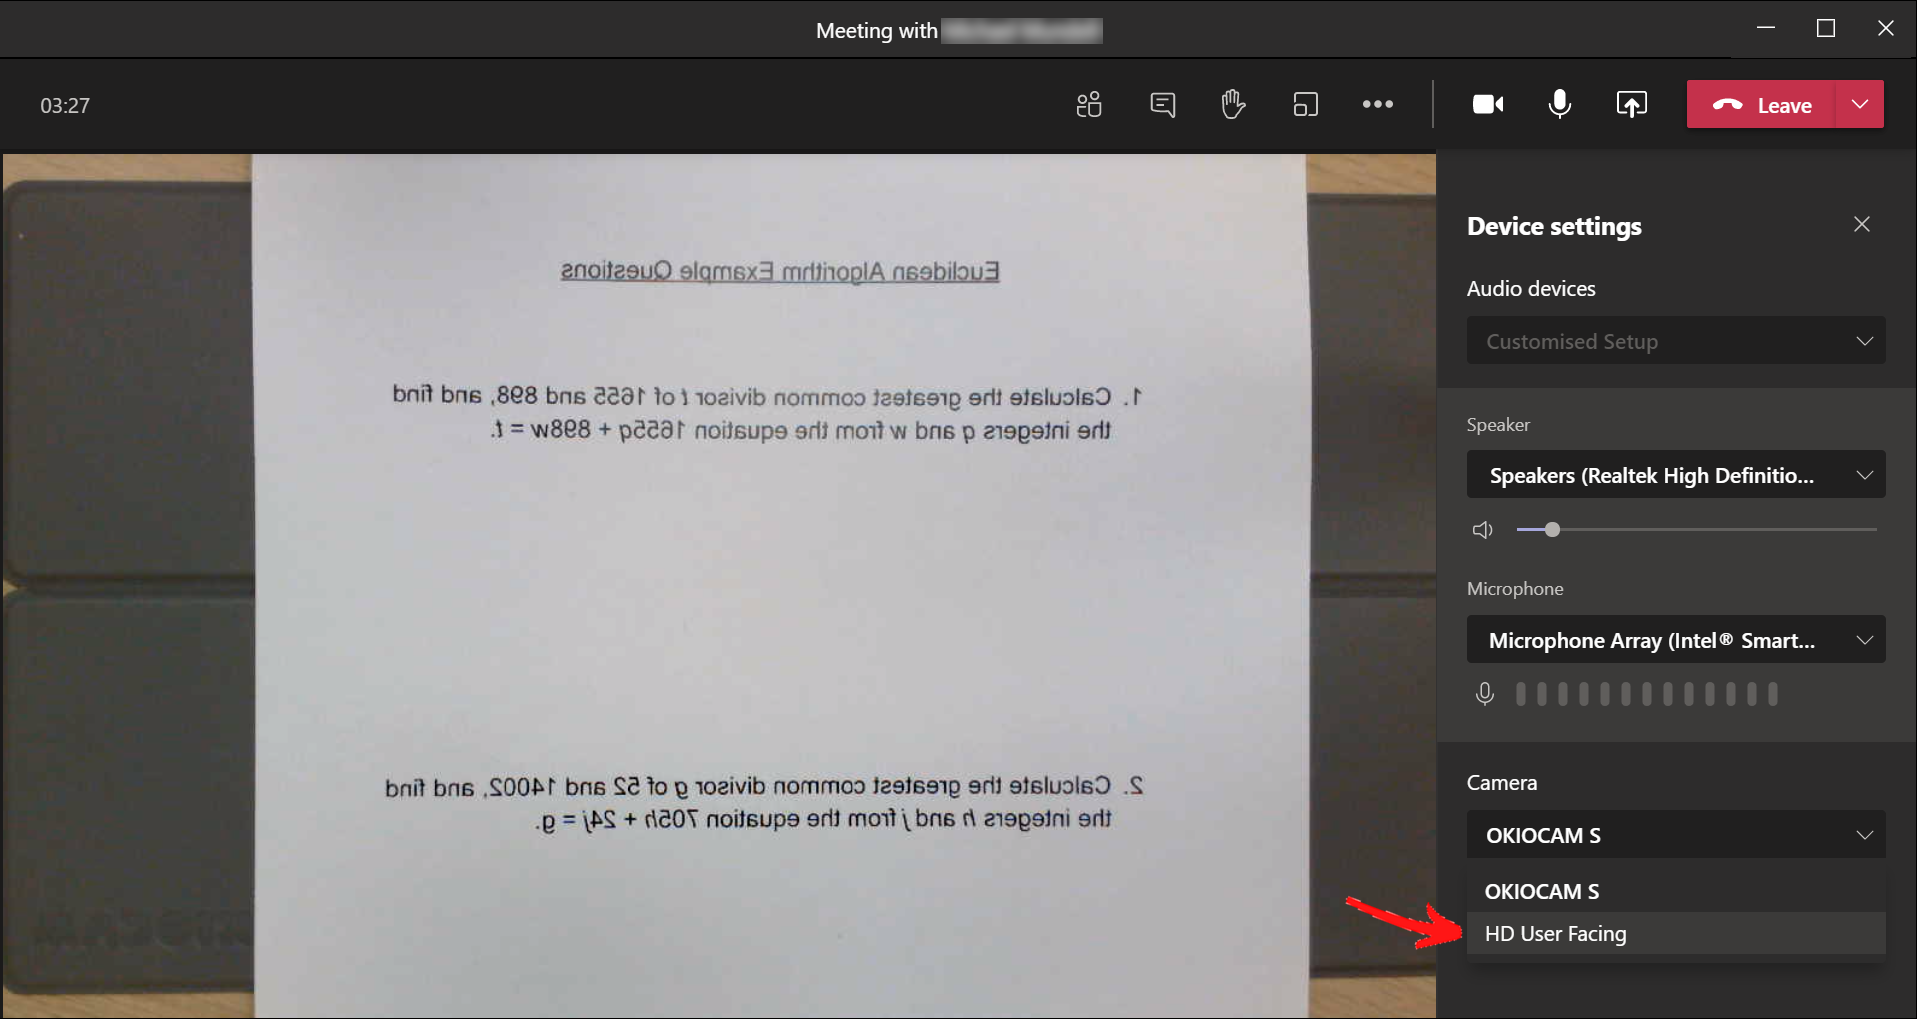
- Under the Camera heading, select your front-facing webcam.
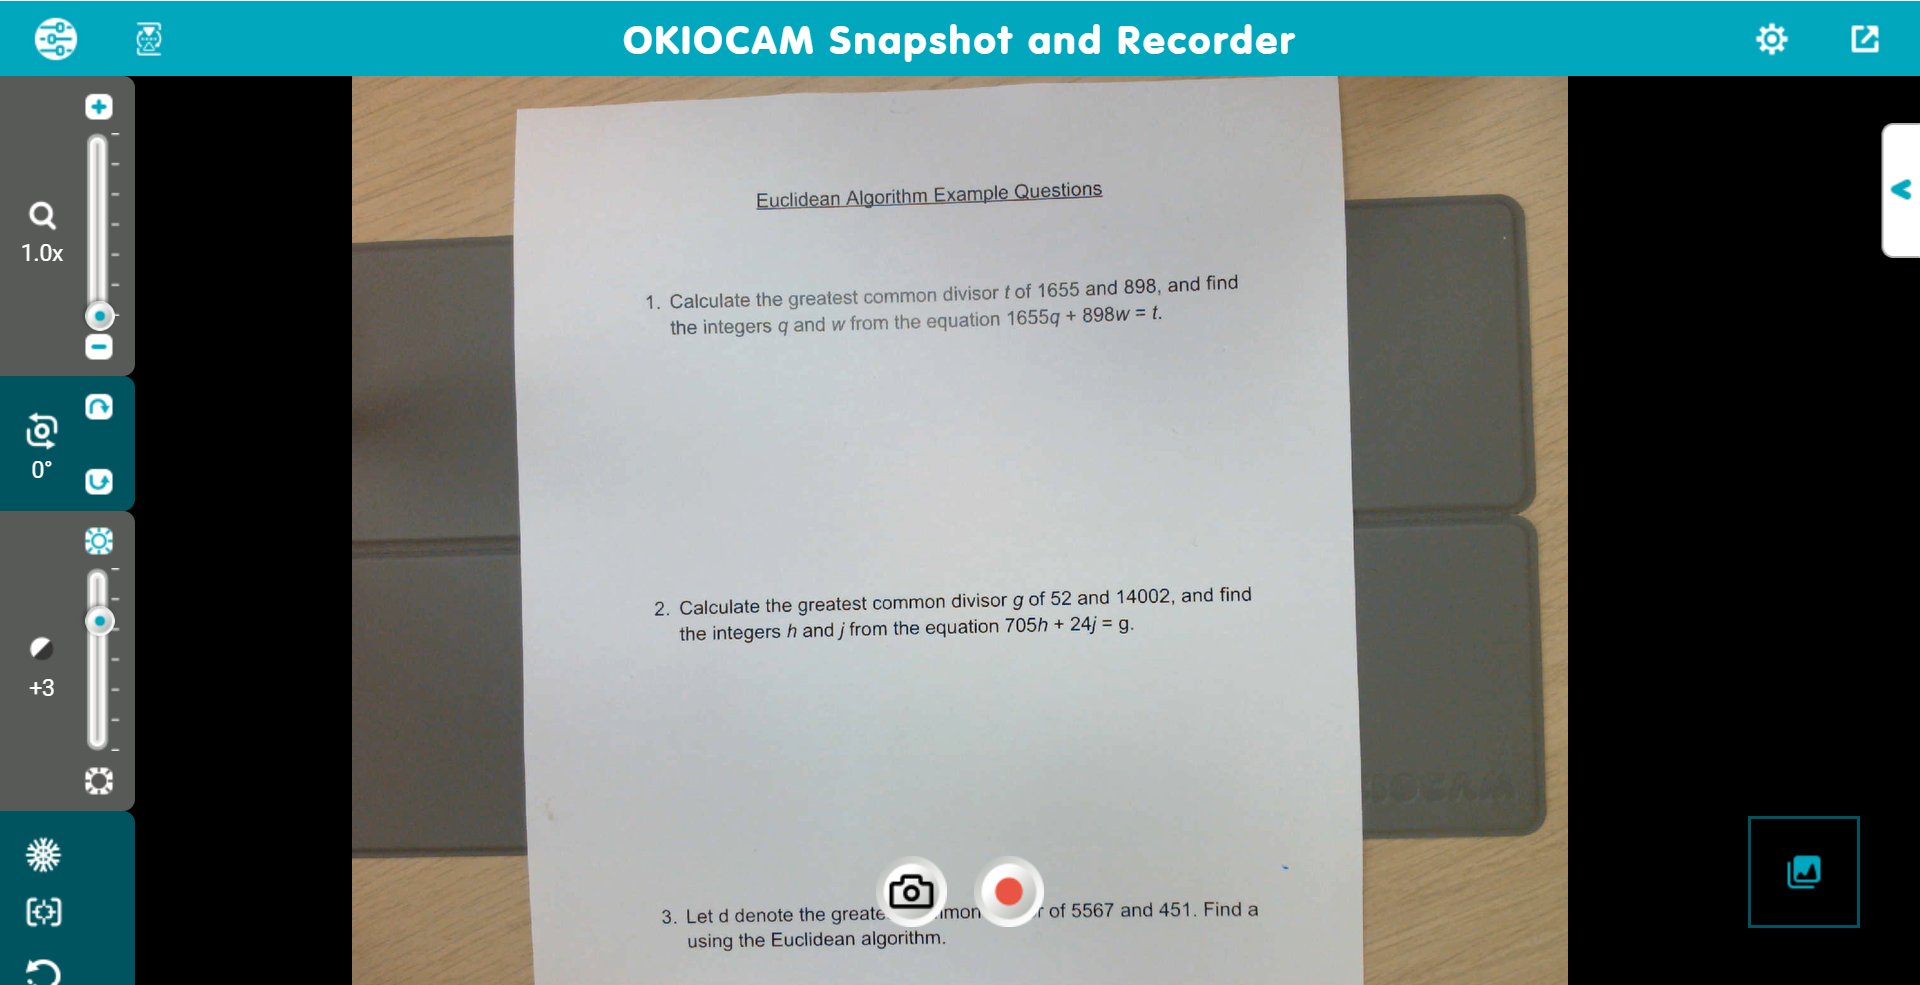
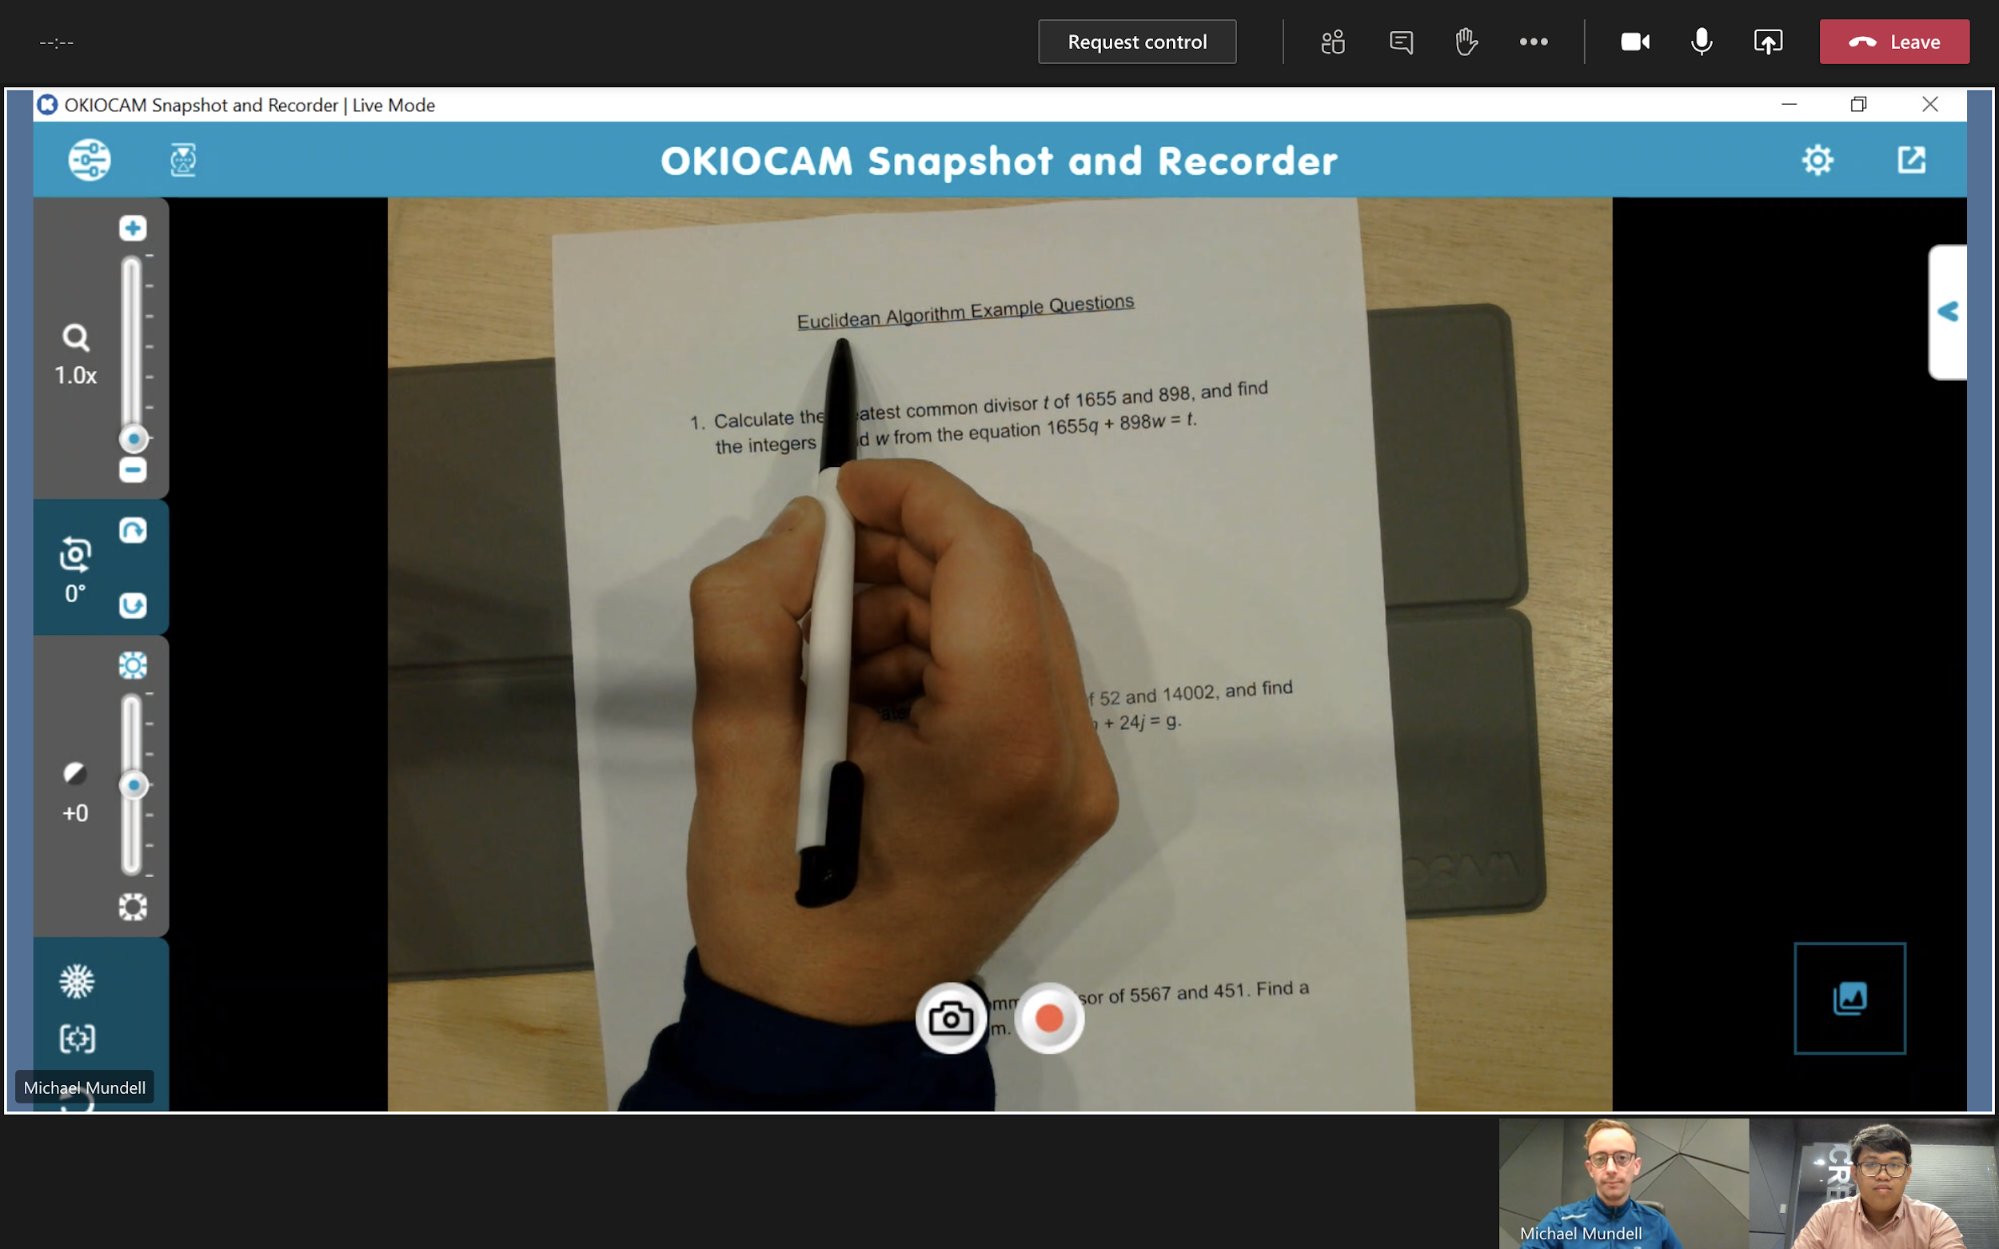
- Launch OKIOCAM Snapshot and Recorder.
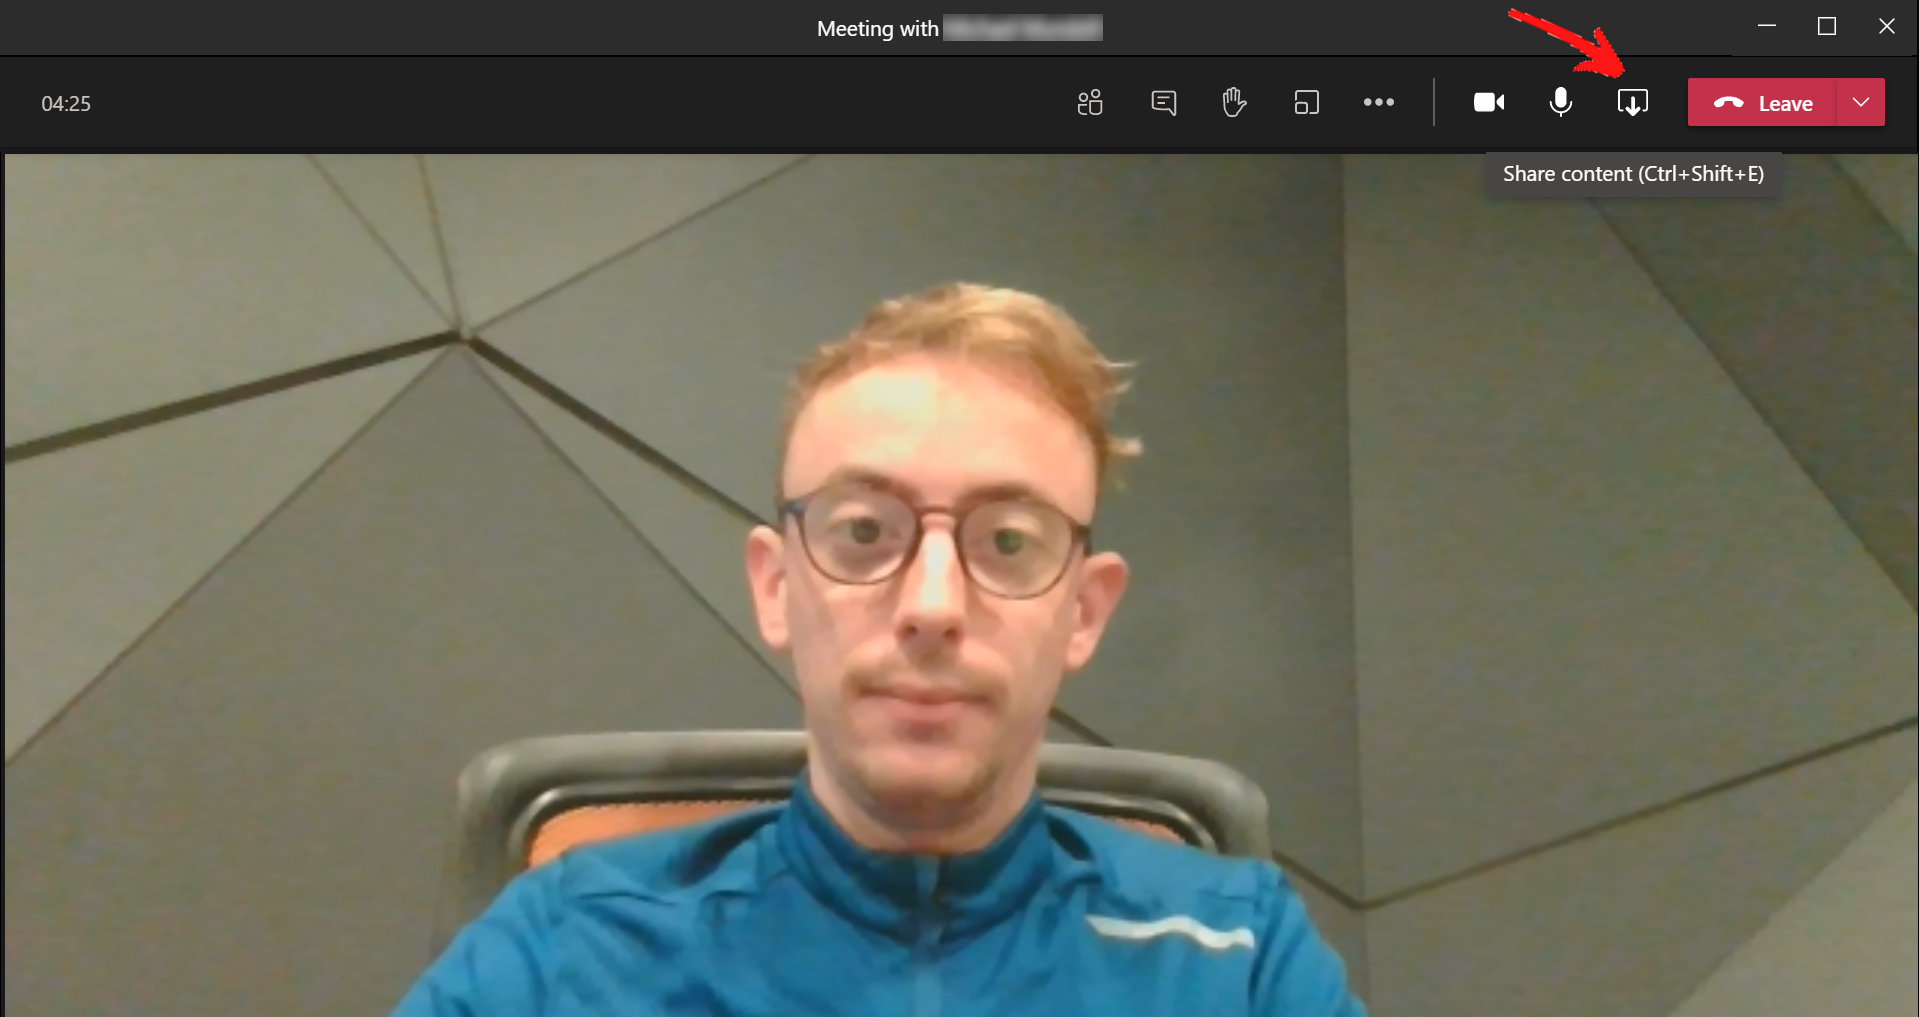
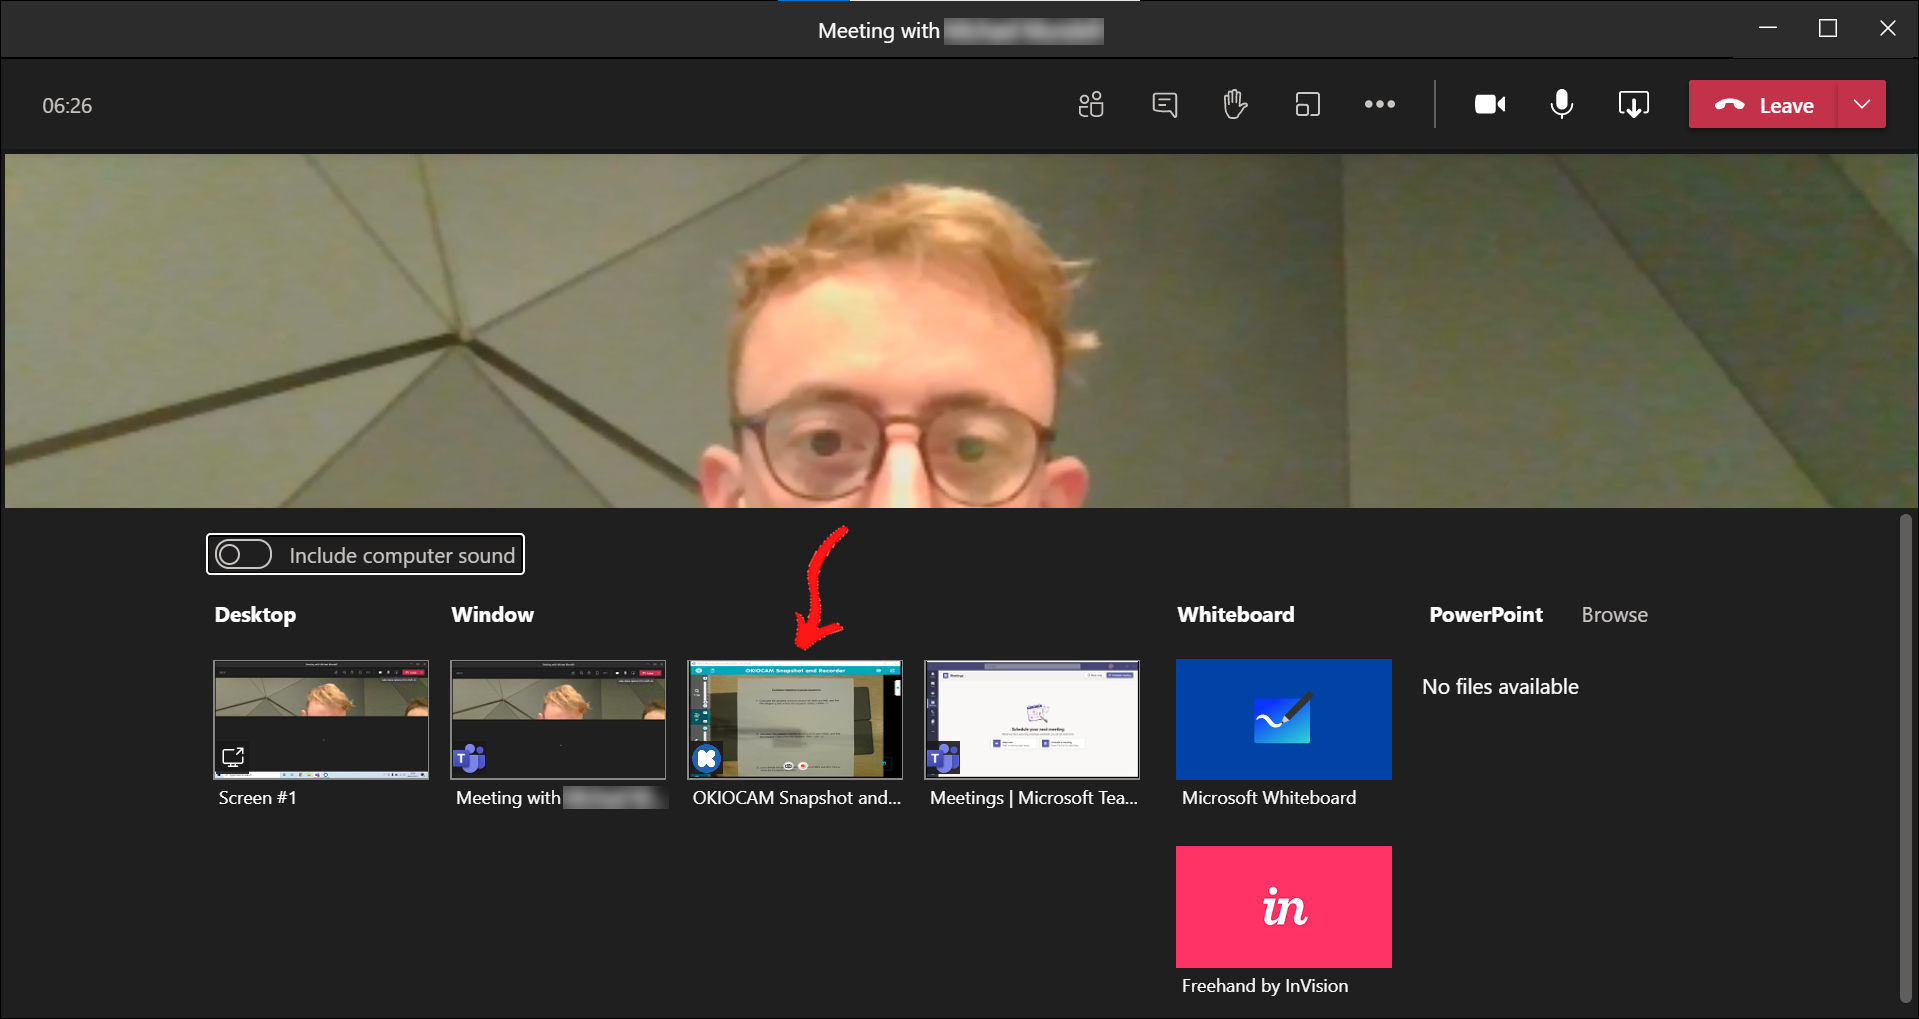
- In Microsoft Teams, click Share content.
- Select OKIOCAM Snapshot and Recorder | Live Mode.
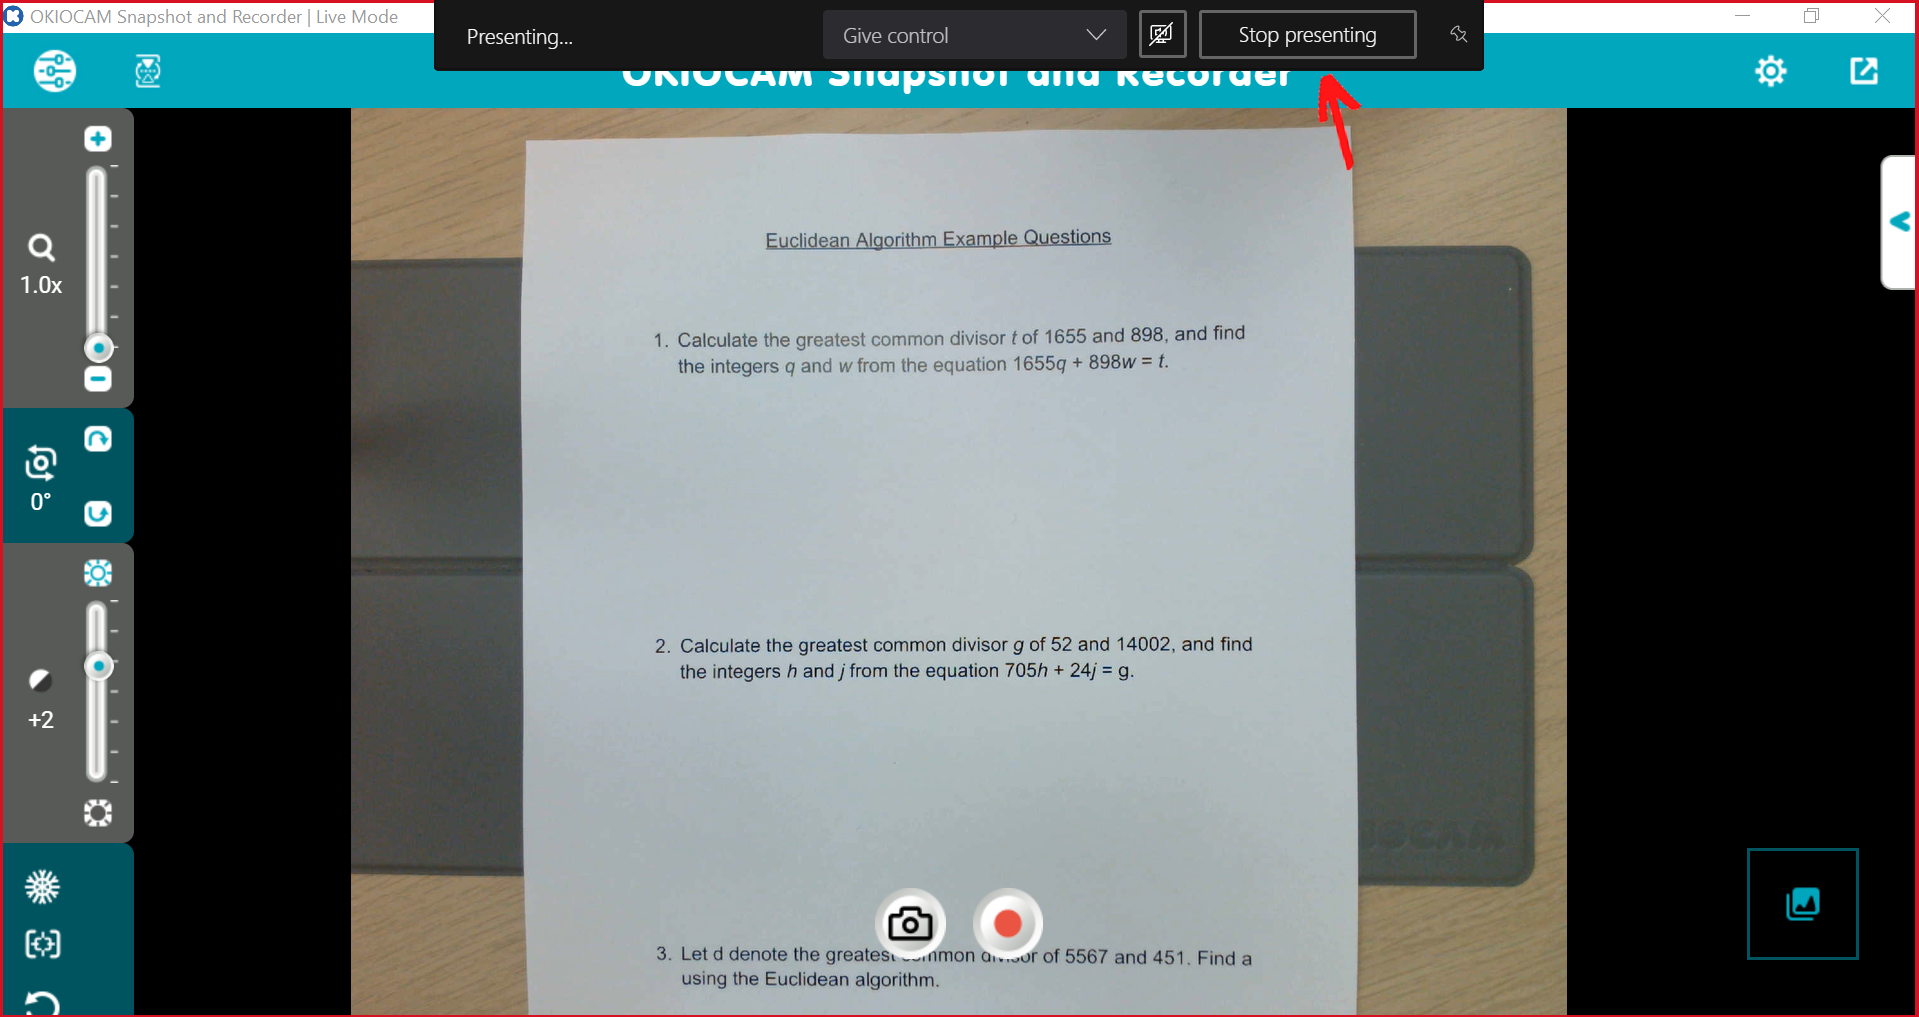
- When you want to stop screen sharing, click Stop presenting.
If you have any difficulty following the above steps, please submit a support request here and our helpful support team will gladly assist you.