


We all know that teaching remotely can be quite challenging, which is why we’ve assembled 5 really useful tips that can help you avoid potential problems that you may encounter and improve your remote teaching experience in Zoom. Let’s get started!
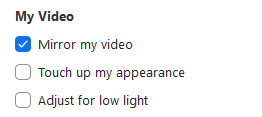
Mirrored image? No problem!
If you’ve had any experience with document cameras in the past, you’ve almost certainly run into this. While it is not a problem with your document camera, but actually a feature of the various video conferencing apps, it can still be slightly annoying to deal with. Fortunately, Zoom has a really nifty feature that allows you to disable it.
To disable video mirroring, head to Settings > Video > My video > uncheck Mirror my video.
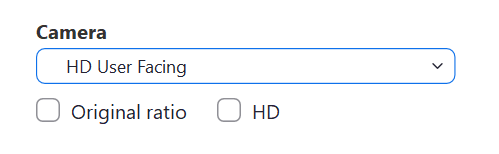
Ensure your front-facing camera is your default camera
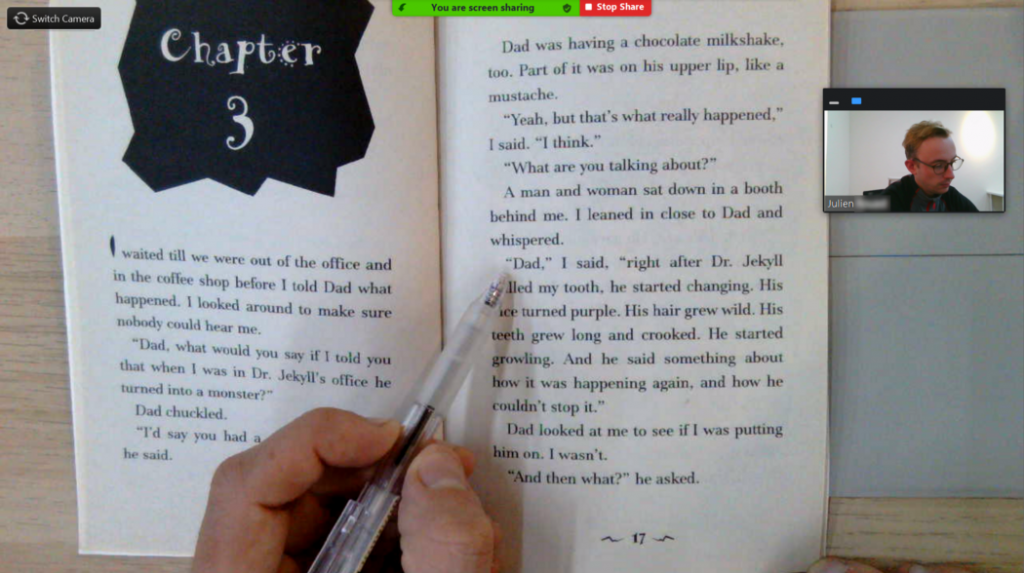
Using a front-facing webcam and your document camera at the same time can make for a much more engaging virtual learning experience for your students. They’re able to see you and the learning materials at the same time, making the whole experience significantly more similar to that which they would have in the classroom. However, to ensure that they’re able to get the best view possible of the learning materials, it’s essential that you set your front-facing camera as your main camera and share your document camera using Zoom’s Share Screen feature.
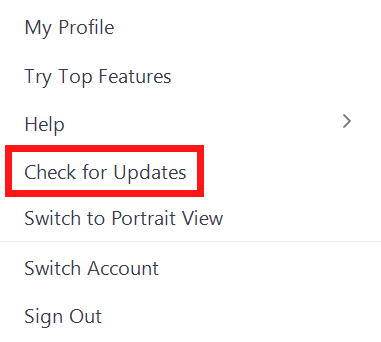
Don’t forget to check for updates
Zoom regularly releases updates to provide users with new features and to fix bugs. To be sure that you are running the very latest version, it’s good practice to check if any are available.
To check for updates, click your Profile icon > Check for Updates.
Get the lighting just right
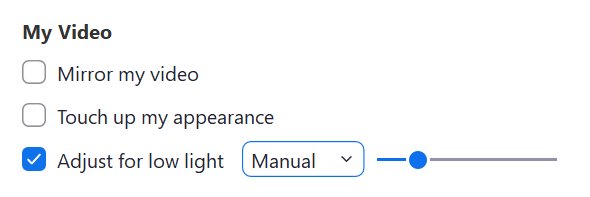
Most of us can’t afford professional lighting setups for our virtual classrooms, so we’re often left to settle with looking dimly lit and less-than-stellar. Fortunately, Zoom has an in-built feature to combat this! You can use Zoom’s Adjust for low light setting to brighten up your webcam’s image. You even have the option to choose between Manual or Automodes, too. If you set it to Auto, it’ll work its magic to adjust to the optimal setting, and if you set it to Manual, you’re free to toggle the brightness slider wherever you wish.
To turn on Zoom’s Adjust for low light setting, click Settings > Video > check Adjust for low light > choose between Auto and Manual mode.
Save time with hotkeys!
Zoom has tons of really handy shortcuts that can save you bags of time! We’ve arranged some of the most easy to remember and useful ones. It’s definitely a good idea to commit these to memory because they’ll no doubt make you more productive during your virtual lessons.
For Windows and Chrome OS
Alt + N: Switch Camera
Alt + V: Start/Stop Video
Alt + A: Mute/unmute Audio
Alt + T: Pause or resume screen share
Alt + F: Enter/Exit Full Screen Mode
Alt + Shift + T: Screenshot
For macOS
Command(⌘)+Shift+N: Switch camera
Command(⌘)+Shift+V: Start/stop video
Command(⌘)+Shift+A: Mute/unmute audio
Command(⌘)+Shift+T: Pause or resume screen share
Command(⌘)+Shift+F: Enter or exit full screen
Command(⌘)+T: Screenshot
If you have any difficulty following the above steps, please submit a support request here and our helpful support team will gladly assist you.
Be sure to follow us on Twitter, and please feel free to share any virtual teaching tips that you find useful!