


It’s no secret that kids absolutely love creating stop motion videos. It lets them really let their imaginations run wild and their creative juices flow to the fullest. The possibilities for stop motion video creation are endless — you can spend under an hour working on a fun project, or you can dedicate several days toward creating a masterpiece.
One stop motion animation that definitely took a little while to make is “Pui Pui Molcar”. This series of unapologetically cute stop motion videos have recently made waves with the Japanese public. Their Twitter account currently has over 240k followers and the YouTube trailer for the first episode has been watched more than 770k times! Featuring guinea pig cars called “Molcar”, the series covers their undeniably adorable adventures. Pui Pui Molcar is an excellent showcase for the magic of stop motion, and if you’re looking for inspiration when starting your stop motion animation journey, you should no doubt check it out.
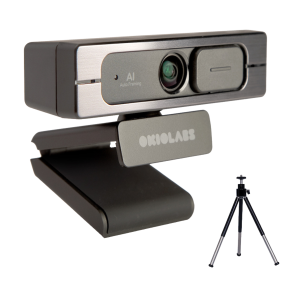
By releasing OKIOCAM Stop Motion completely for free, we’ve made stop motion video creation accessible to all. With its simple, user-friendly interface, it’s easy for children of all ages to have lots of fun making stop motion videos. With that said, because there’s no limit as to what you can create using stop motion, it can be difficult to know exactly where to start. In this post, I will outline the creative process that I went through to create a short (but charming) dinosaur stop motion animation using some toys and other basic arts and crafts supplies that can be found around the house.
Download OKIOCAM Stop Motion for free here www.okiolabs.com/download
Supplies
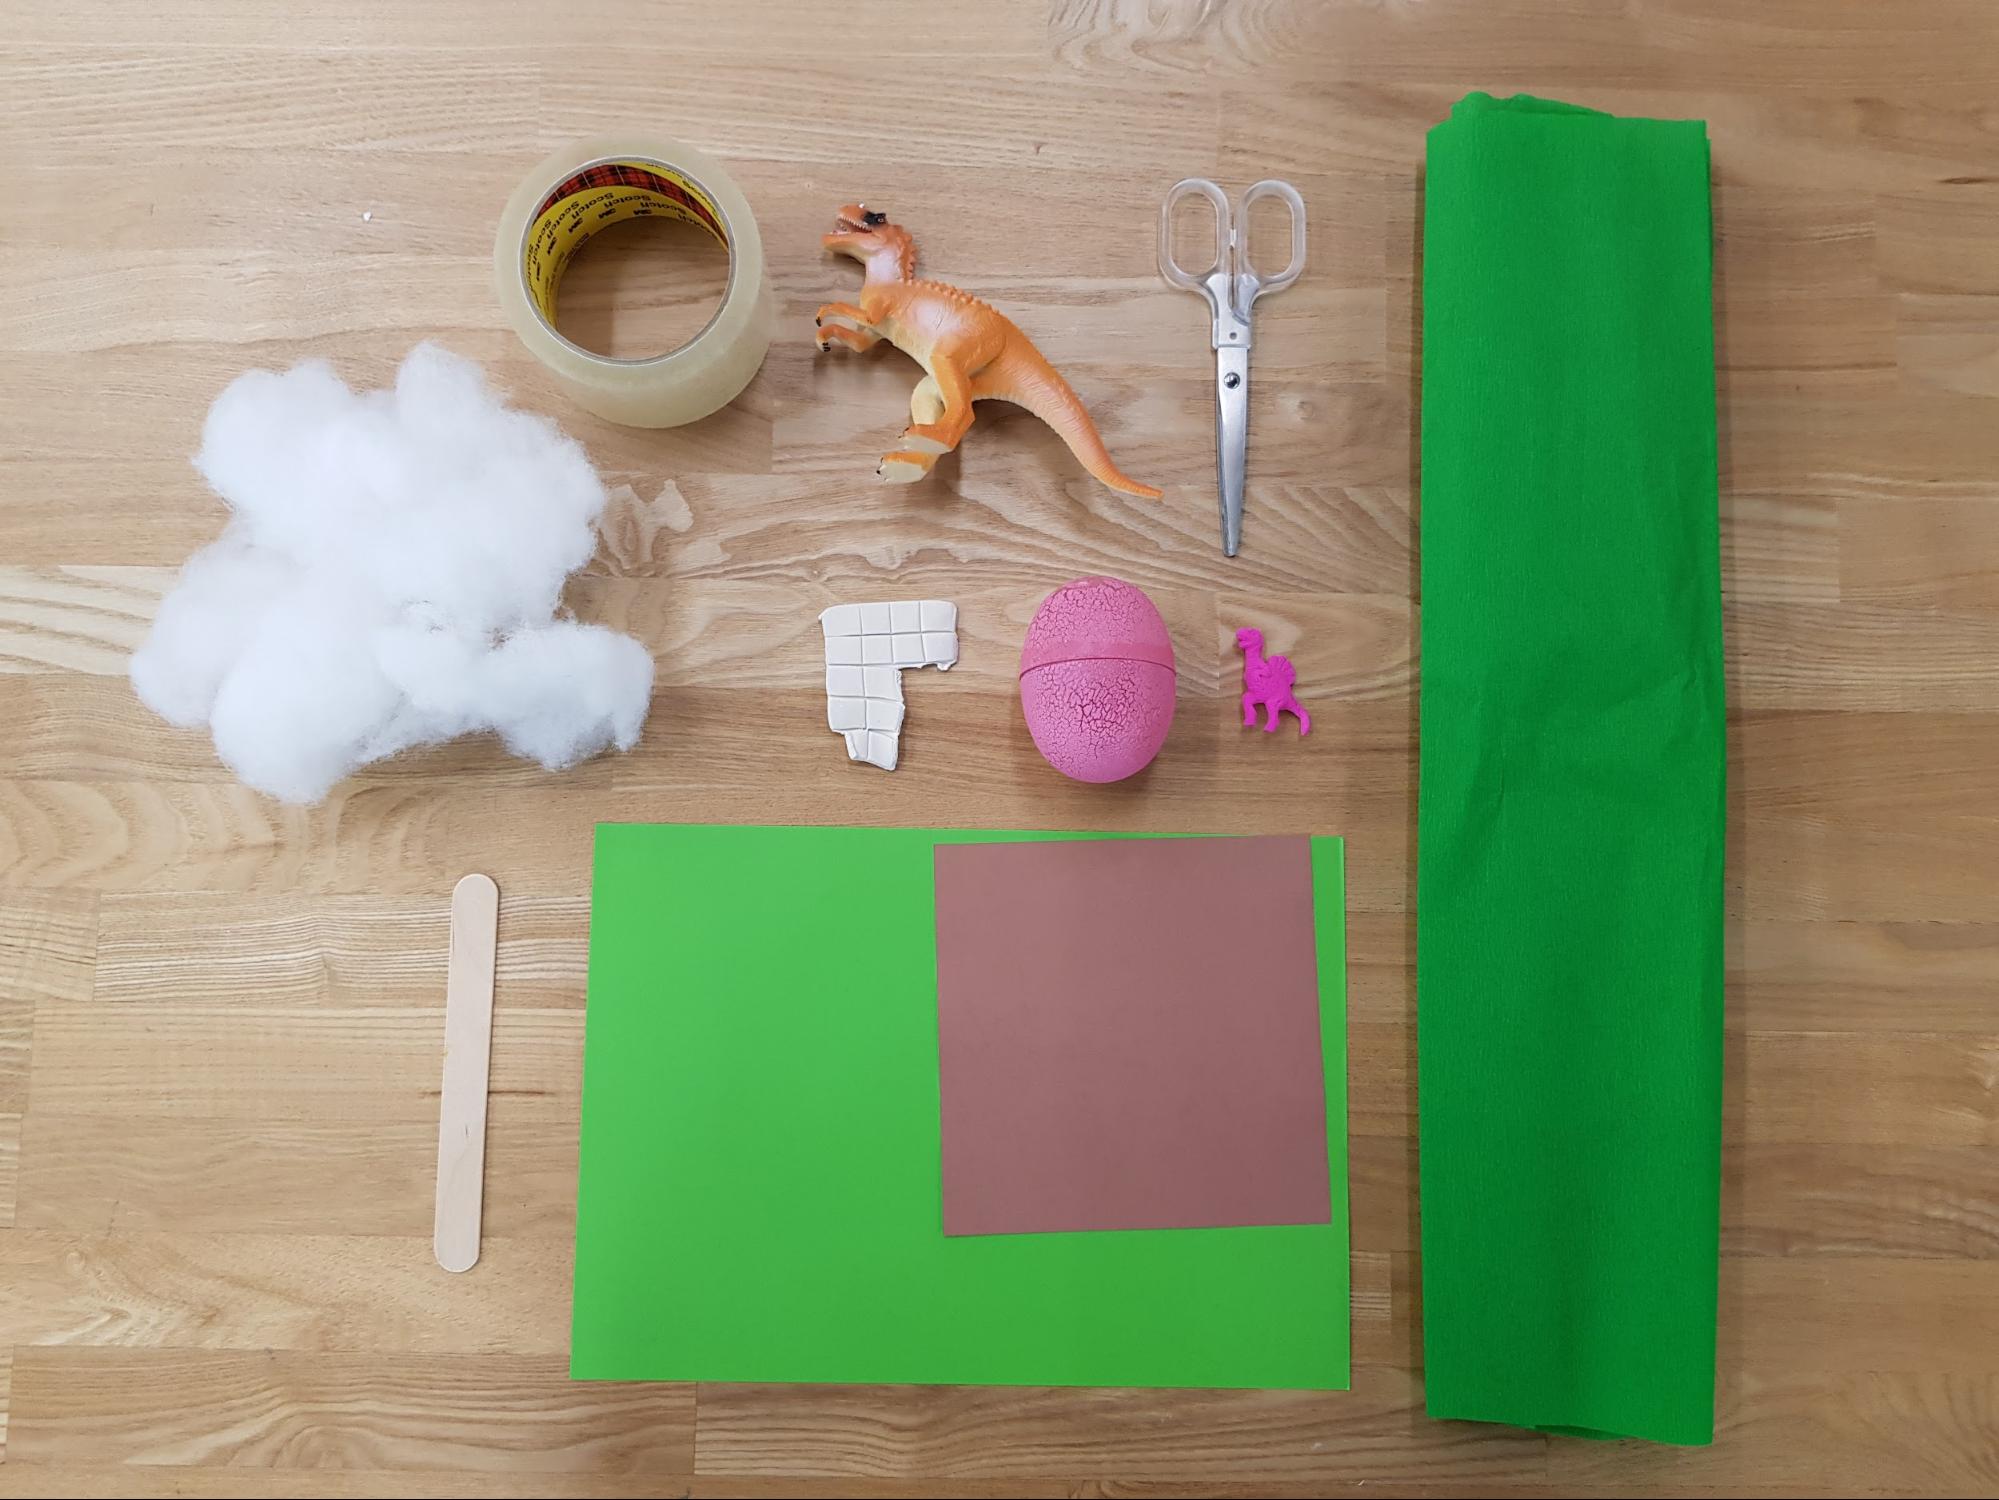
These were all items that I had readily available. I didn’t want to head to the store for supplies (this is not as easy as it used to be with the pandemic!). So even though I didn’t have everything that I would have liked, I was still able to make a fairly respectable video. The moral of the story here is to use what you have! Get creative with what’s to hand! Here’s the full list of what I used:
- Sticky tape
- Adhesive putty
- Scissors
- Cotton wool
- 1 wooden stick
- Green and brown colored paper
- Green tissue paper
- 1 medium-sized toy dinosaur
- 1 small-sized toy dinosaur
- 1 dinosaur egg
Creating the backdrop
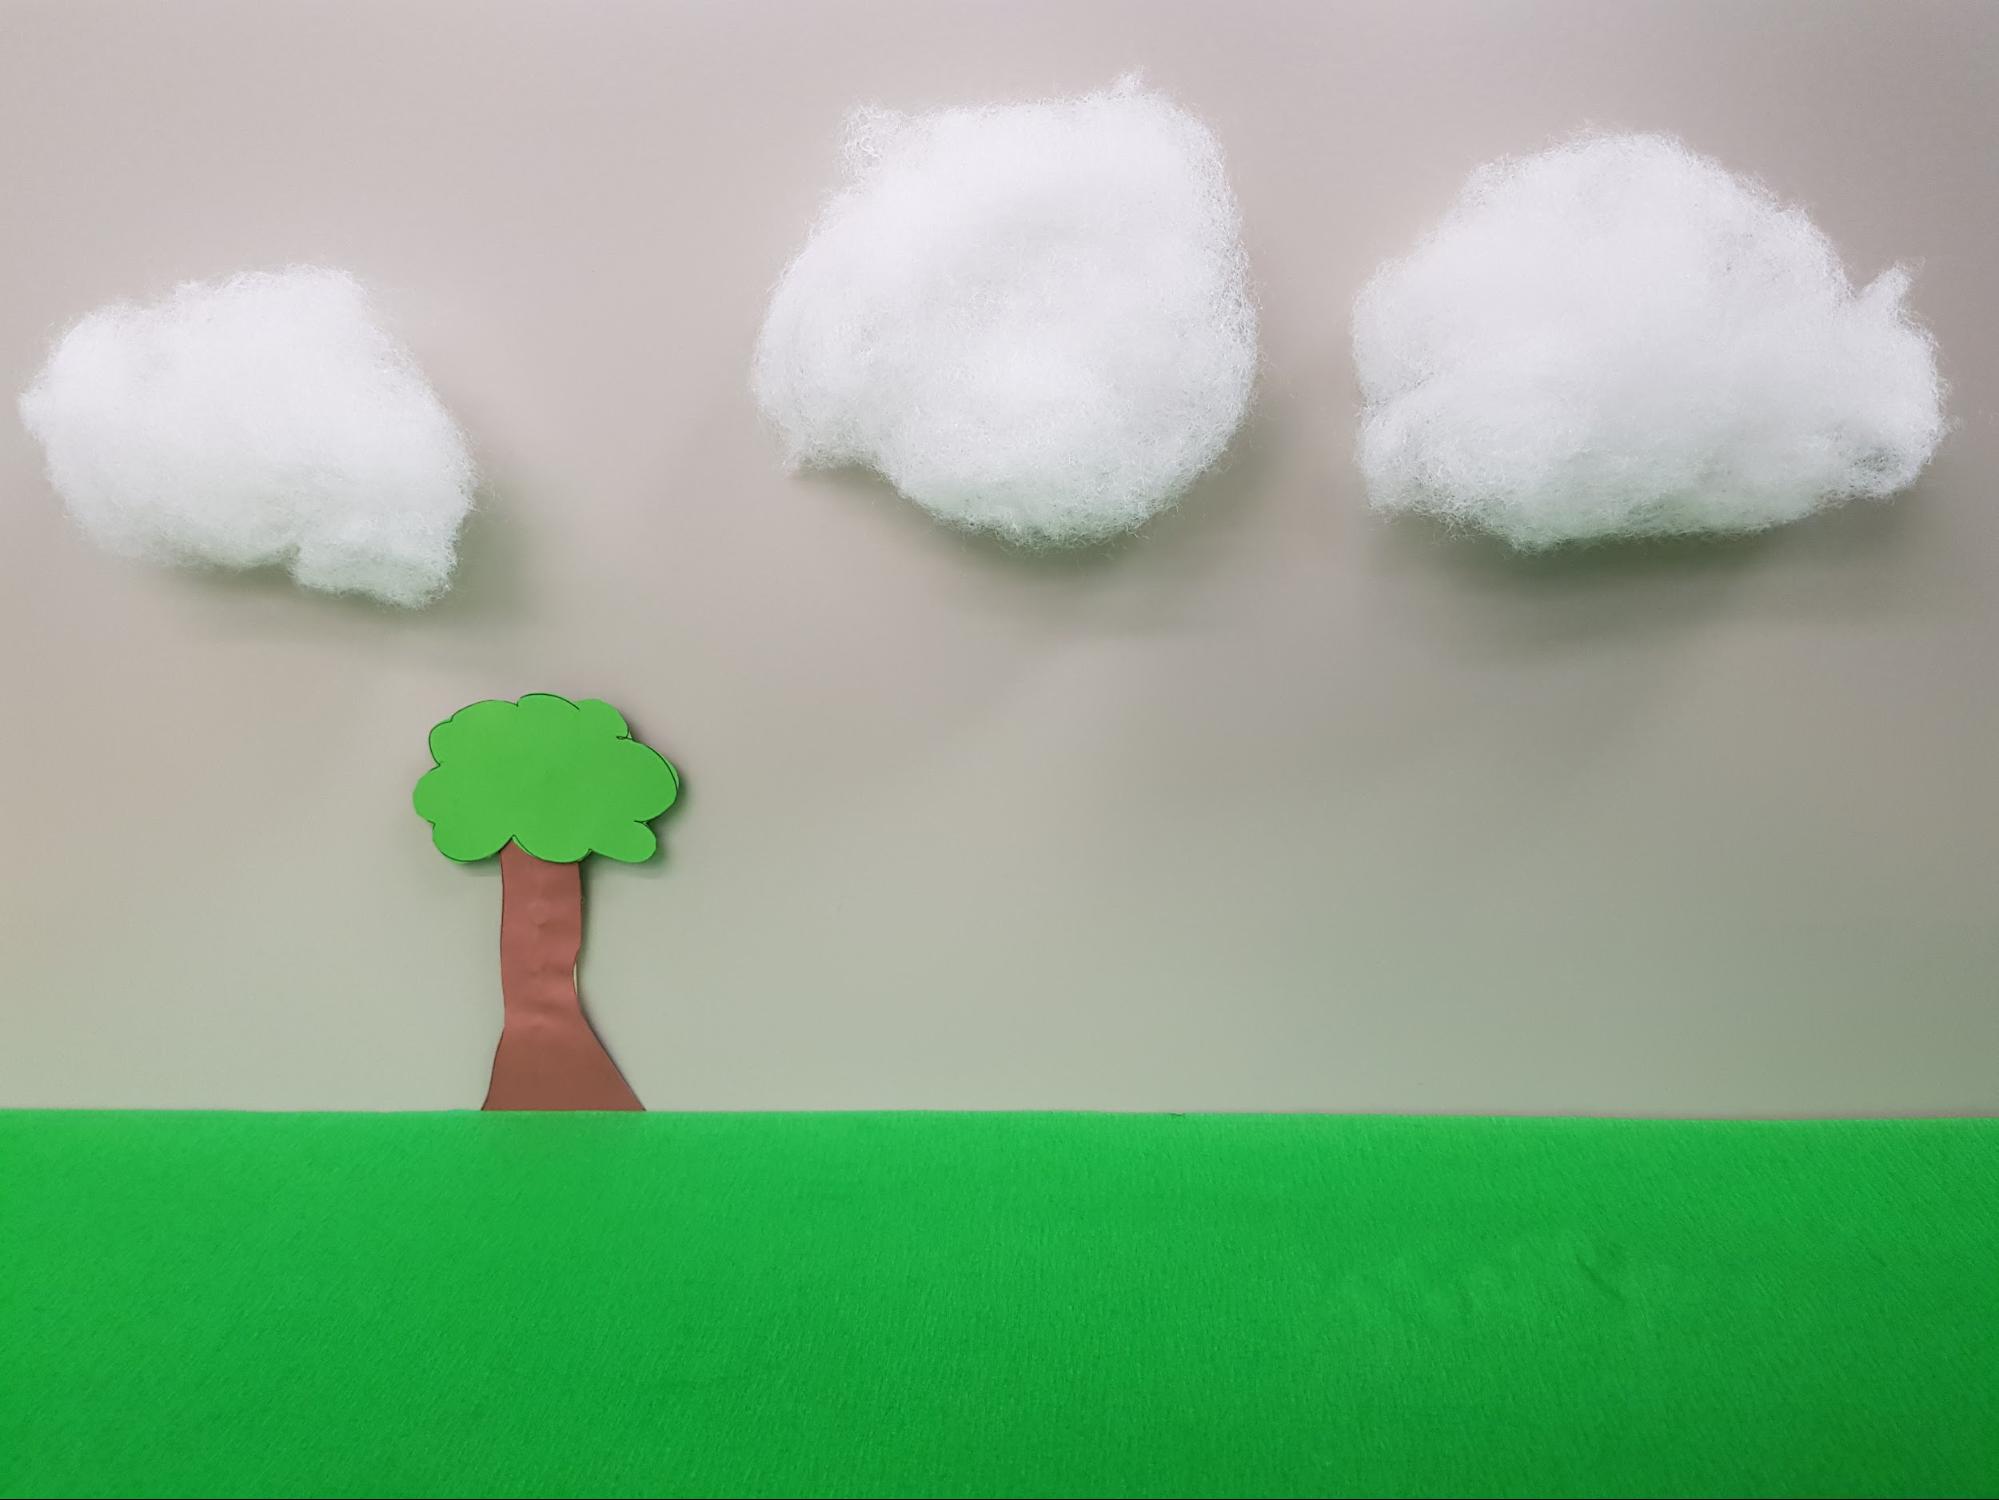
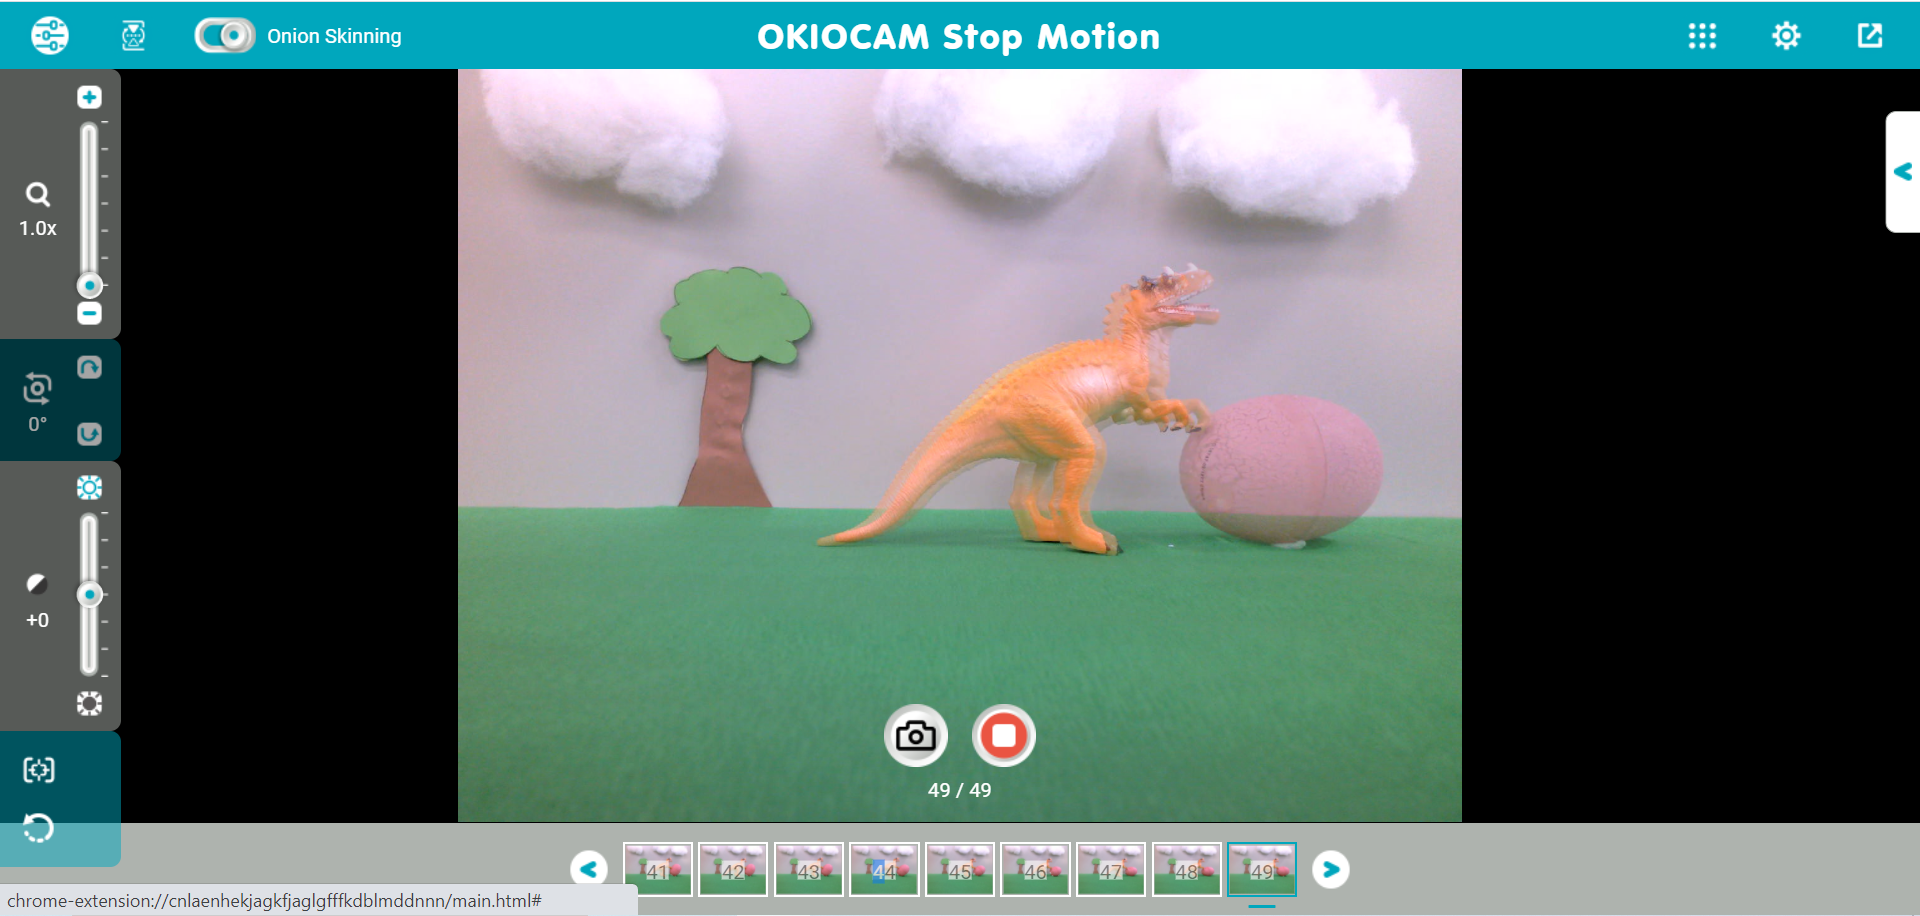
One thing that sets apart an obviously amateur stop motion video from one that looks like it has received a bit of care and attention is a nice backdrop. Dressing the backdrop of your video (even only a little bit) instantly raises its quality level significantly. I decided to make a tree using the colored paper and wooden stick, and clouds out of the cotton wool. I attached these to the backdrop using the adhesive putty. I also attached the green tissue paper to the desk using sticky tape to simulate grass. It only took around 5 minutes, but I was quite happy with the result.
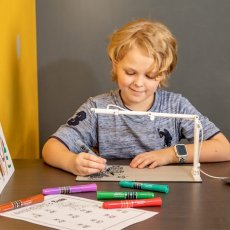
Camera placement
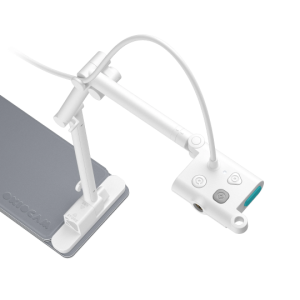
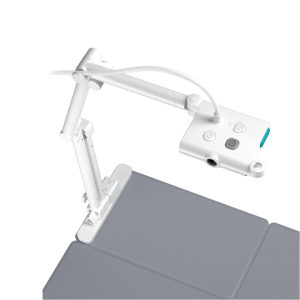
With the backdrop all set, it was time to choose the placement of my OKIOCAM. This is a crucial step because I needed to ensure I could get a good angle of my set and that the OKIOCAM wouldn’t get in my way during the stop motion animation process.
This is the step where you’ll need to connect your OKIOCAM to your computer and launch OKIOCAM Stop Motion. As you’re adjusting your OKIOCAM into the ideal position, check its image in OKIOCAM Stop Motion to ensure you get it just right.
It takes a little bit of trial and error to find the perfect position, but once you have, temporarily secure your OKIOCAM to your work surface. This is done so it doesn’t move from its position during the video making process, potentially greatly lowering the quality of your stop motion video.
Position your props
The next step is to get your props into their starting positions. If you plan on making a more elaborate video, you can draw a storyboard or two before positioning your props. I had a pretty good idea of what was going to happen in my video, so I didn’t feel the need to do this.
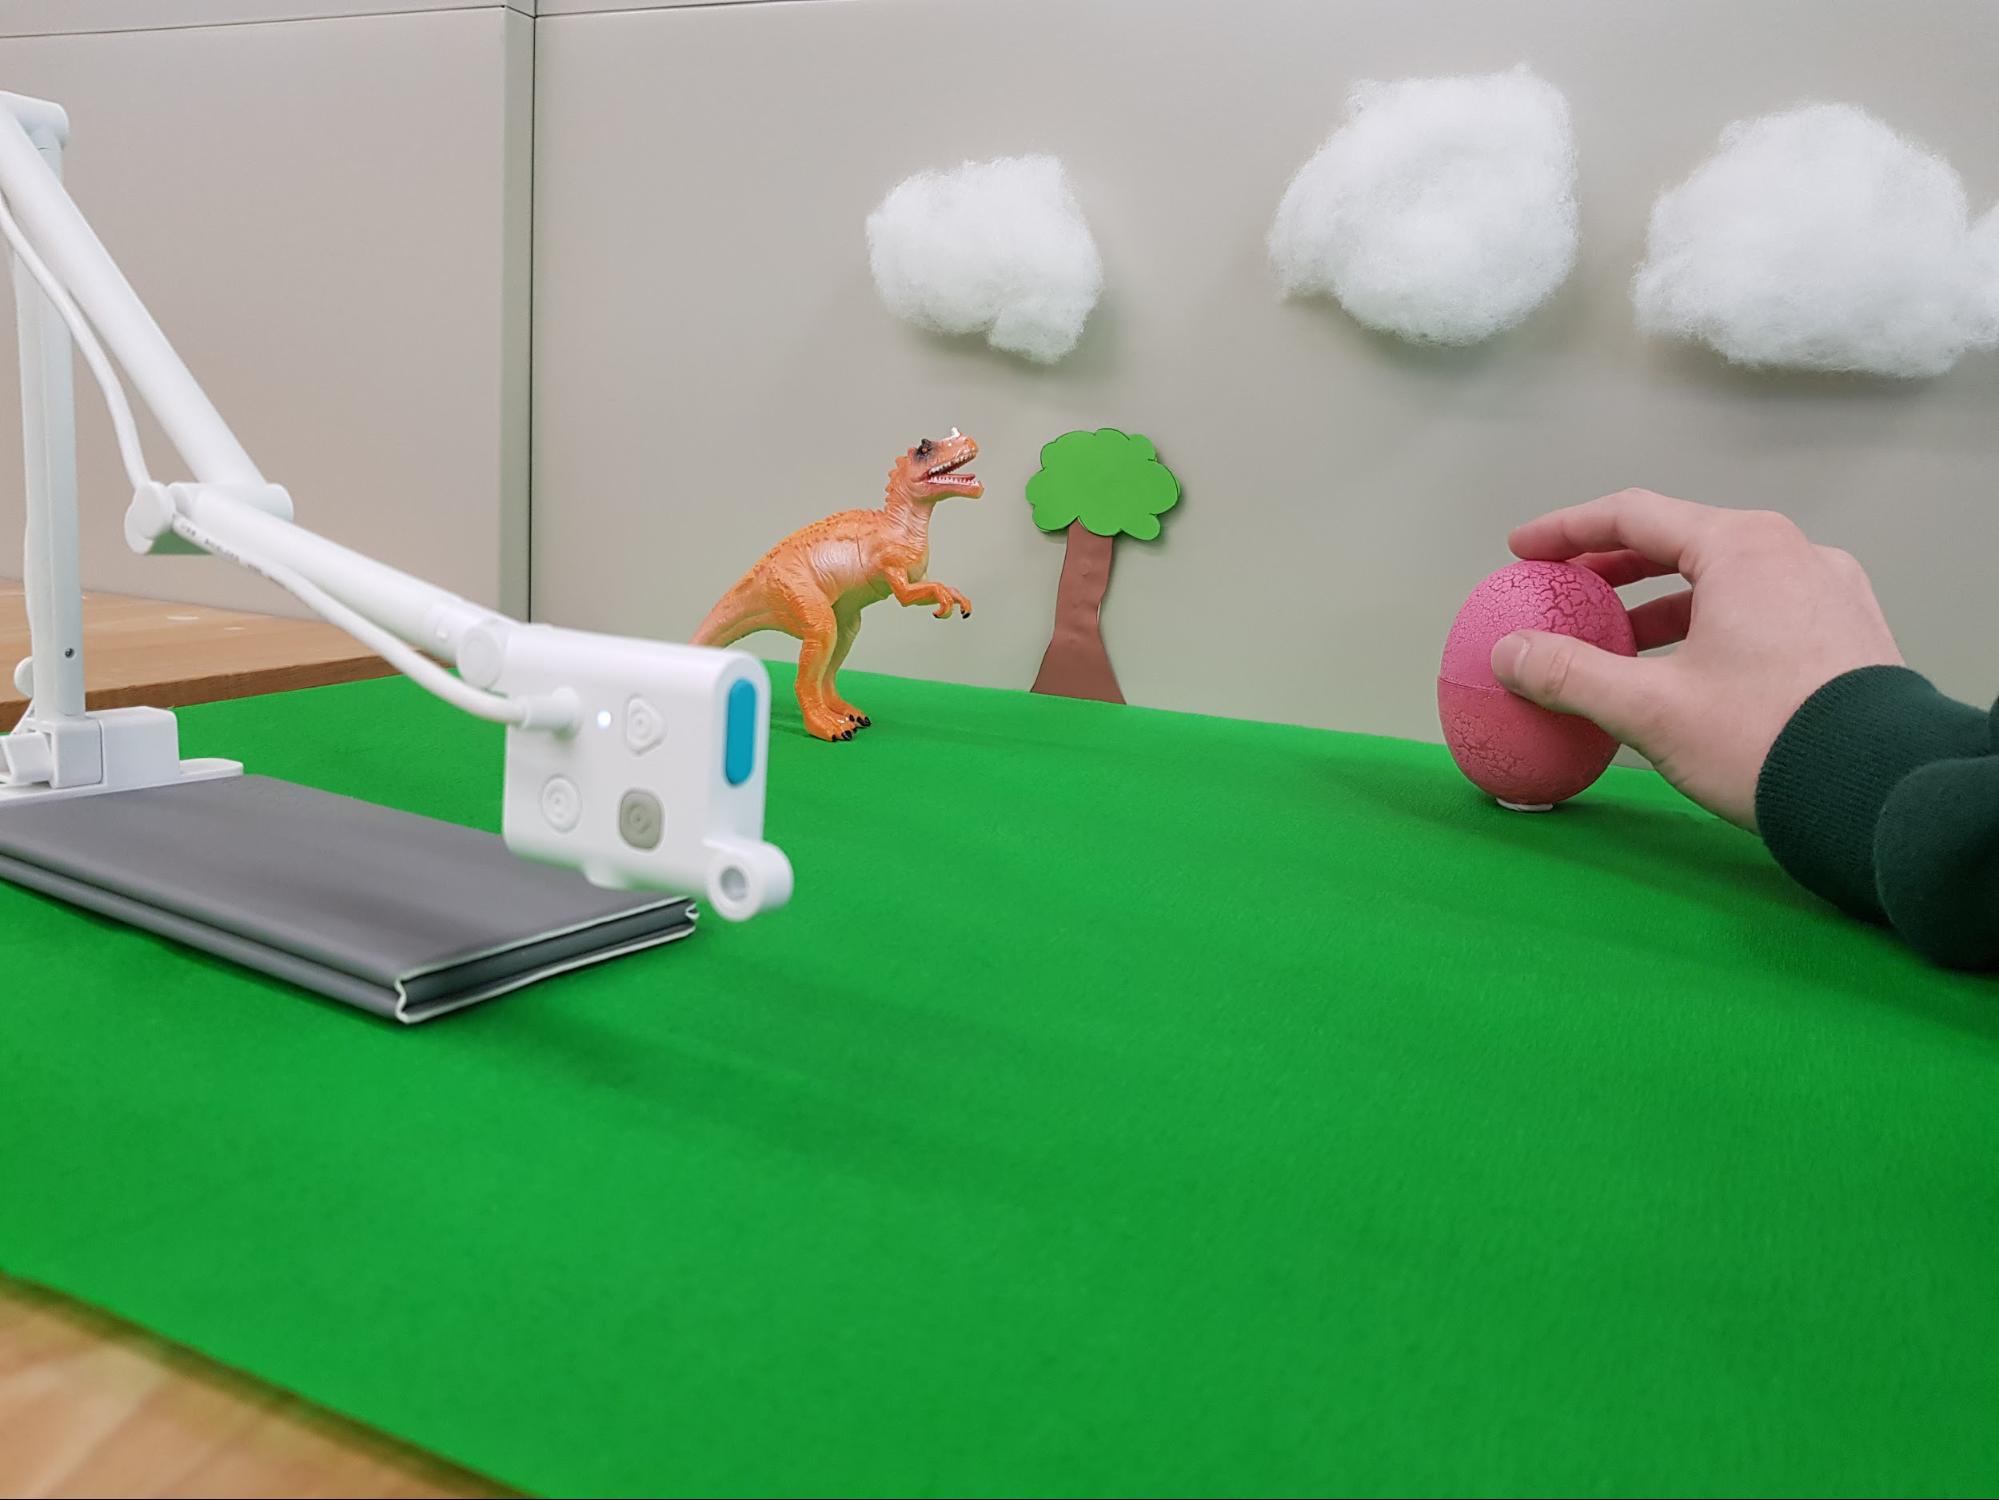
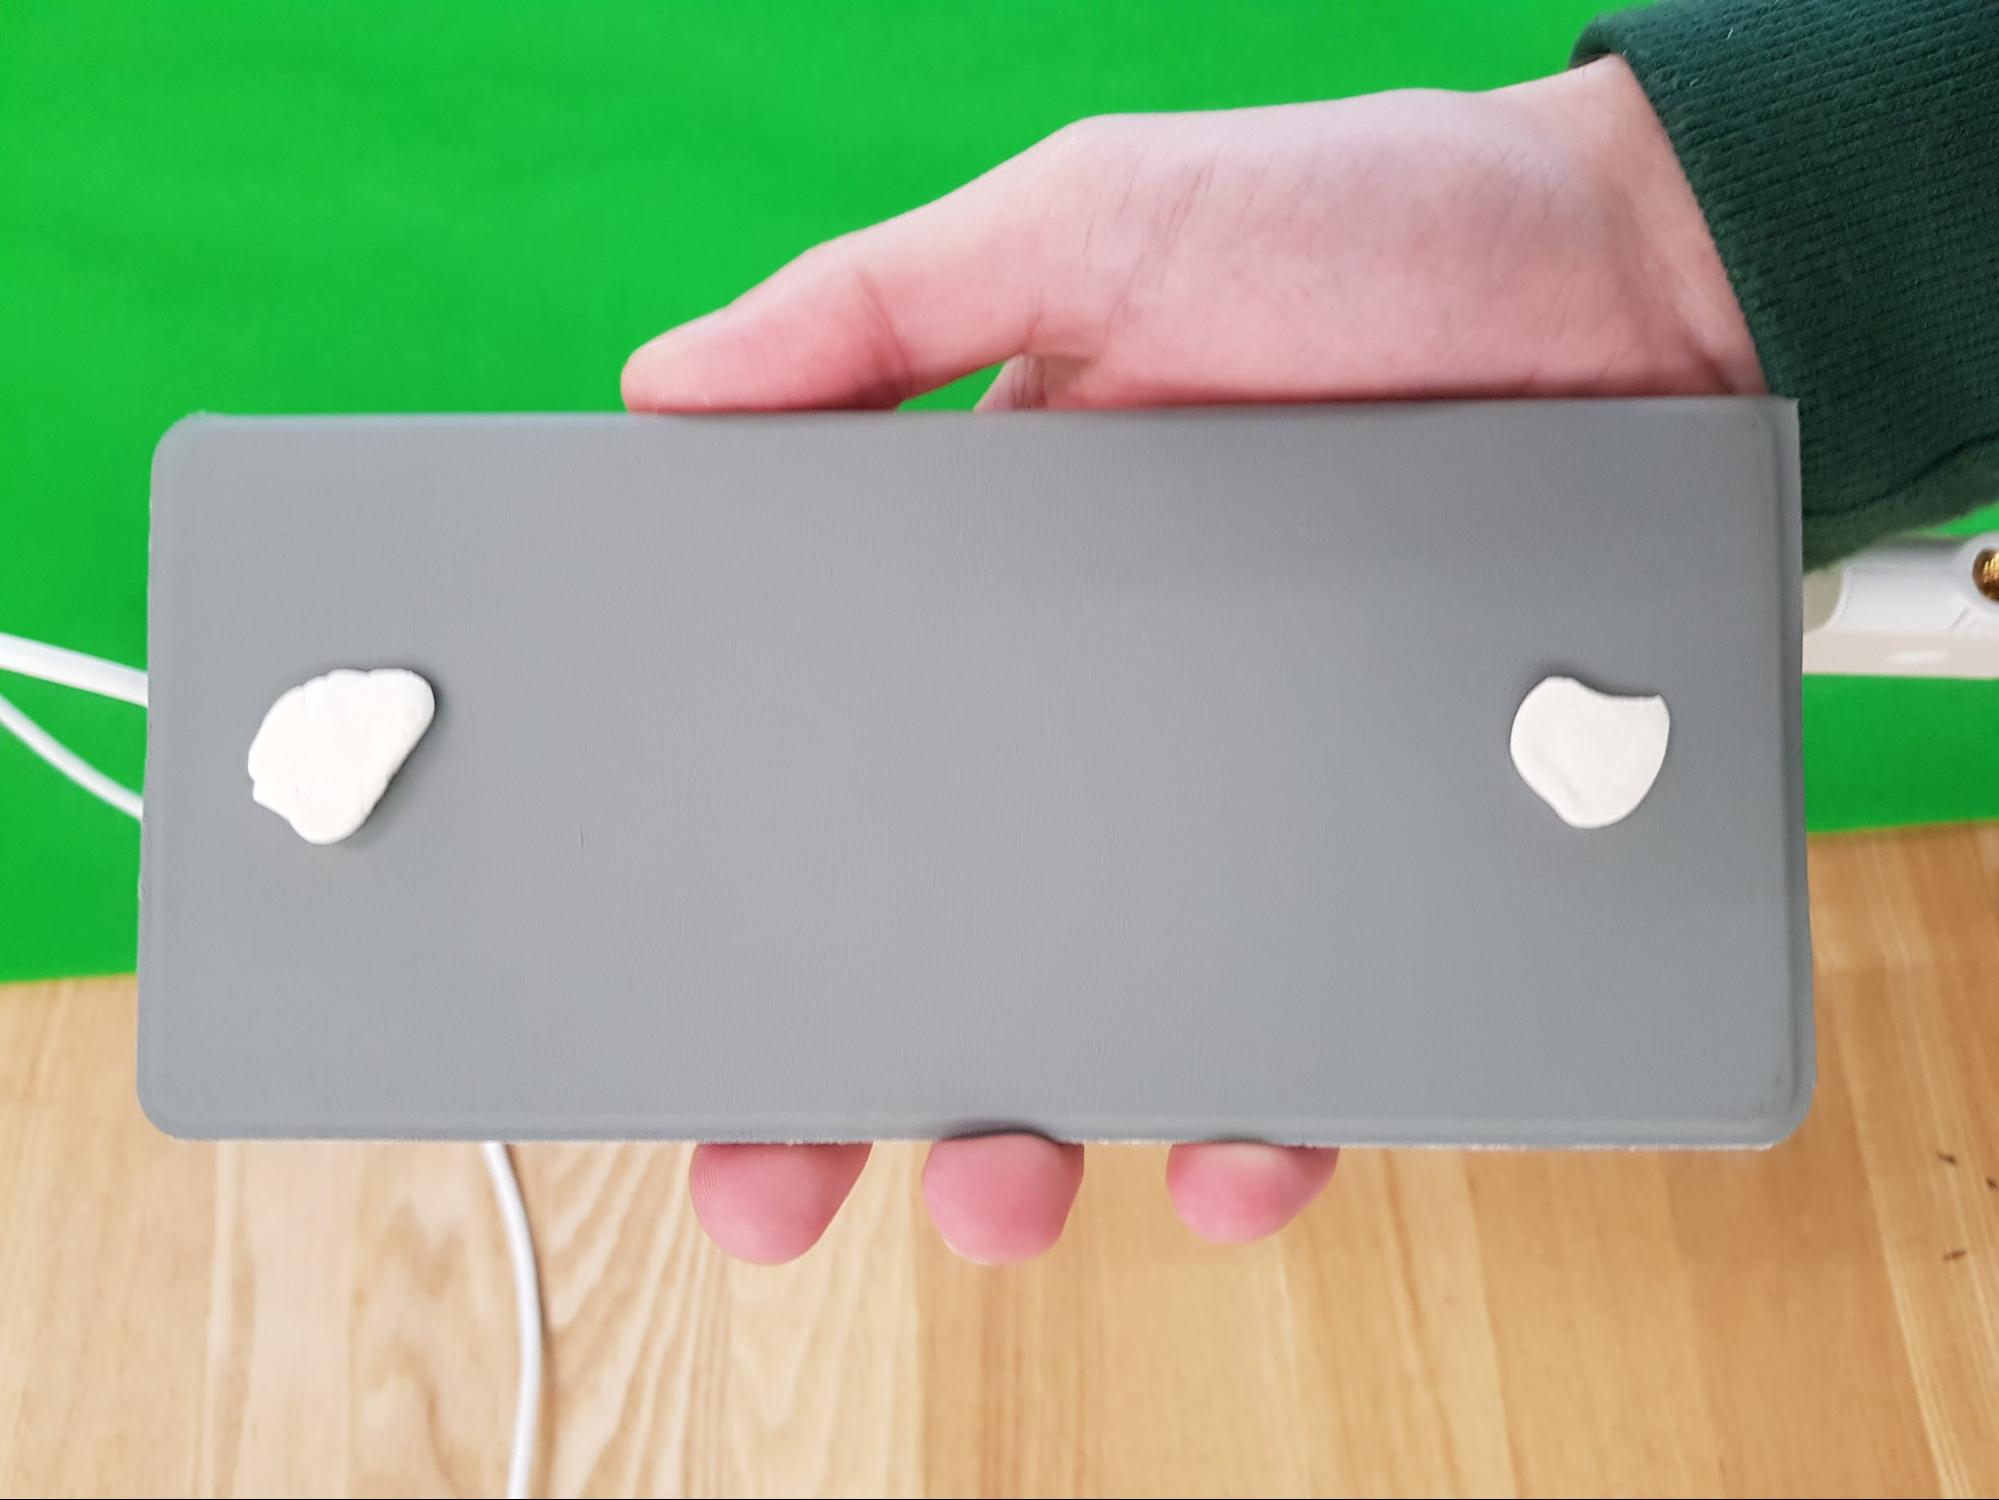
I arranged the props into their starting positions. With the egg having no flat surface, I decided to secure it in place using some more adhesive putty.
Start animating!
With everything in position, it was time to get going! I pressed the Auto adjust button on my OKIOCAM to ensure that its focus, white balance, and exposure were correctly set and started moving my props.
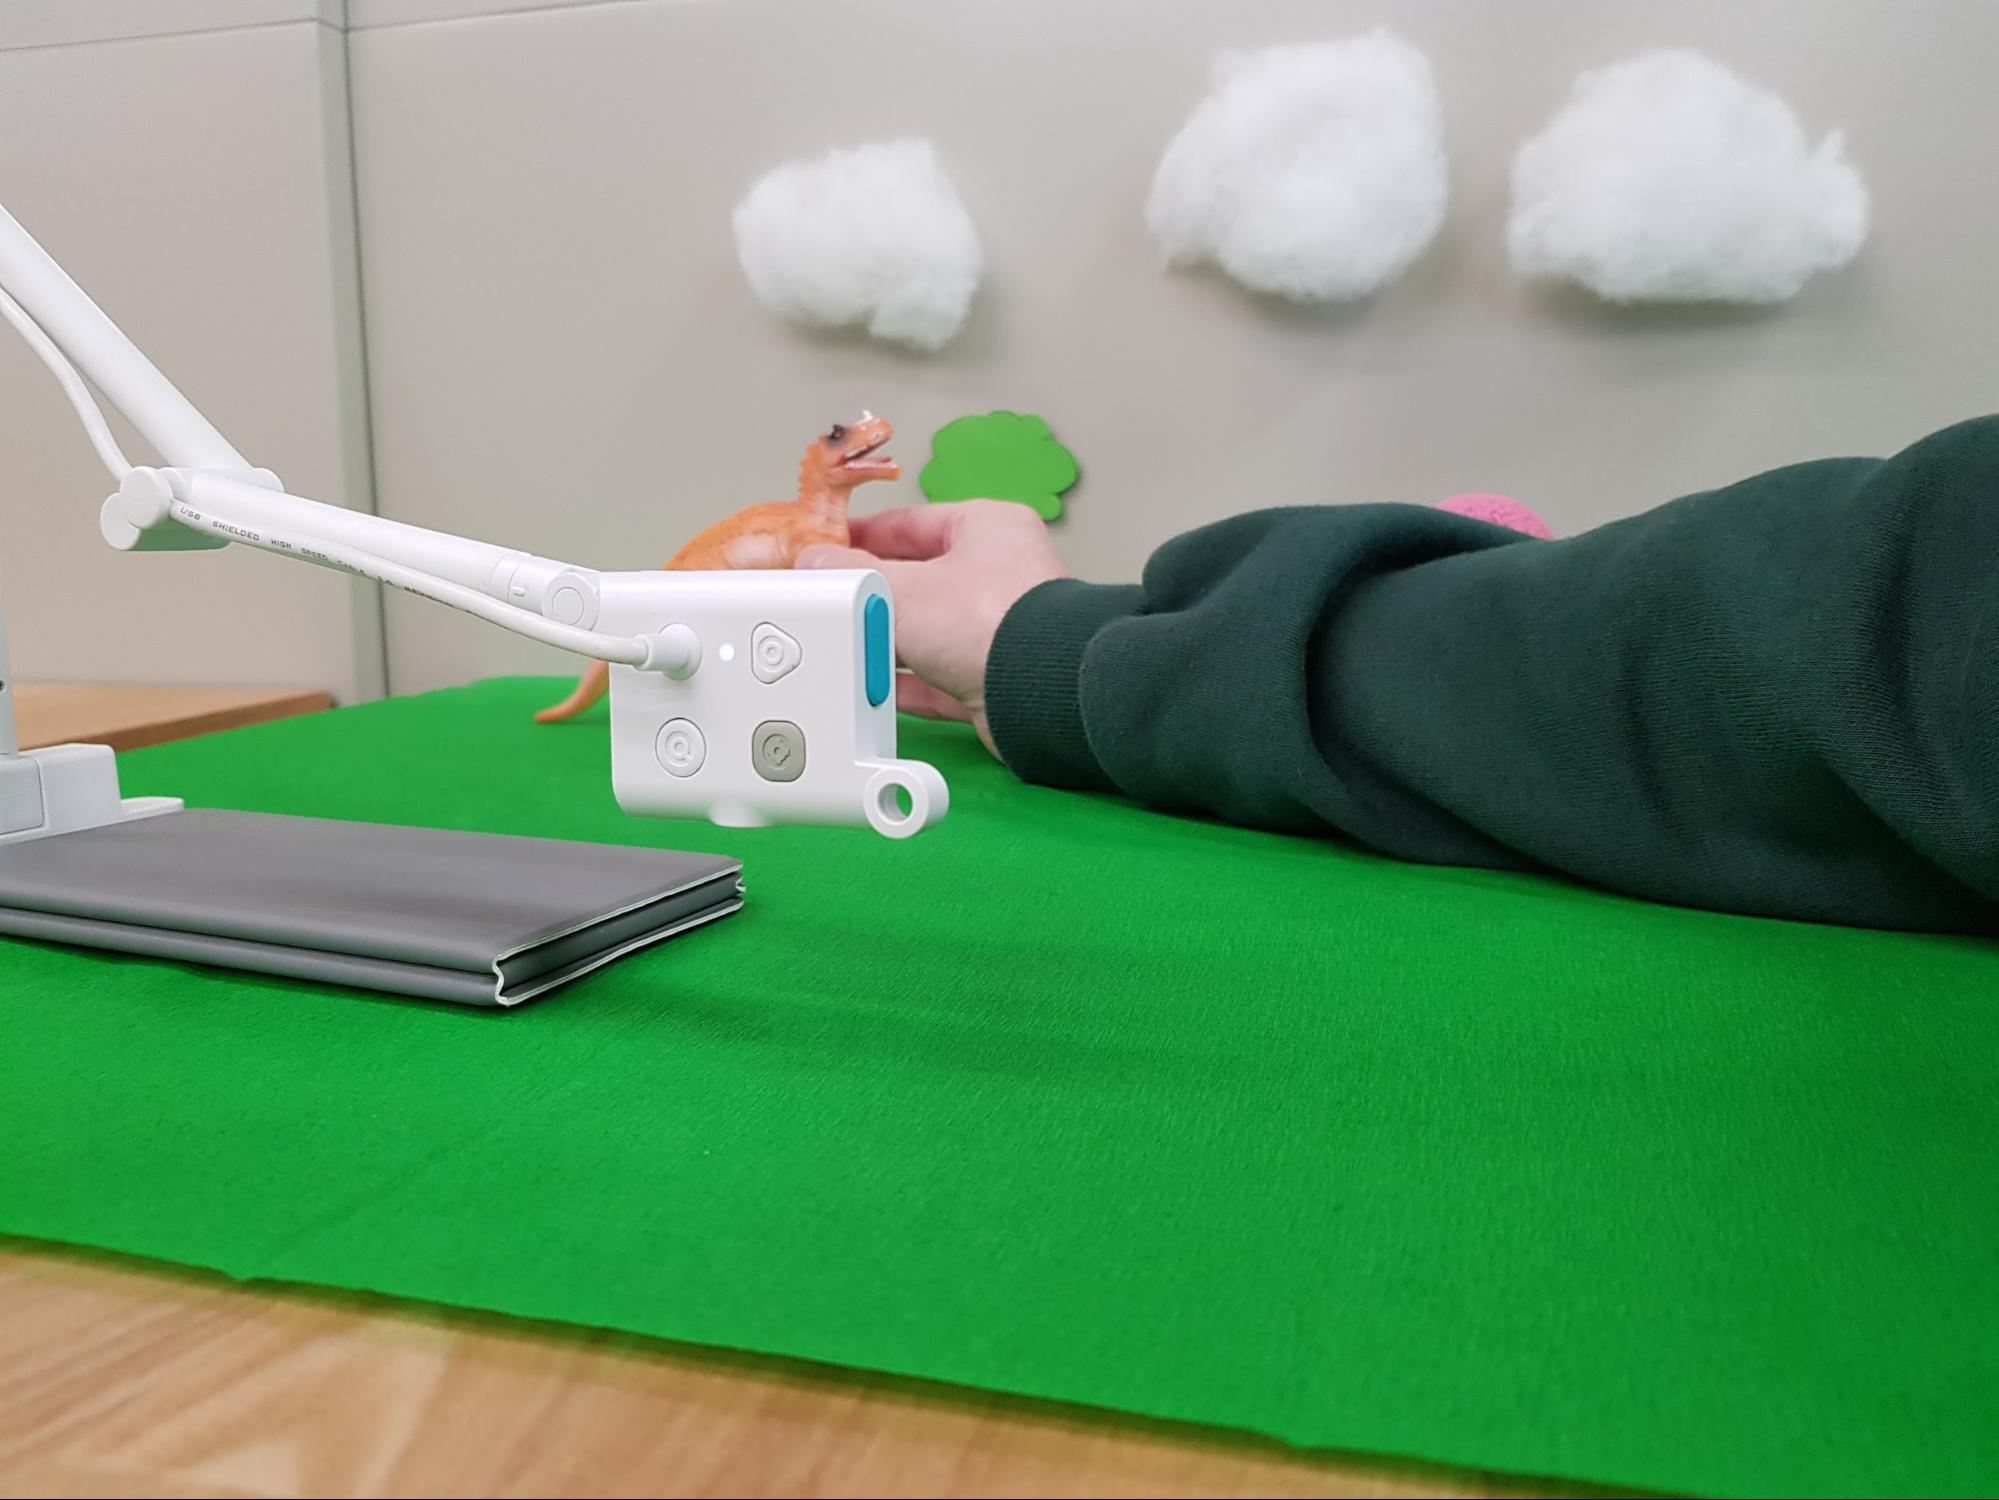
The key with stop motion animation is to move your props only very slightly between snapshots. This way their movement will seem fluid and natural. OKIOCAM Stop Motion’s Onion Skinning feature makes it really easy to animate your props because after you reposition them, by checking the app, you can see where they were positioned before. This is a great feature for ensuring that you don’t move your props too much between snapshots.
Once you’ve taken all your snapshots, stop the recording process and go through the final few steps to complete your stop motion video. This includes selecting the frame rate and adding background music (if you want to).
For complete instructions on how to use OKIOCAM Stop Motion visit https://tinyurl.com/y5e3egfy
You’re done!
Once you’ve completed your stop motion project, all that’s left to do is proudly share it with your friends, your family, and anyone who’ll watch! Check out my finished video below.
If you have any questions about anything mentioned in this article, please contact our support team here.
Be sure to follow us on Twitter!