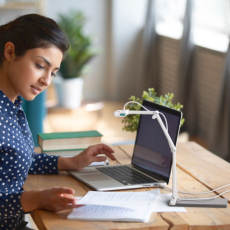

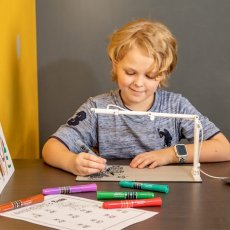

Sharing your face as well as your document camera is the perfect way to make your virtual lessons that much more engaging. If your students are only staring at the work you’re showing them with your document camera all lesson, they can get a little restless (especially younger students). By showing your face at the same time too, it can make your virtual lessons seem more like in-person lessons.
The below instructions will show you how you can share both cameras at once, with your document camera taking up the majority of the screen and your front-facing camera appearing in the corner.
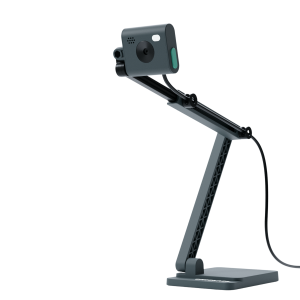
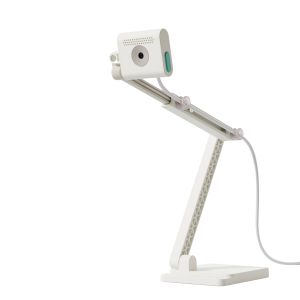
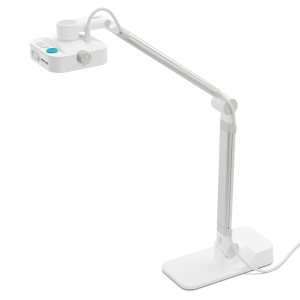
To follow the steps below you’ll need OKIOCAM Snapshot and Recorder — our completely free live presentation, photo, and video recording app. Click here to download it. Once you’re all set, let’s get started!
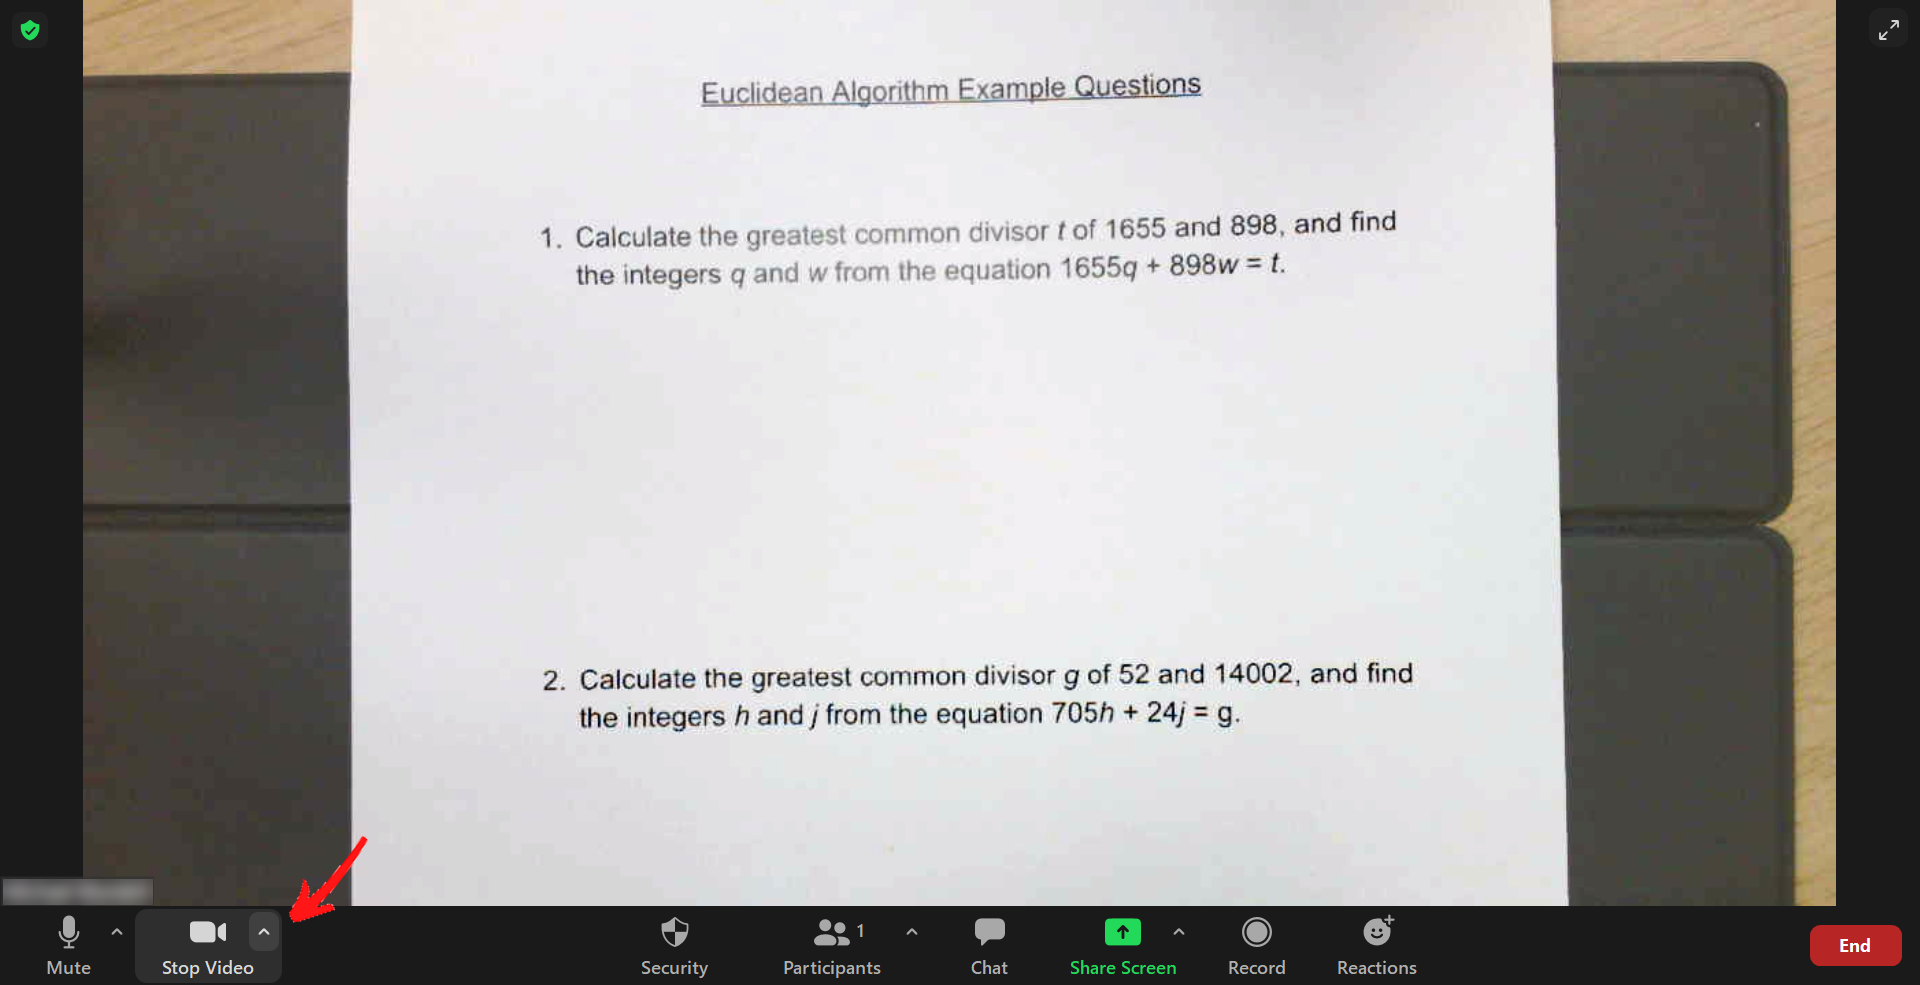
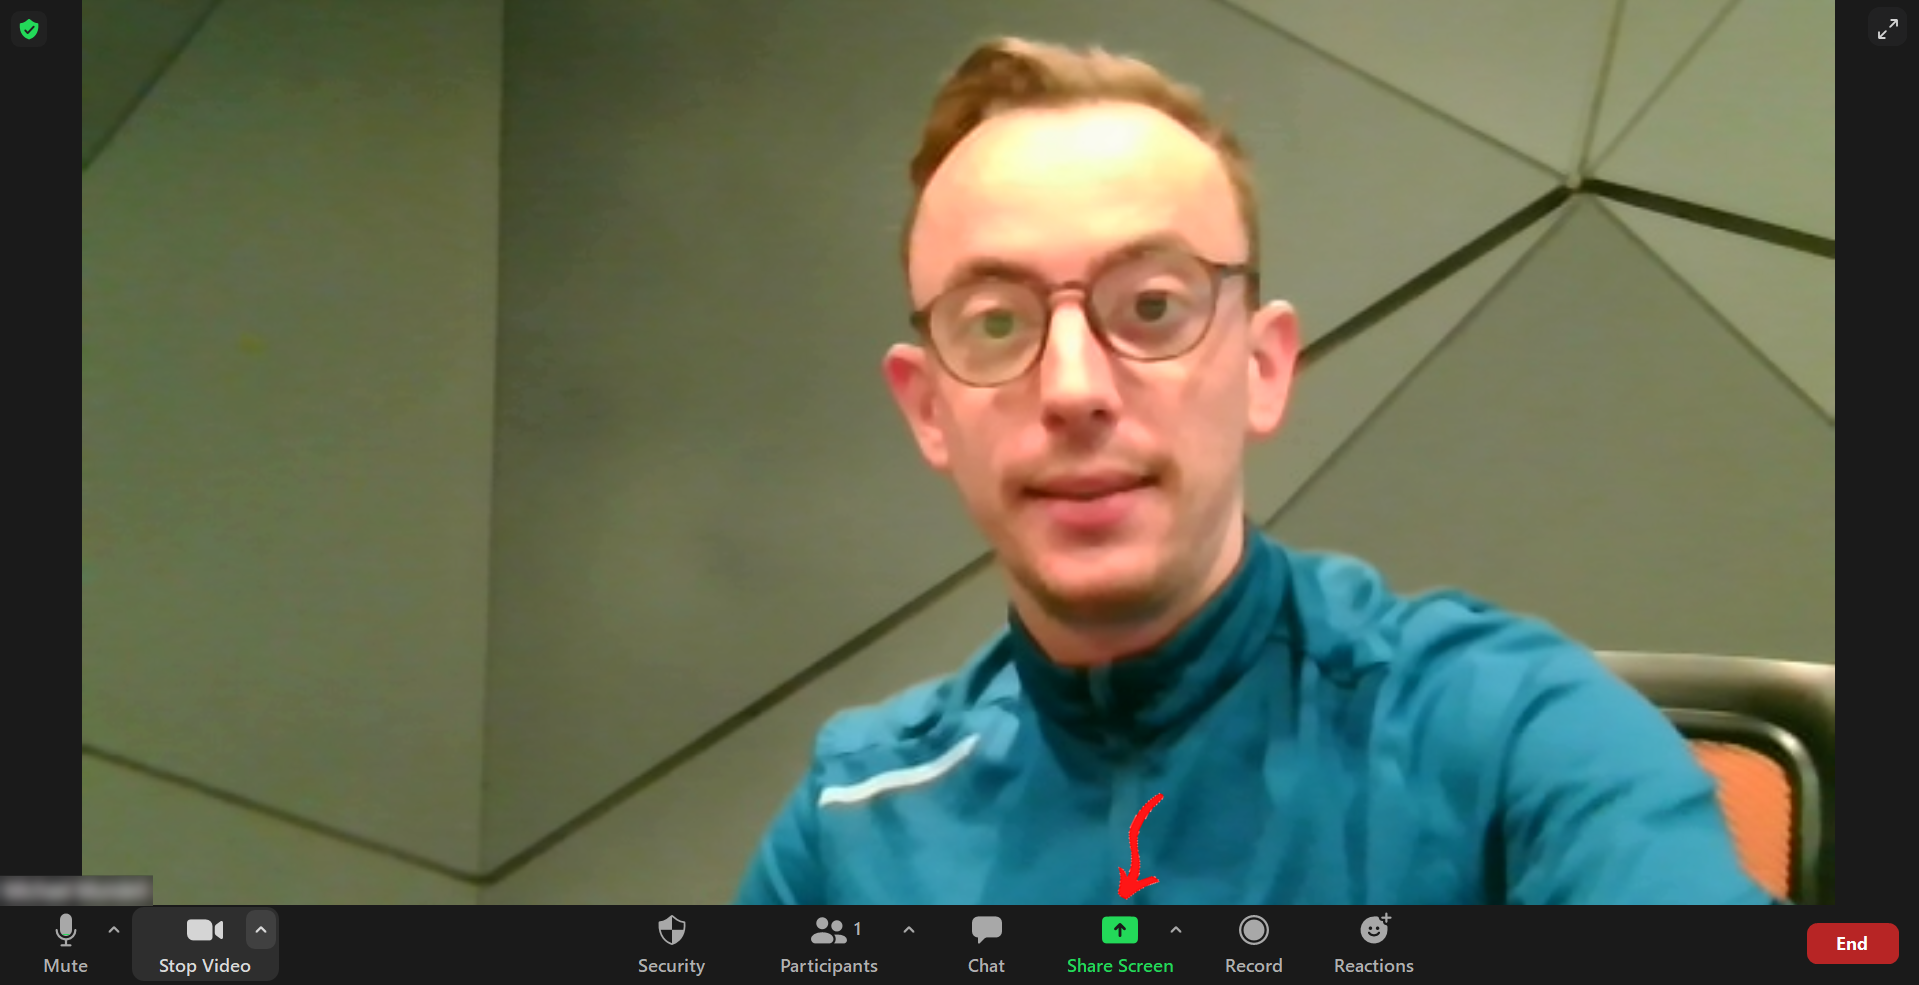
- After joining the Zoom call, ensure that your front-facing webcam is selected as your Camera. If your document camera is currently being used as the Camera, here’s how you can change it to your front-facing camera:
- Click the small upward-facing arrow next to Stop Video.
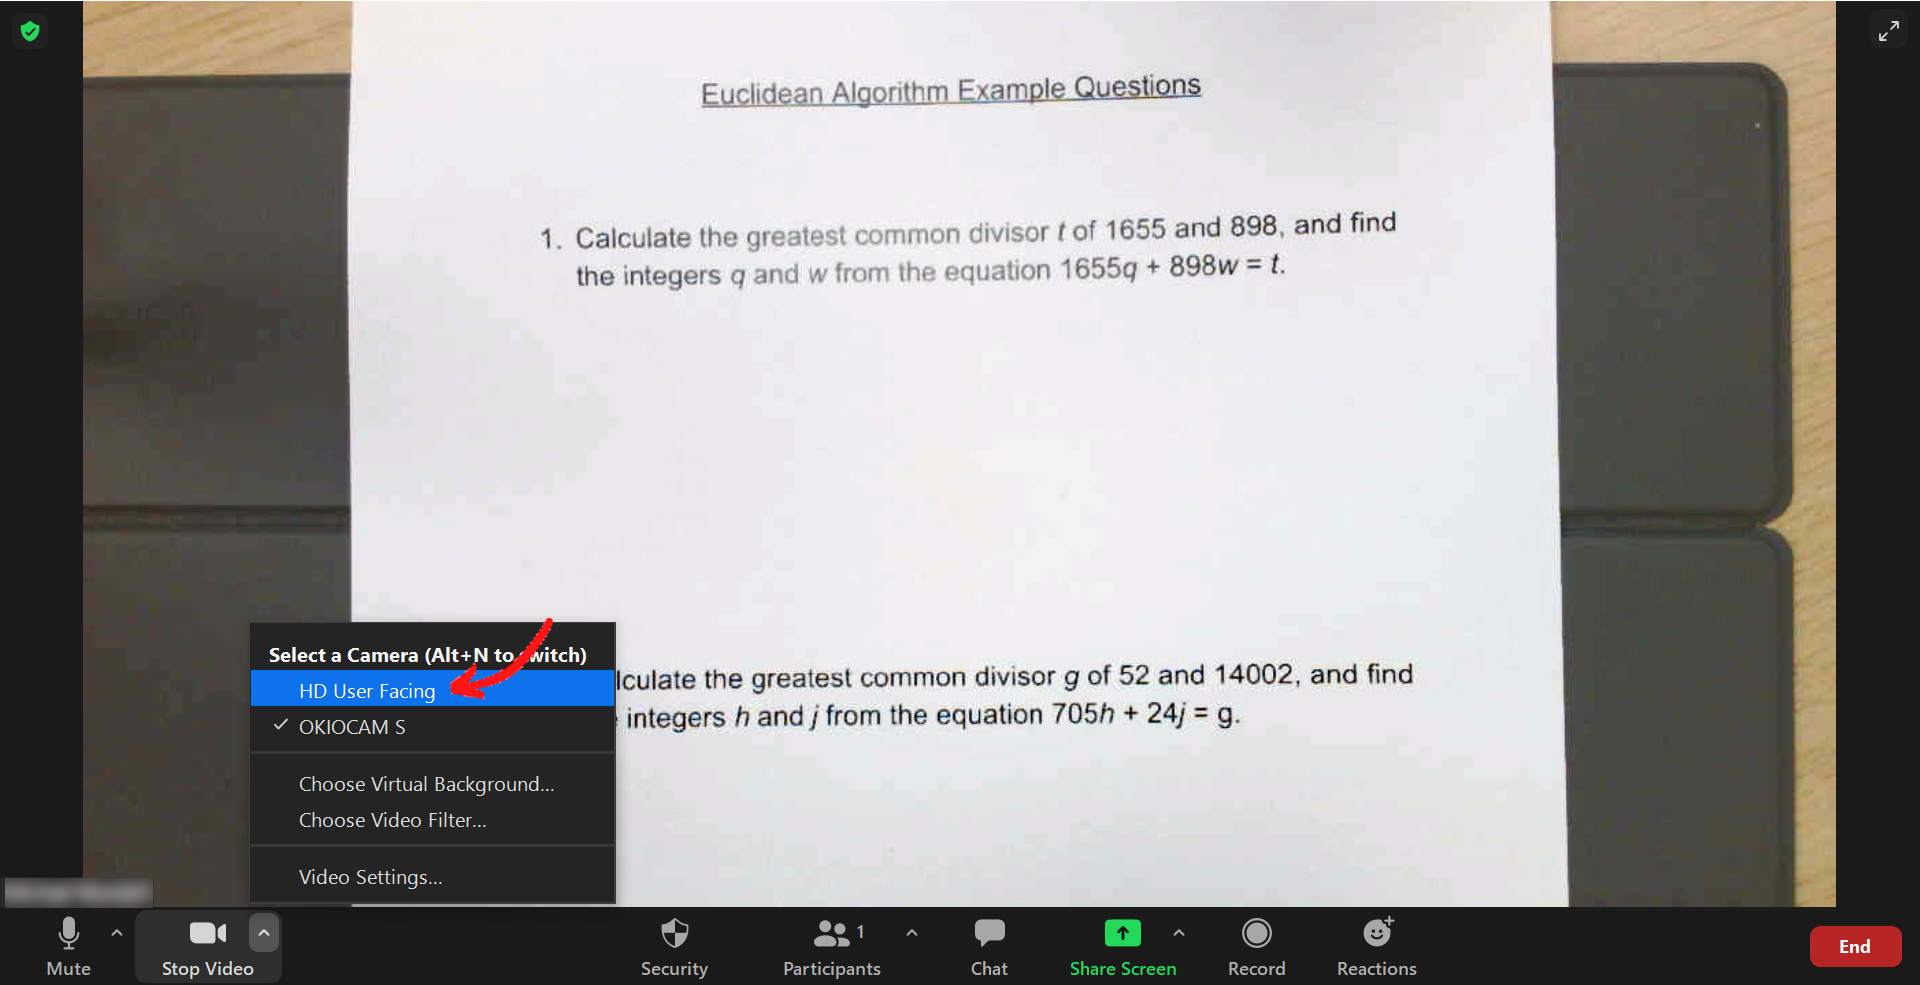
- Under the Select a Camera (Alt + N to switch) heading, select your front-facing webcam.
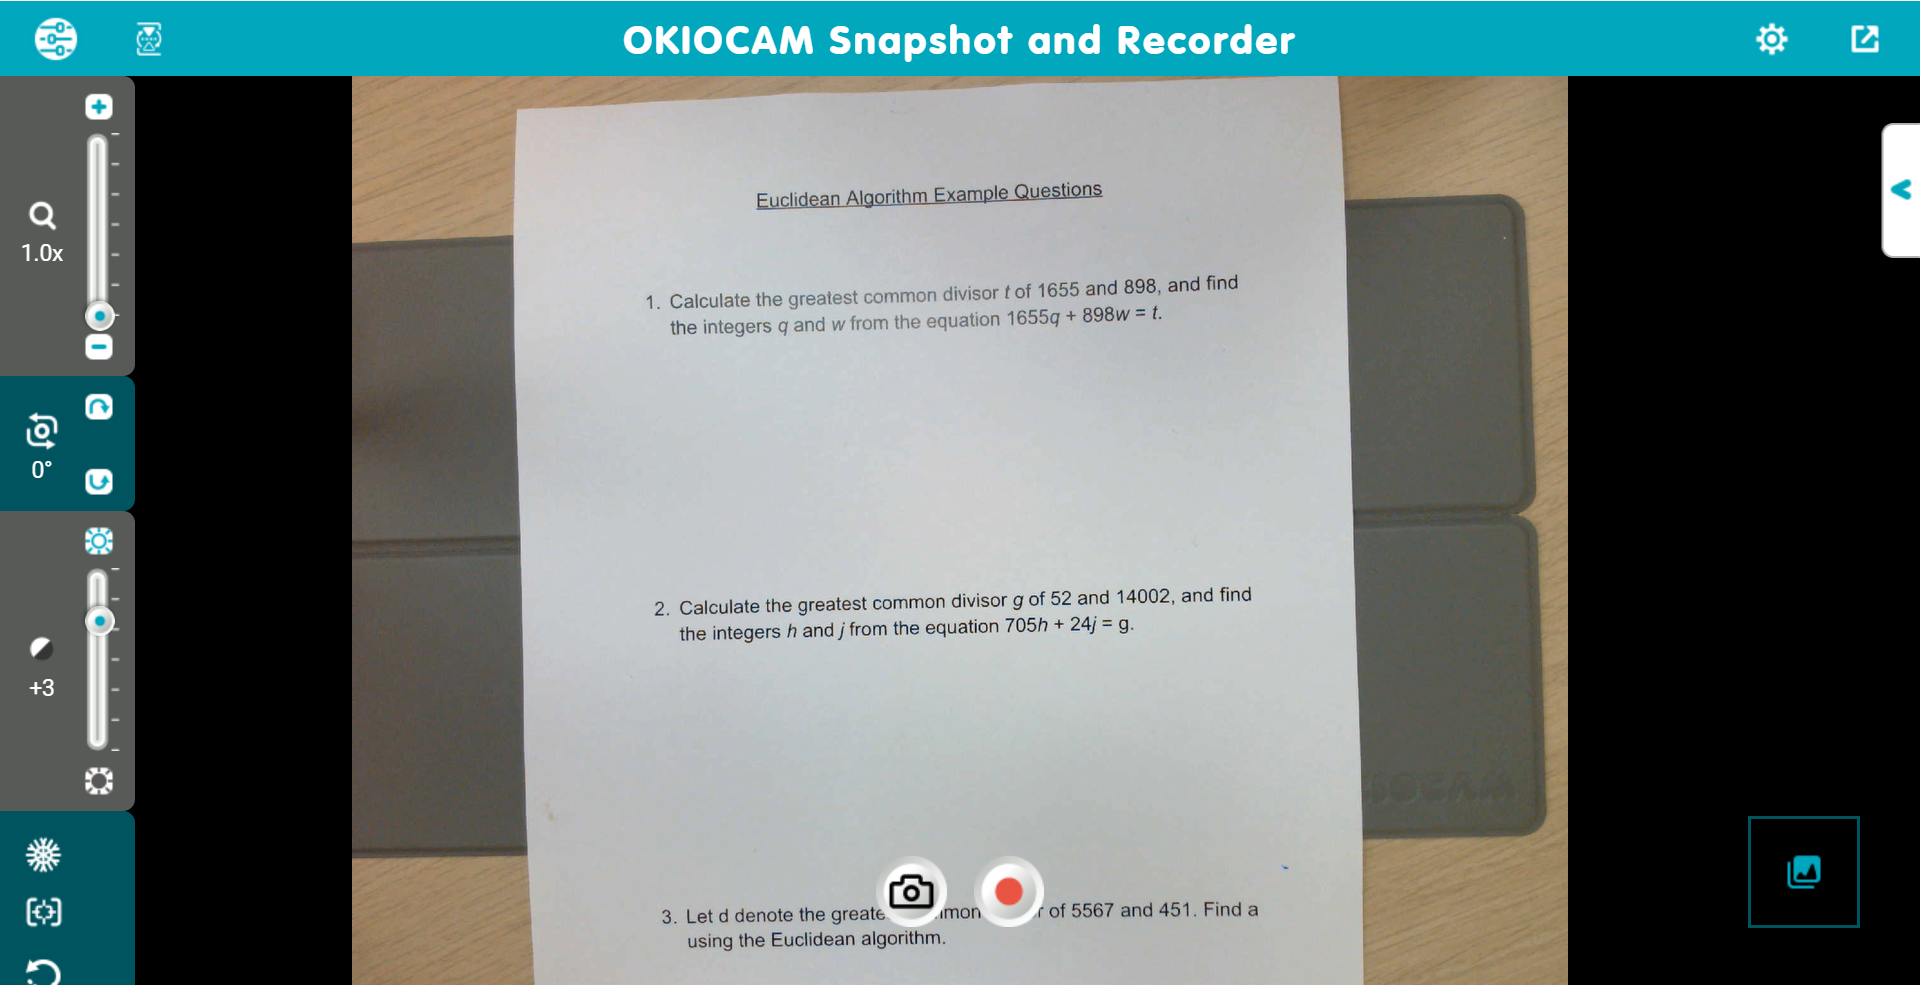
- Launch OKIOCAM Snapshot and Recorder.
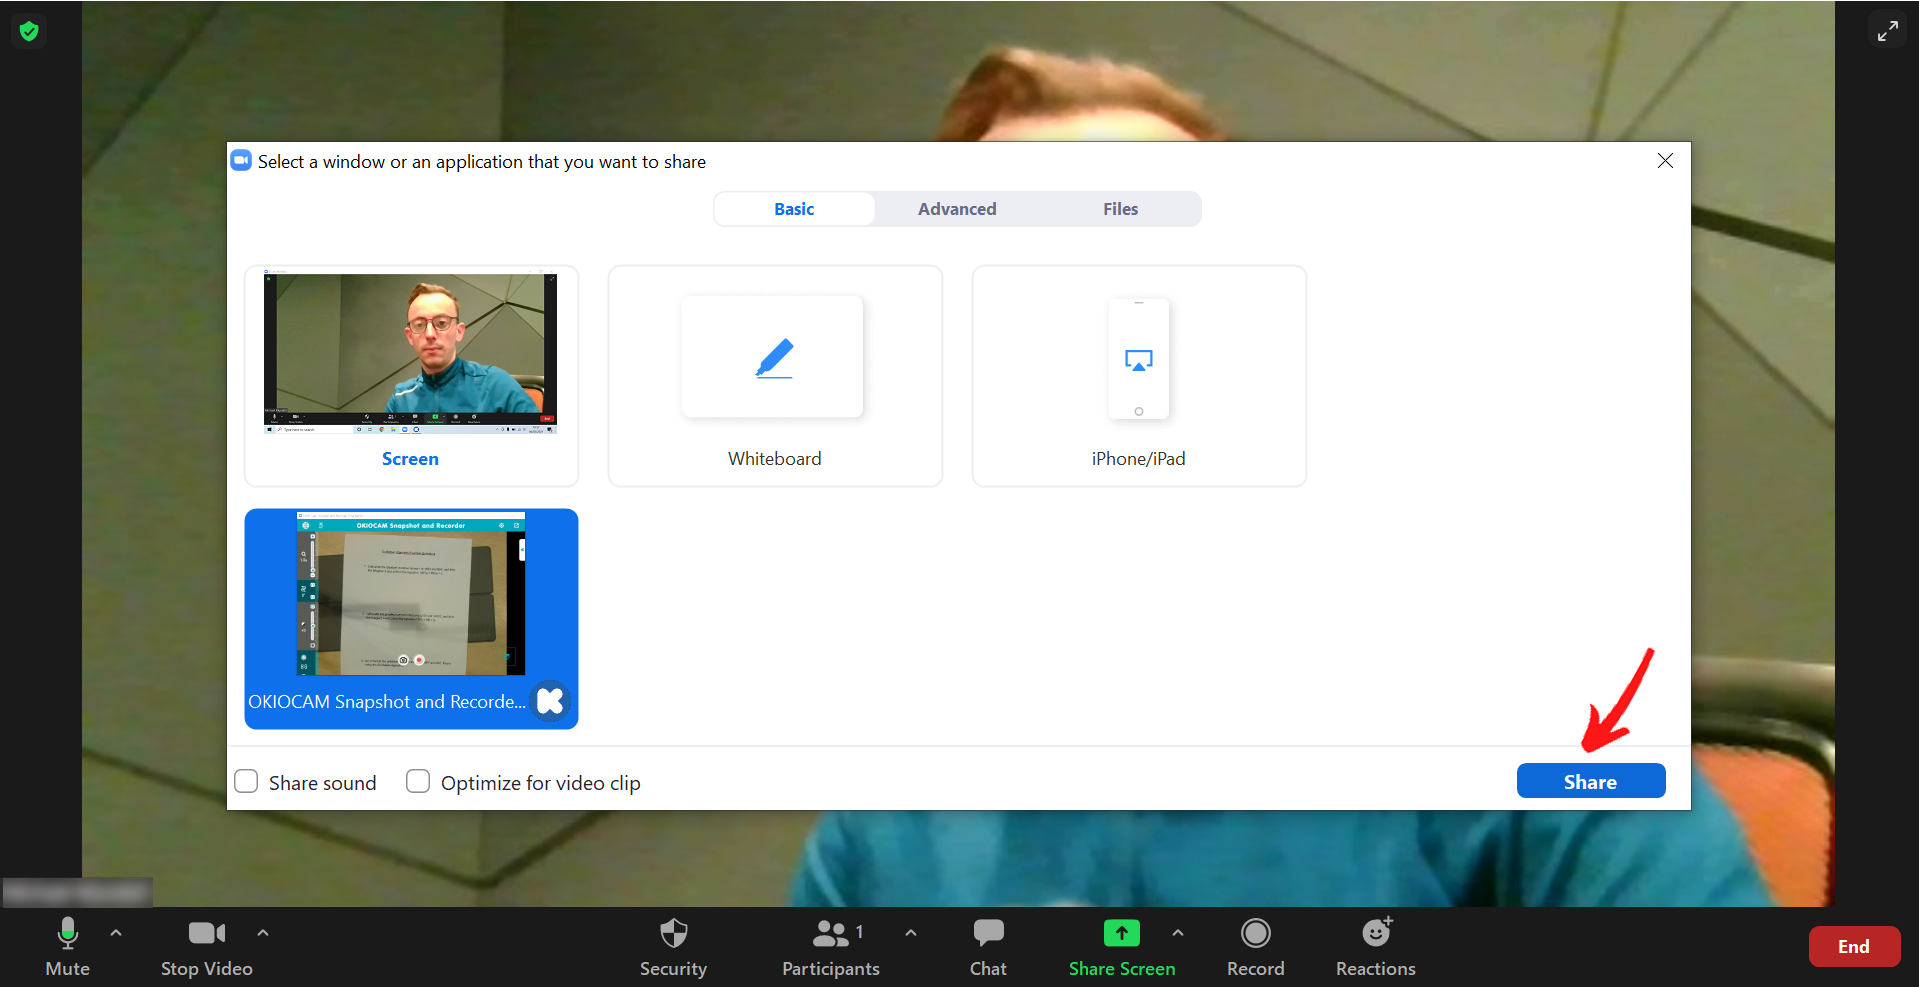
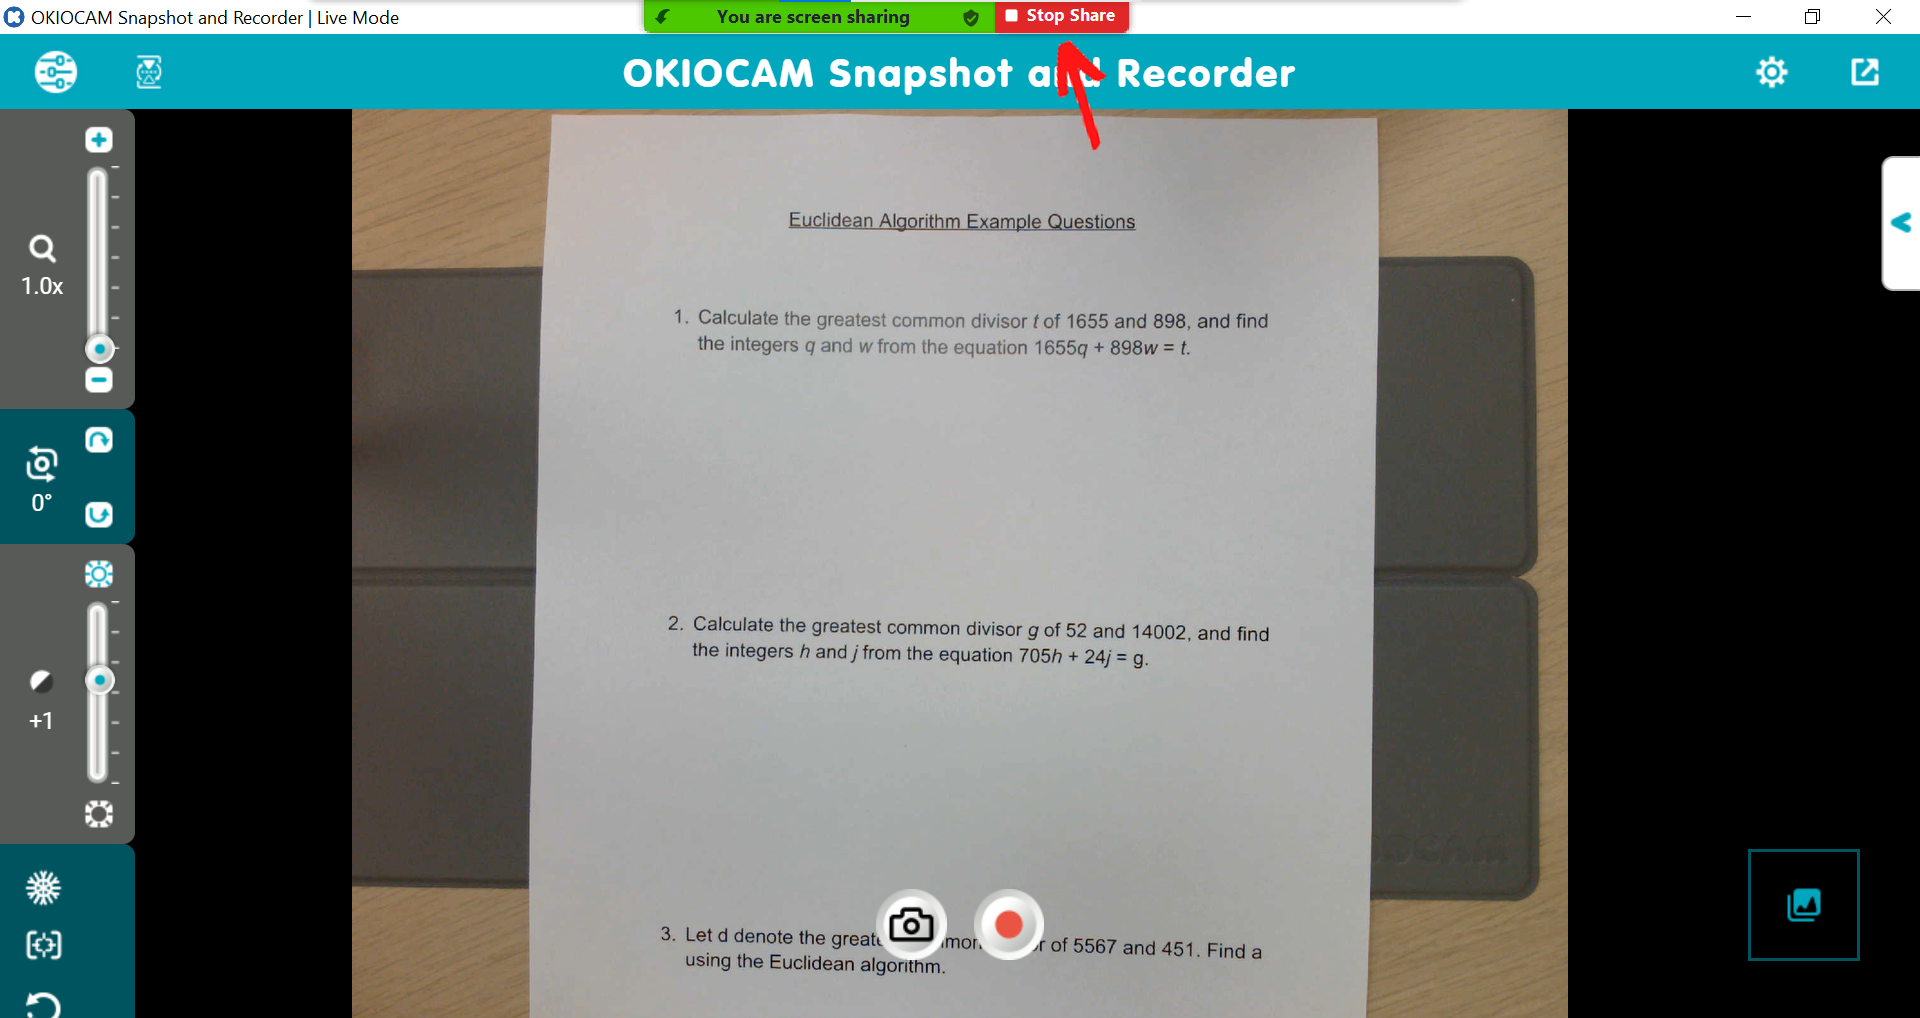
- Click Share Screen.
- Select OKIOCAM Snapshot and Recorder | Live Mode. Click Share.
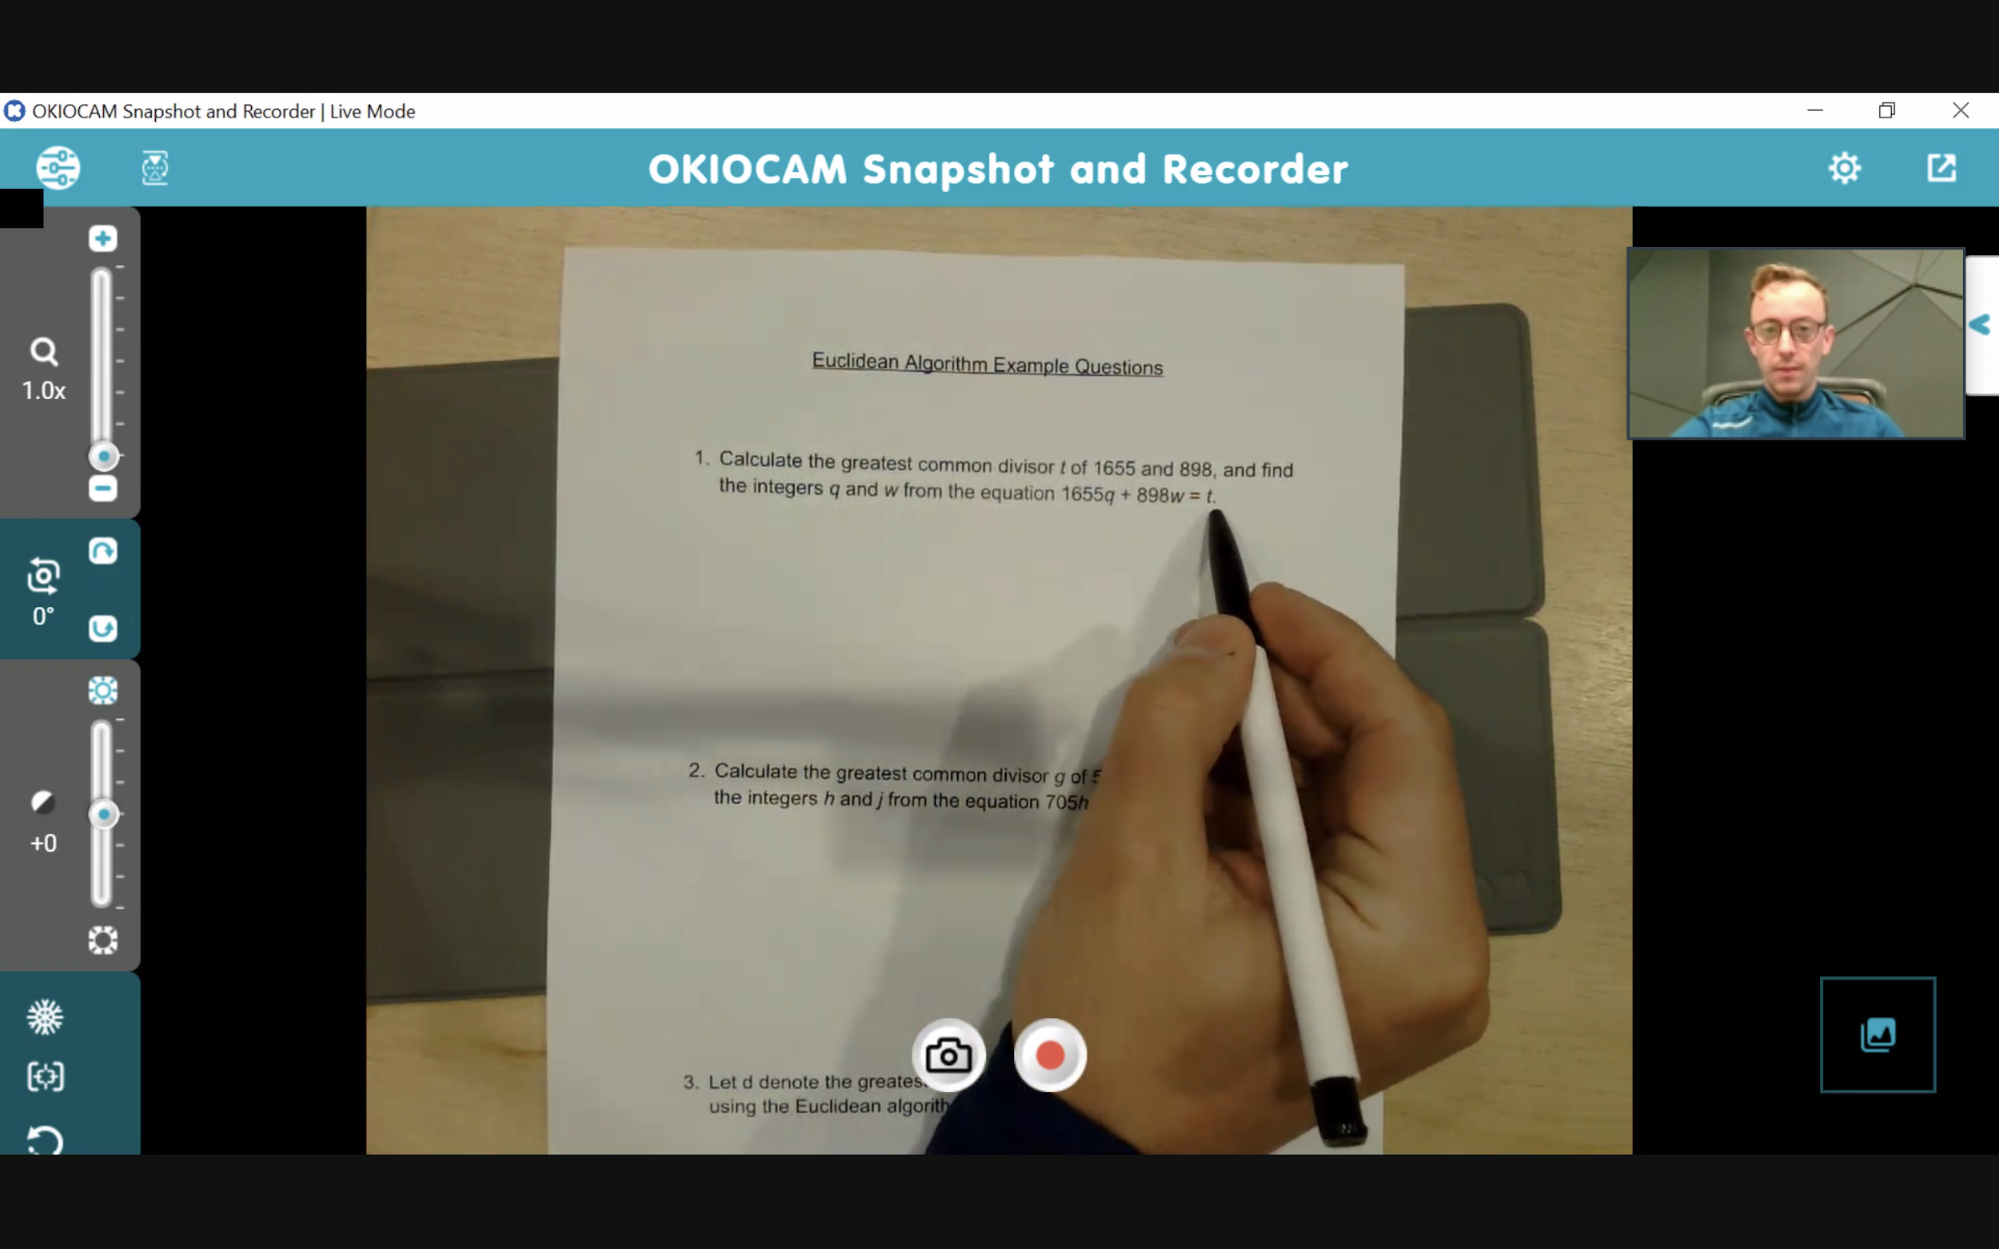
This image shows what the other people on the call will see
- When you want to stop screen sharing, click Stop Share.
If you have any difficulty following the above steps, please submit a support request here and our helpful support team will gladly assist you.